This DIY Tabletop Photo Easel is a Must-Make!

Does snagging a pretty photo frame whenever you see it in a store come as second nature to you? Then this DIY tabletop photo easel might be the project for you! I was inspired by this beautiful metal easel frame we spotted a while back. Our DIY version uses wood, which we love even more. And for less than $4 a pop, you can easily use these as table numbers and menu holders! I was excited to try out Fiskars’ Precision Hand Drill, which made having the right attachment method possible to build this wooden frame.

What you’ll need:
Fiskars Precision Screwdriver
5×5 Wood plaque (found at craft stores)
Flat dowel (found at craft stores)
Square dowel (found at craft or home improvement stores)
Screws
Wood stain or paint
Optional 8×10 sheets of plexiglass


Making Your Tabletop Photo Easel
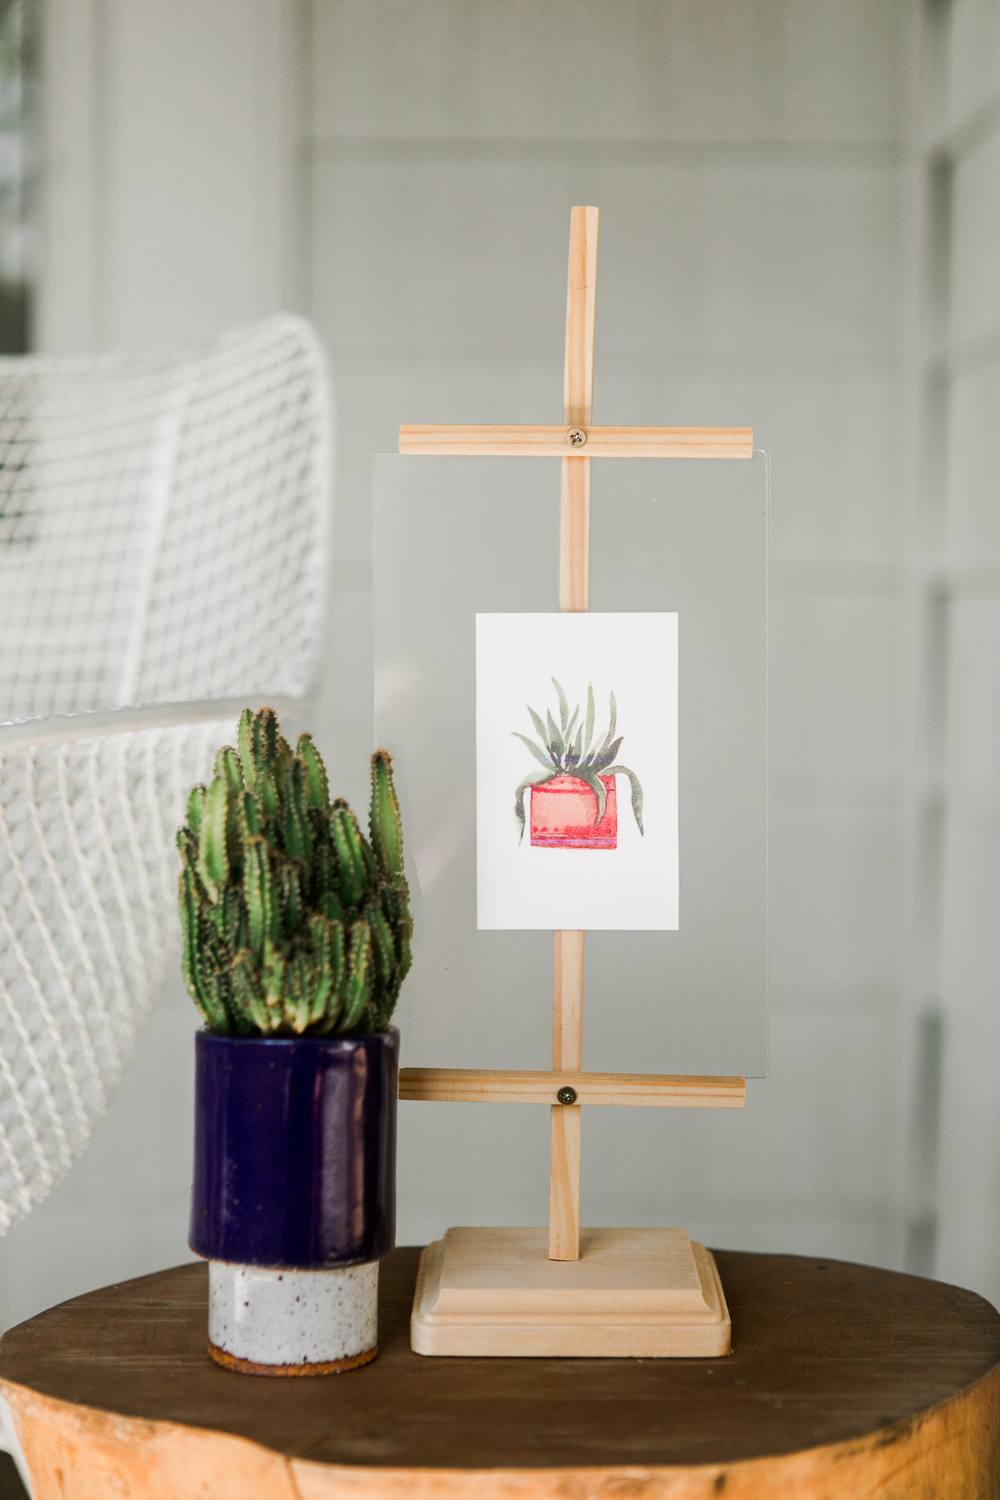
Cut your square dowel to desired length. I created my photo easel for a 8×10 print size so I cut my square dowel to about 15 inches long. The flat dowel will be your perpendicular pieces that will hold the artwork on the easel. I cut two 4″ dowel pieces for a 8×10 photo frame.
The Fiskars Precision Hand Saw features a thin but strong blade that allows for controlled cuts which is what I used for this project. Bonus points for its small size + fits perfectly in my DIY stash!
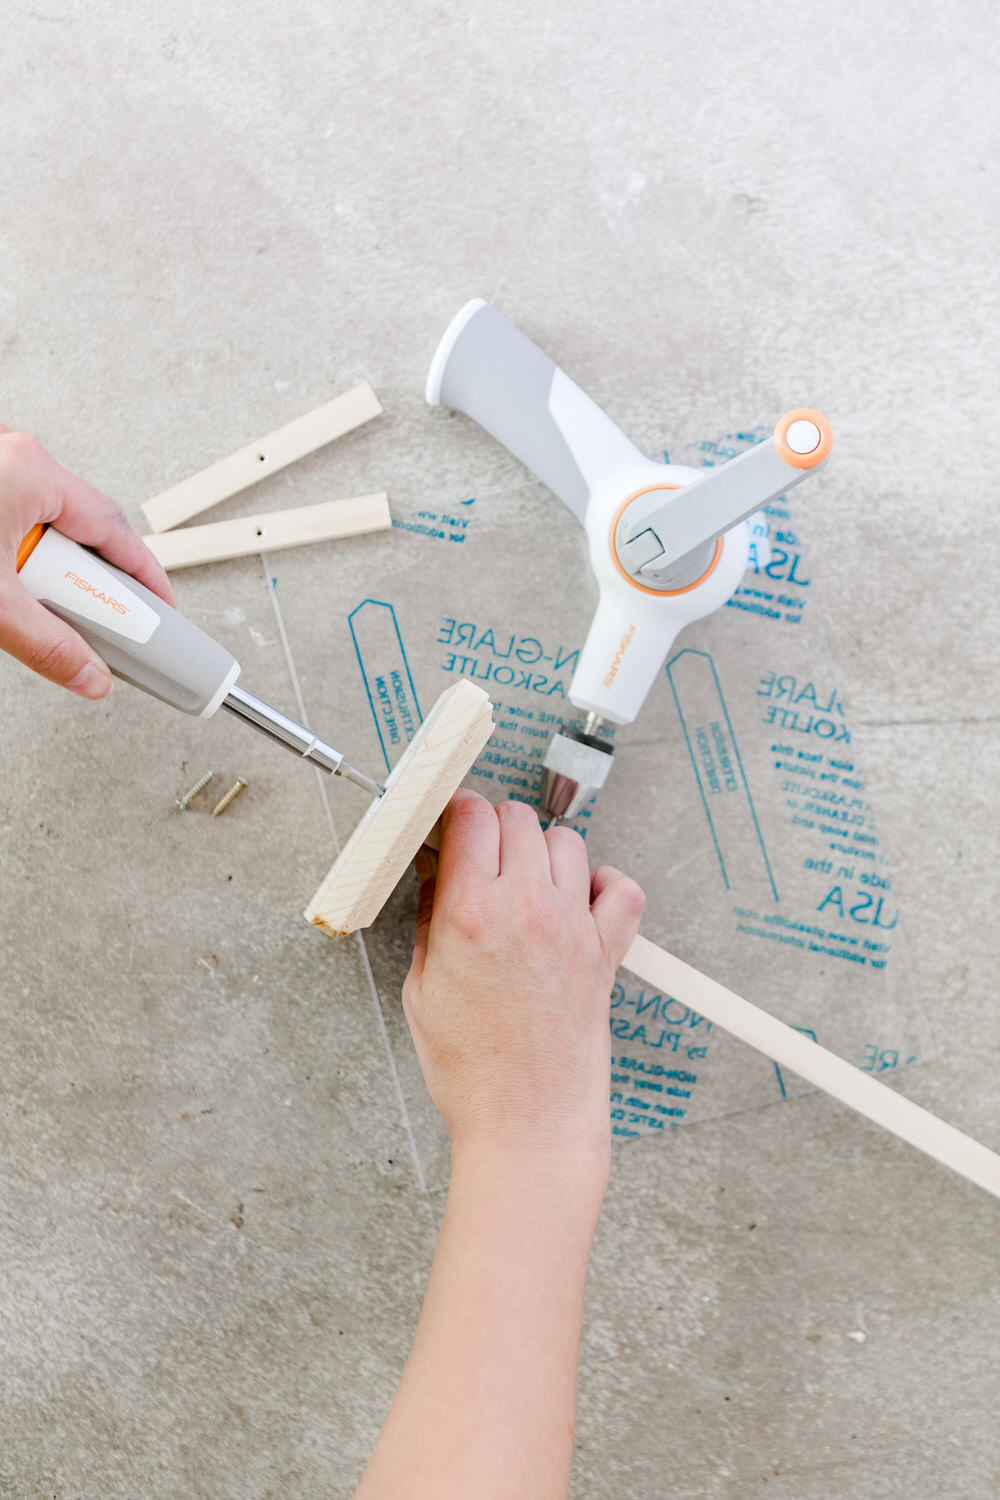
Since the dowels are so thin and delicate, I pre-drilled the holes will avoid splitting the wood. I was so excited to try Fiskars Precision Hand Drill which was perfect for this. It’s a small and cordless hand drill with a hand crank that provides control and makes holes through wood, dry wall and other materials. It comes with 4 standard drill bits that fit the most common range of uses.
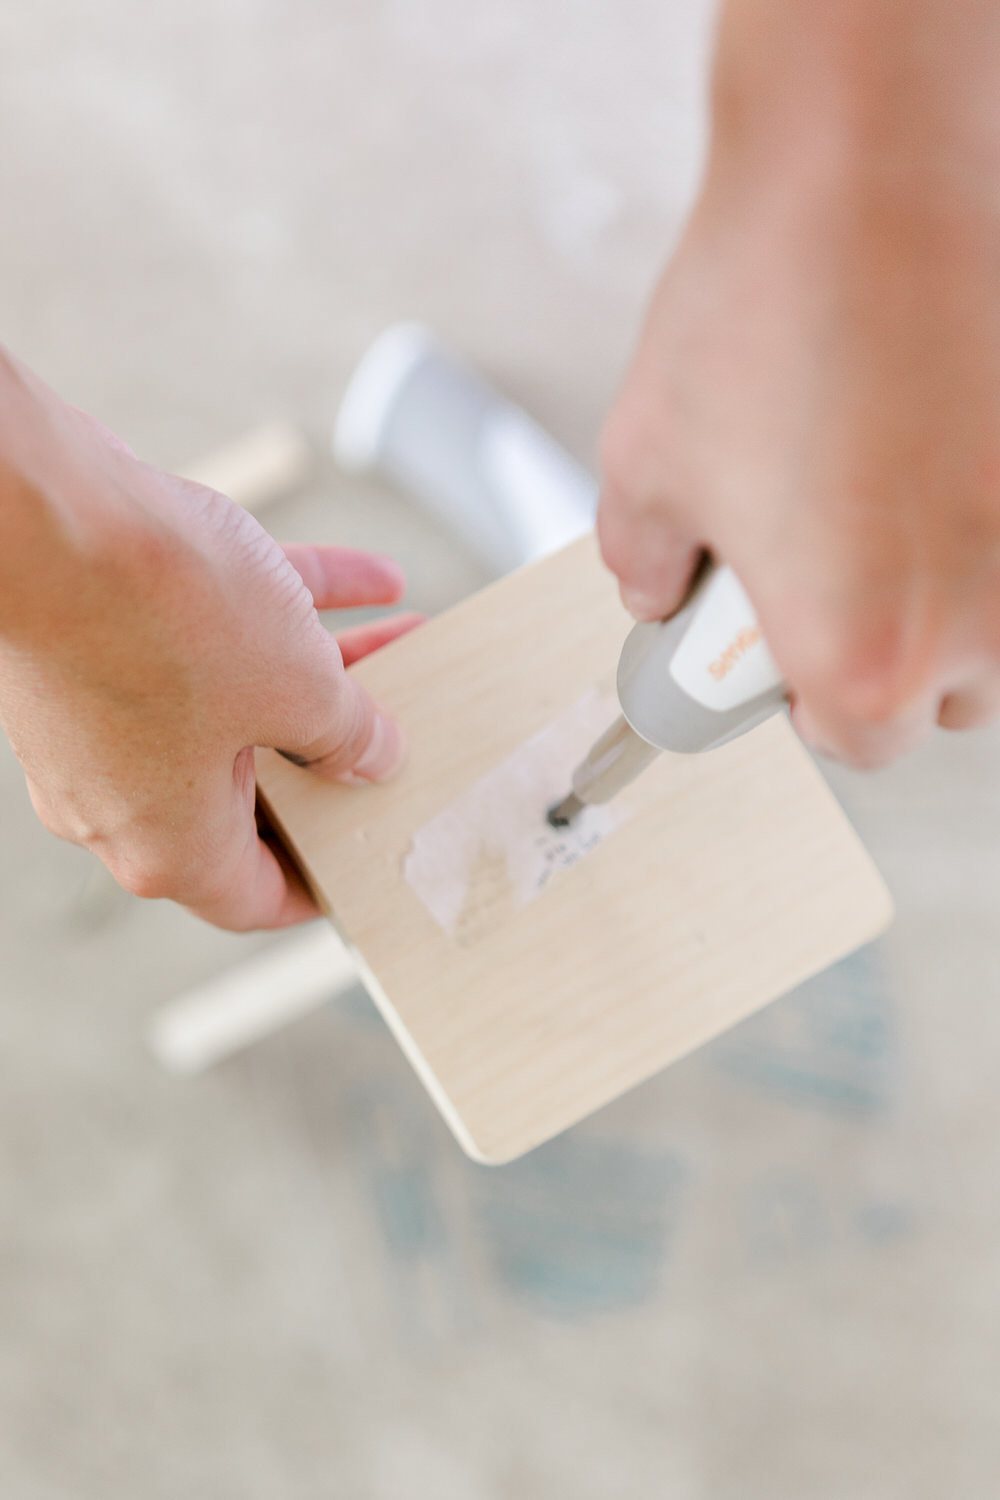
I pre-drilled a hole in the center of both 4″ flat dowel pieces and a hole in the middle of the bottom of the wood plaque.
Stain or paint all wood parts after all dowels are cut to size.
I assembled the easel using Fiskars Precision Screwdriver, which is a tool I keep reaching for over any of our old bulky tools. Its free-rotating handle gives you more leverage with a downward force, which takes the work away from using a screwdriver.

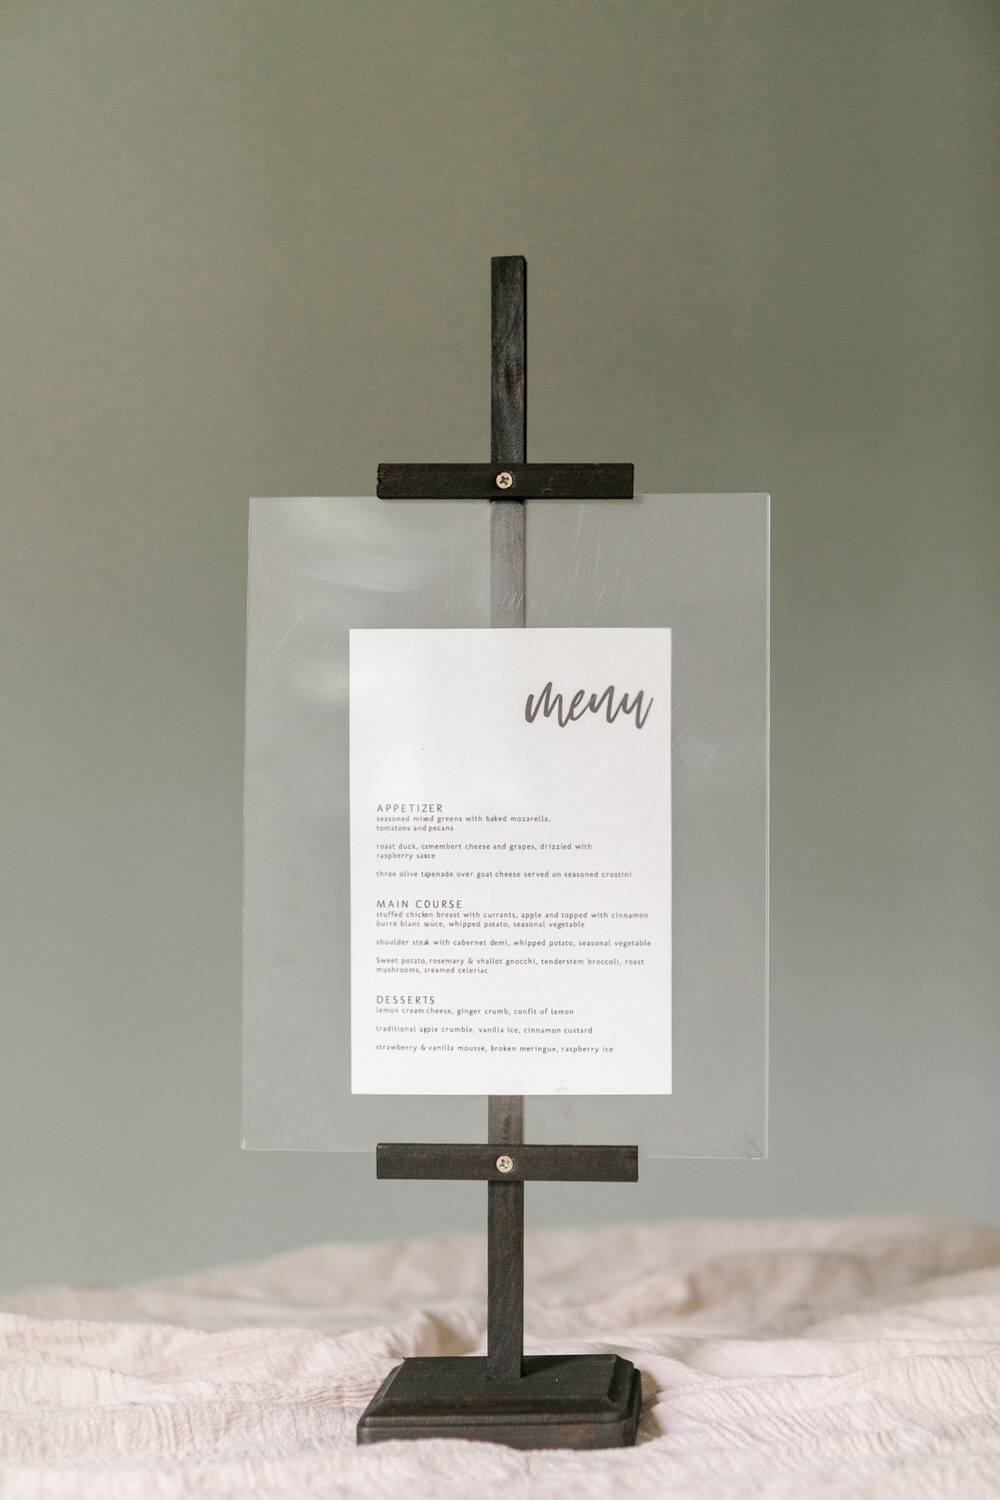
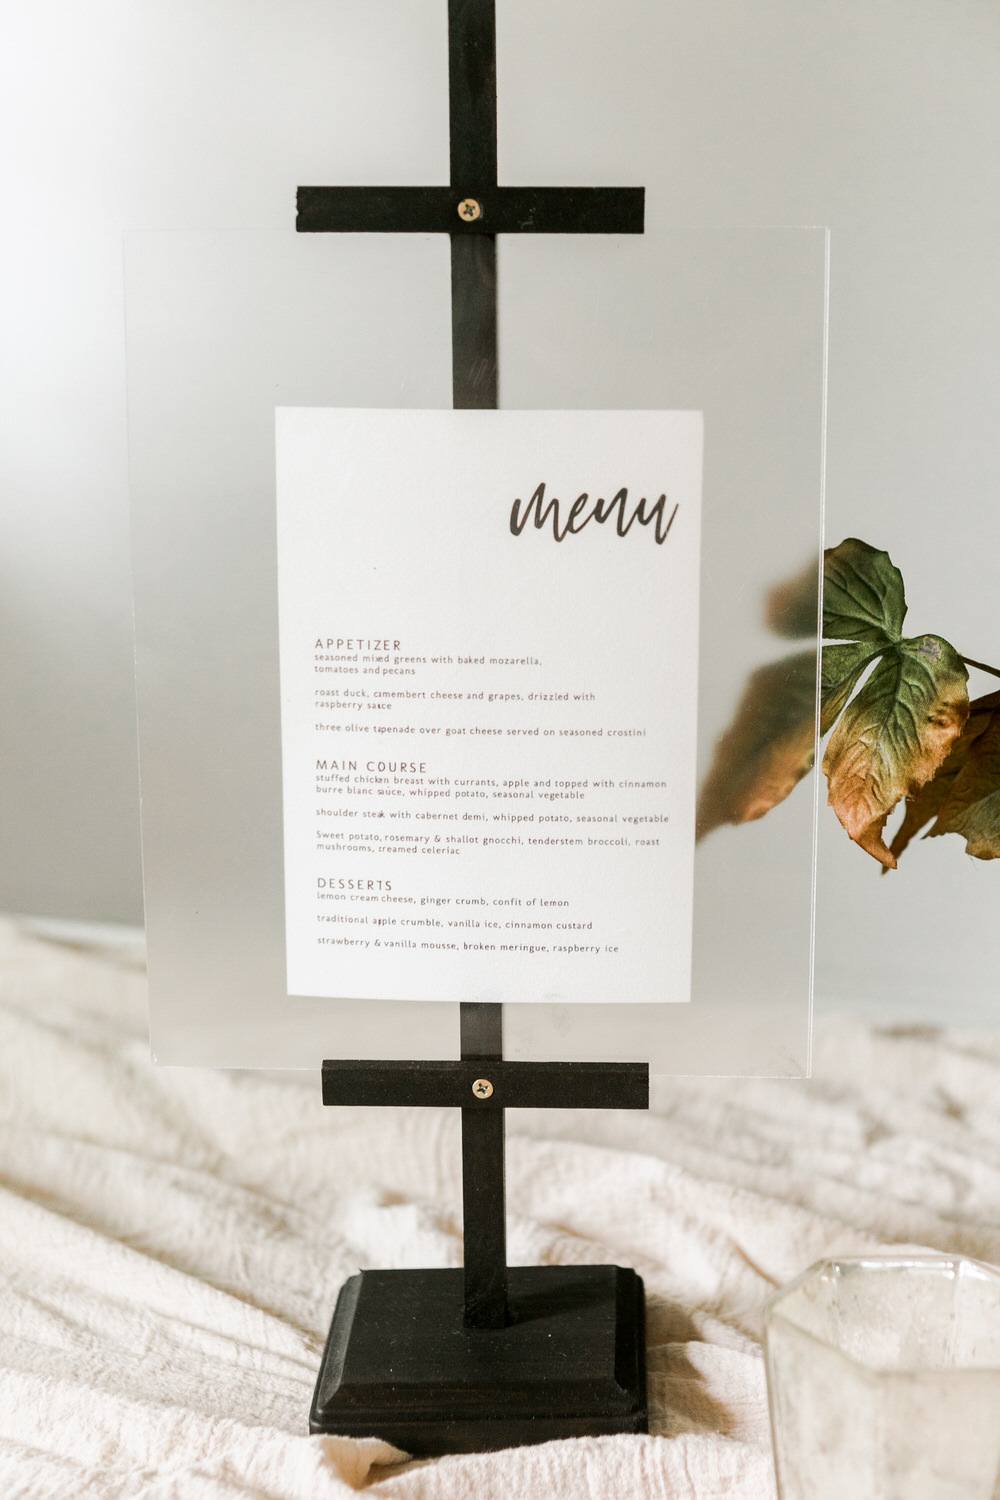
I screwed the tall dowel from the bottom of the wood plaque. The wood plaque is made of a soft pine, so the screw can easily be tightened flush with the plaque so that the easel sits flat on a surface. You can also add tiny non-skids bumpers or felt to even the easel if needed. Place the plexiglass sheets in between the 2 pre-drilled holes on the spine of the easel, and attach the 4 inch cross pieces at the top and bottom. To switch the photos or artwork (or in this case a wedding menu), I simply slid the menu in between the acrylic sheets. You can secure the artwork with a small piece of double-sided tape.


Easy, right? Check out our most recent projects you may also love:
DIY Copper Wrap Vases
DIY Woodsy Bouquet
DIY Leather Vase Sleeve
DIY Tile Letter Signage
This post was sponsored by Fiskars. All opinions are our own. Thanks for supporting our sponsors!
How cute!! I need more time to DIY!