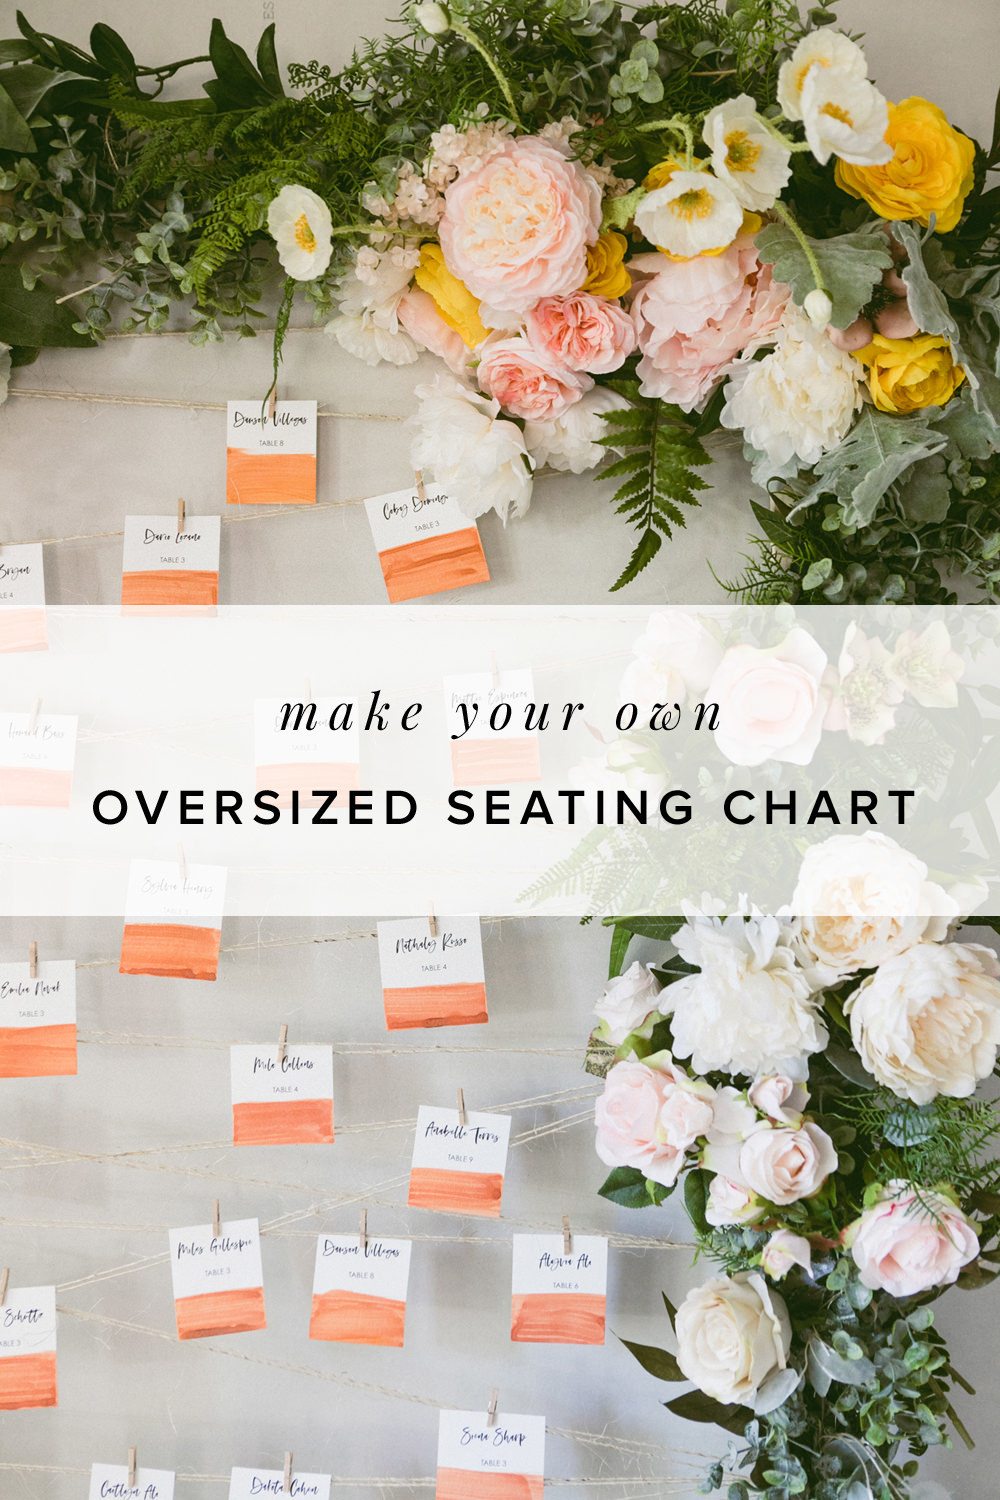
DIY Wall Seating Chart Frame
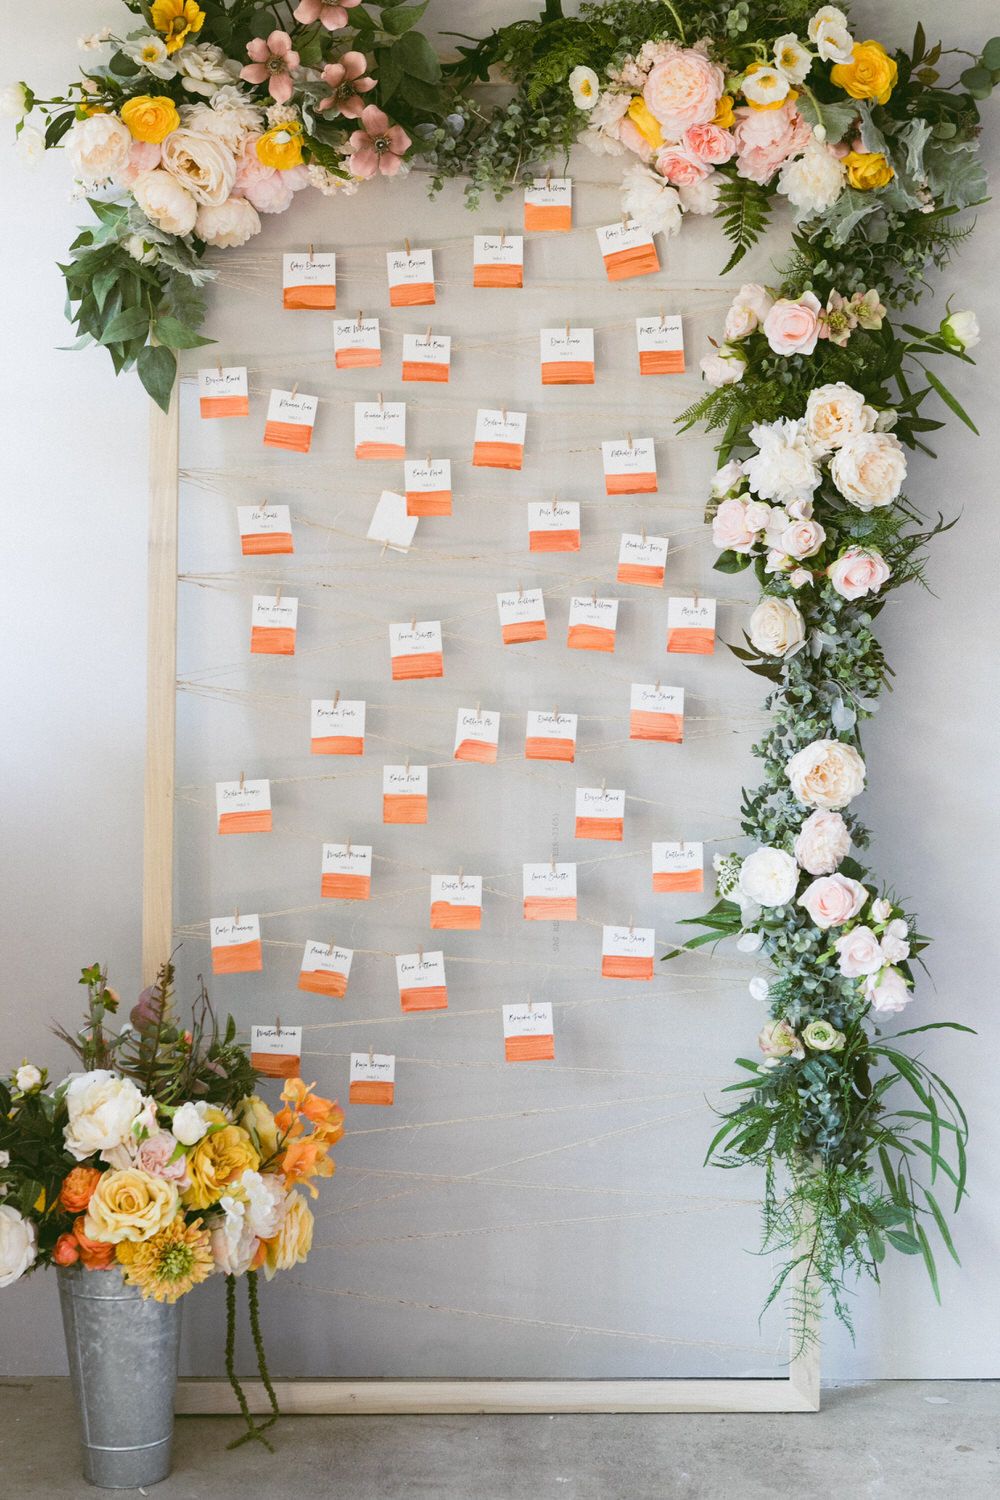
We’re big fans of “choose a seat, not a side” for the ceremony (first come, first gets the best seat!) but when you’re having a seated dinner, a seating chart is a must. This DIY wall seating chart is the easiest way to direct your guests to their tables! With a few materials and equipped with the newest DIY tools from Fiskars, this large seating chart can be made in a jiff!
What you’ll need:
4 1×2 wood
4 L brackets
multiple eye hooks
twine
miter box
mini clothespins

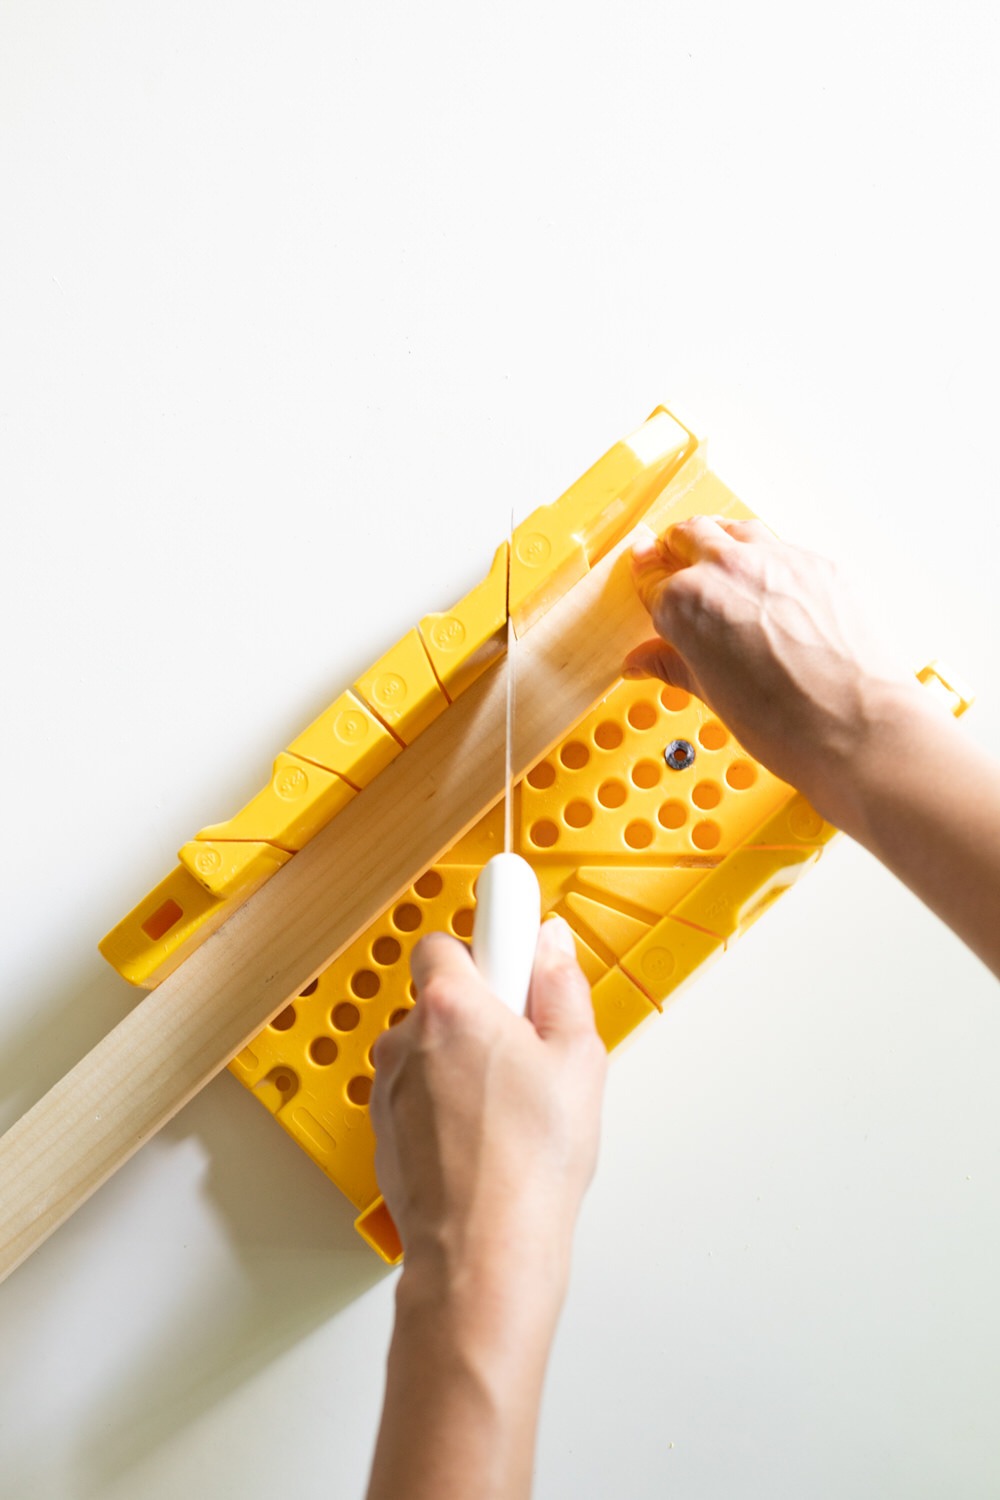
Using a miter box, I cut two 6 feet long pieces of 1×2 and two 4 feet pieces of 1×2, both with a 45 degree angle. I’ve used my hand saw a number of times before (like for these copper vases) and it’s simply the best tool for DIY projects that need a saw that’s small, easy to use and gives you control for small projects such as this one. It has clean + minimal design, which just so happens to match my aesthethics perfectly 🙂
The wood lengths can be cut straight as well, but mitered corners help make the frame a little more stable.
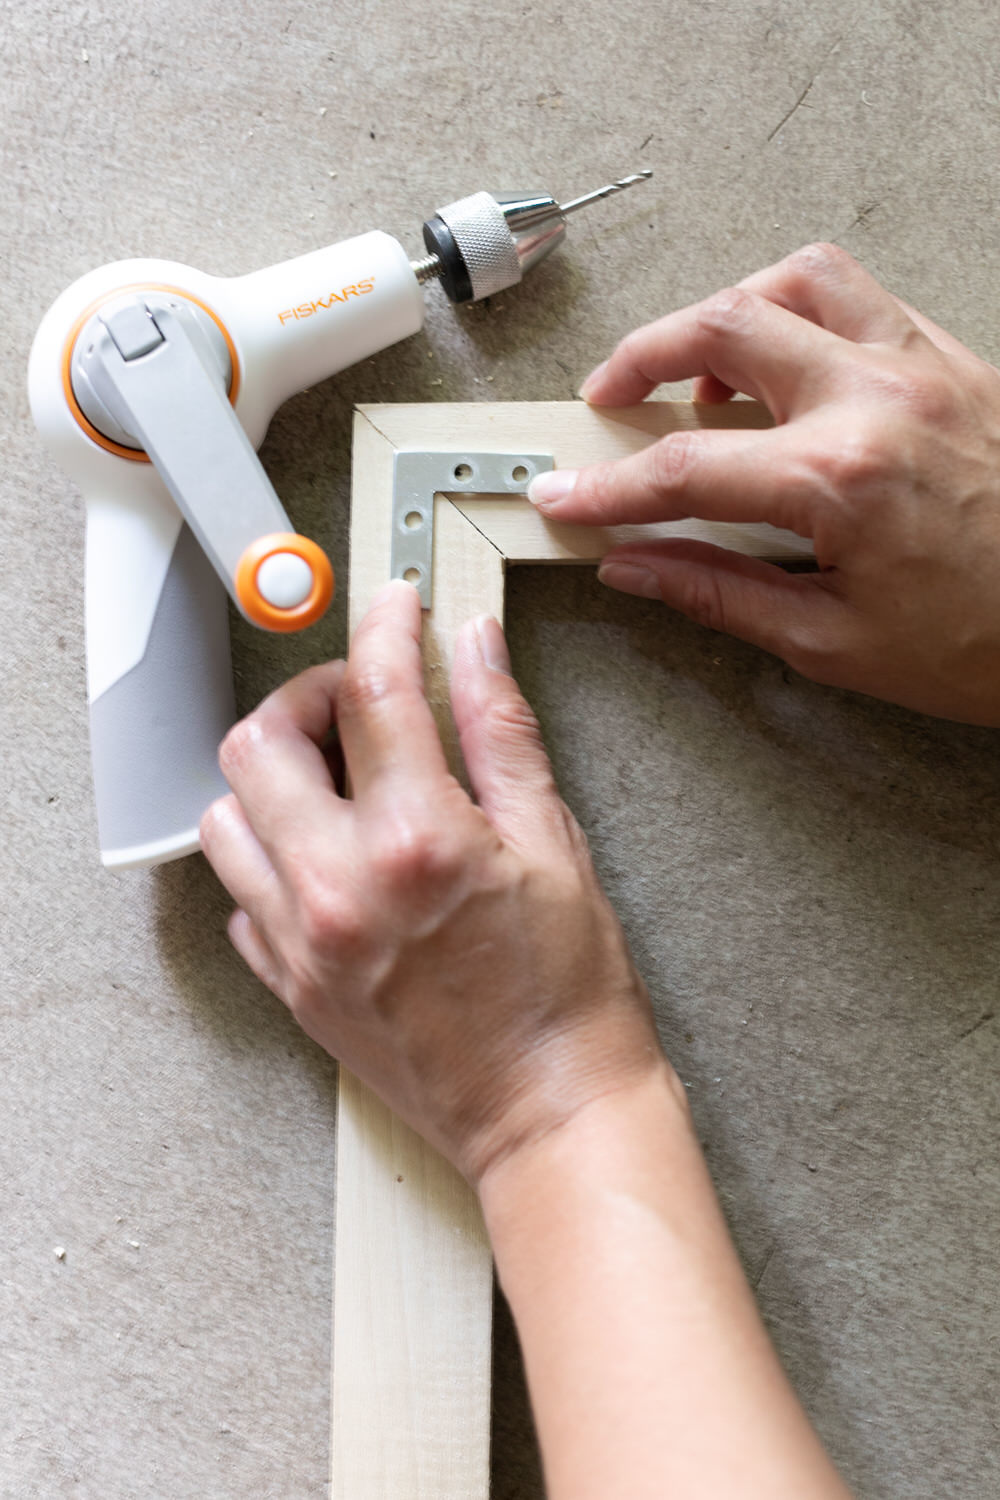
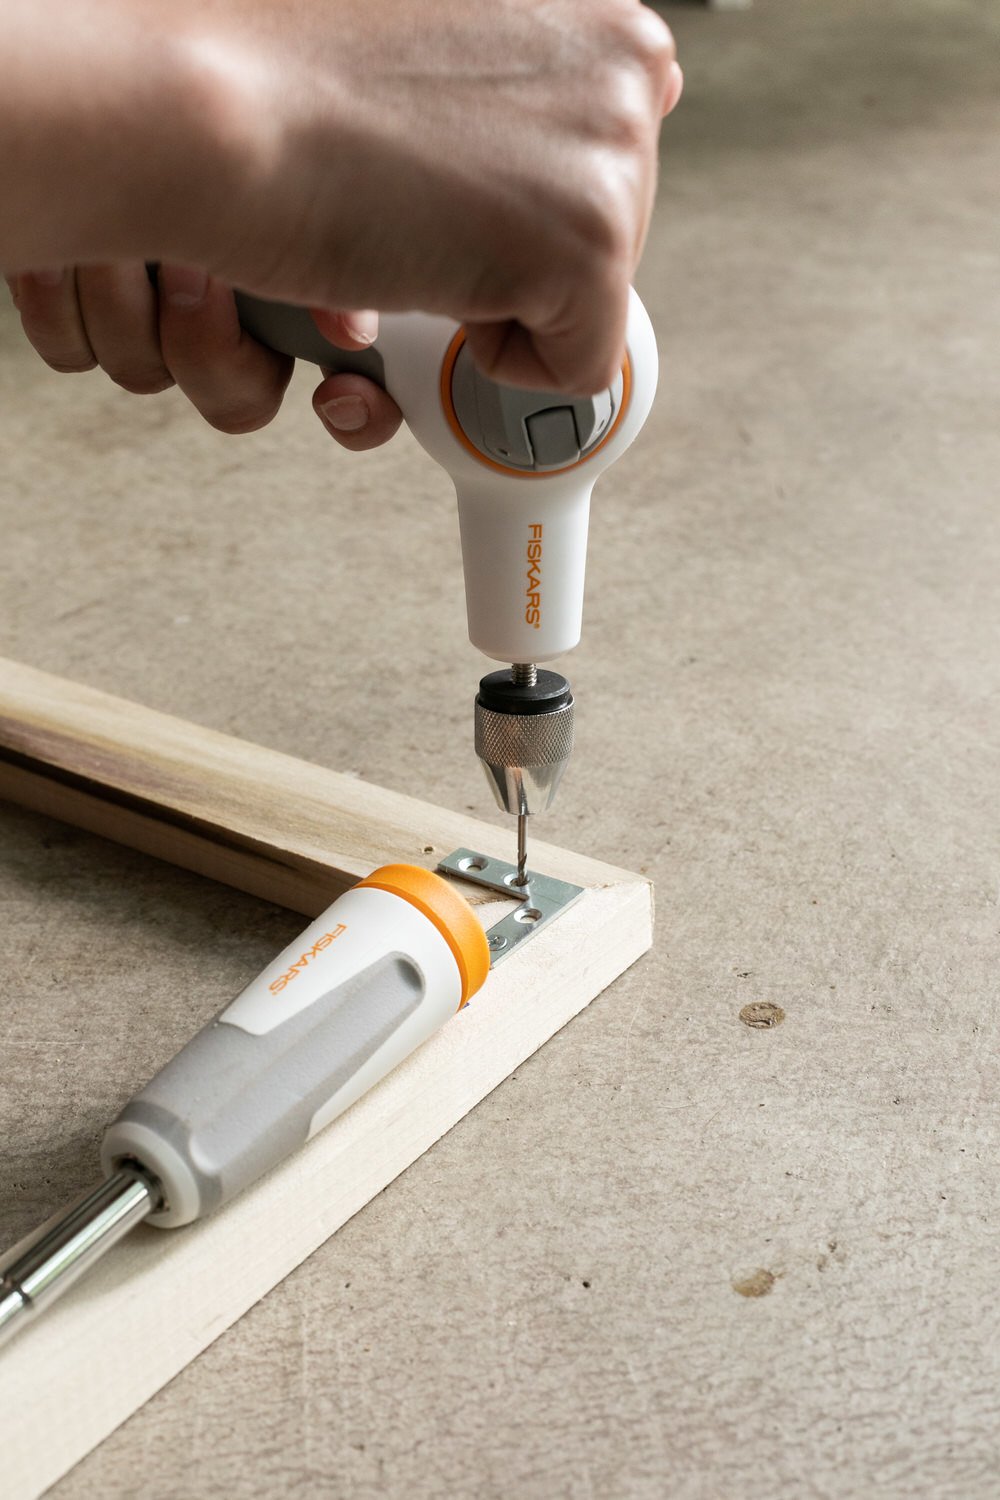
Using L brackets as my template, I pre-drilled screw holes with my Hand Drill, which is now my favorite tool to use. This hand-cranked drill is also a small-but-mighty DIY tool that gently but powerfully drills holes through a number of materials including wood, dry wall and more.
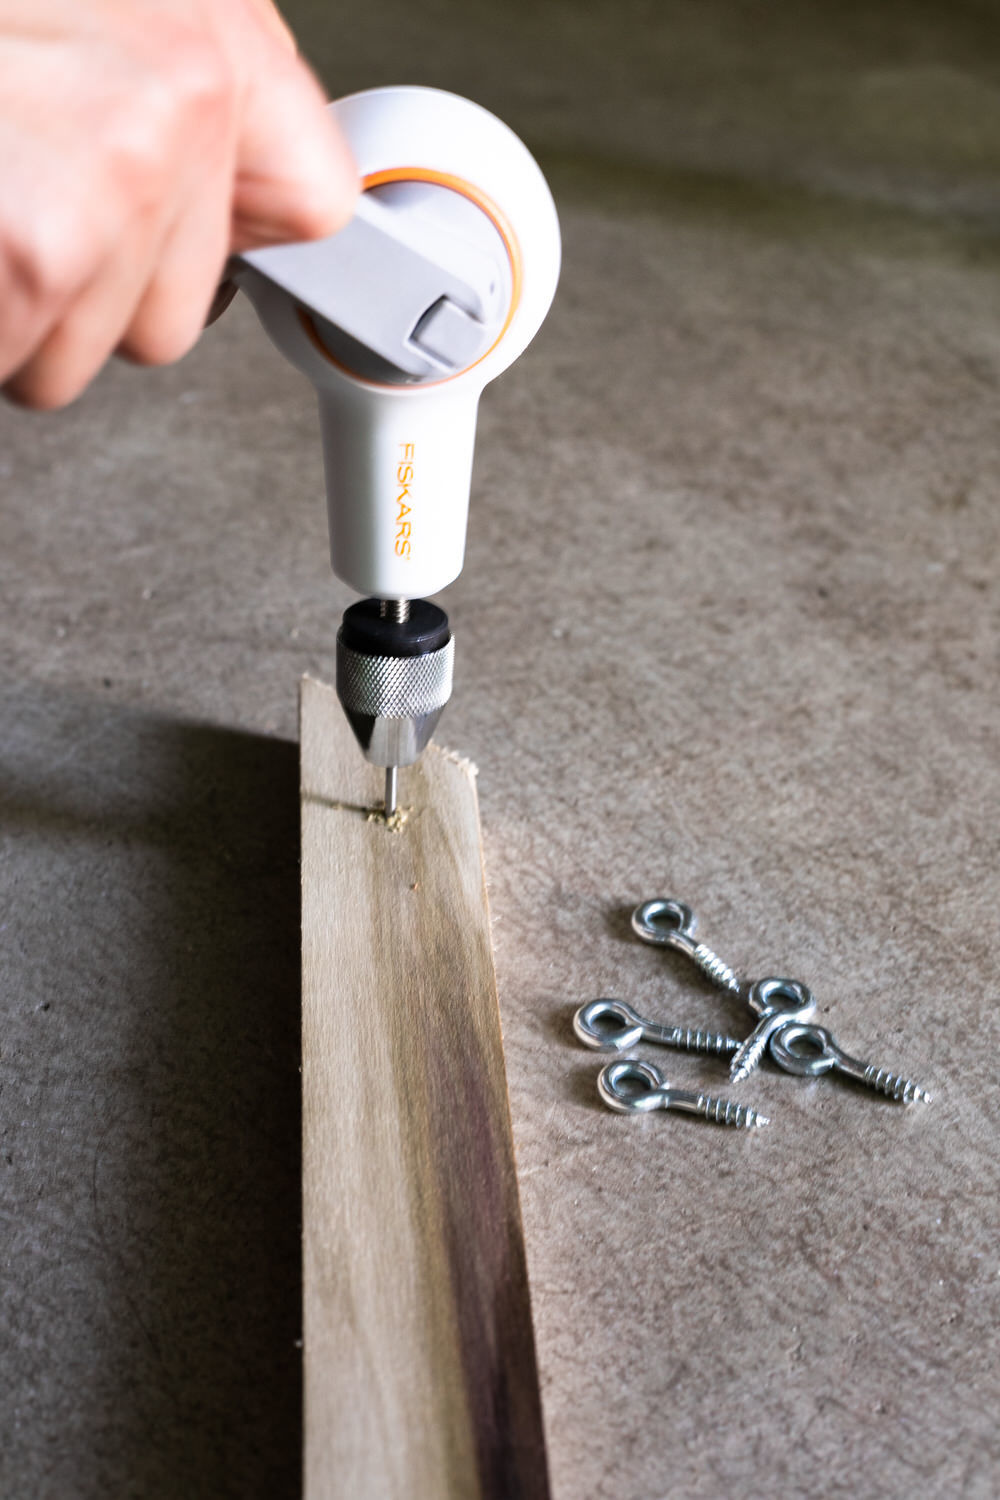

I also pre-drilled holes for the eye-hooks, so attaching them to the back of the frame goes quickly.
My Fiskars Precision Screwdriver is now the only screwdriver I use. Do you ever dread having to use a manual screwdriver because it’s so much work that you end reaching for a power tool that’s way too much for a project?! This one isn’t like your old screwdriver. It has a free-rotating handle that gives you more leverage to drive in screws. My favorite part is that it has a quick-flip mechanism to change heads, so you don’t need to stop what you’re doing if you need to switch a to a flat or a Phillips head screwdriver.


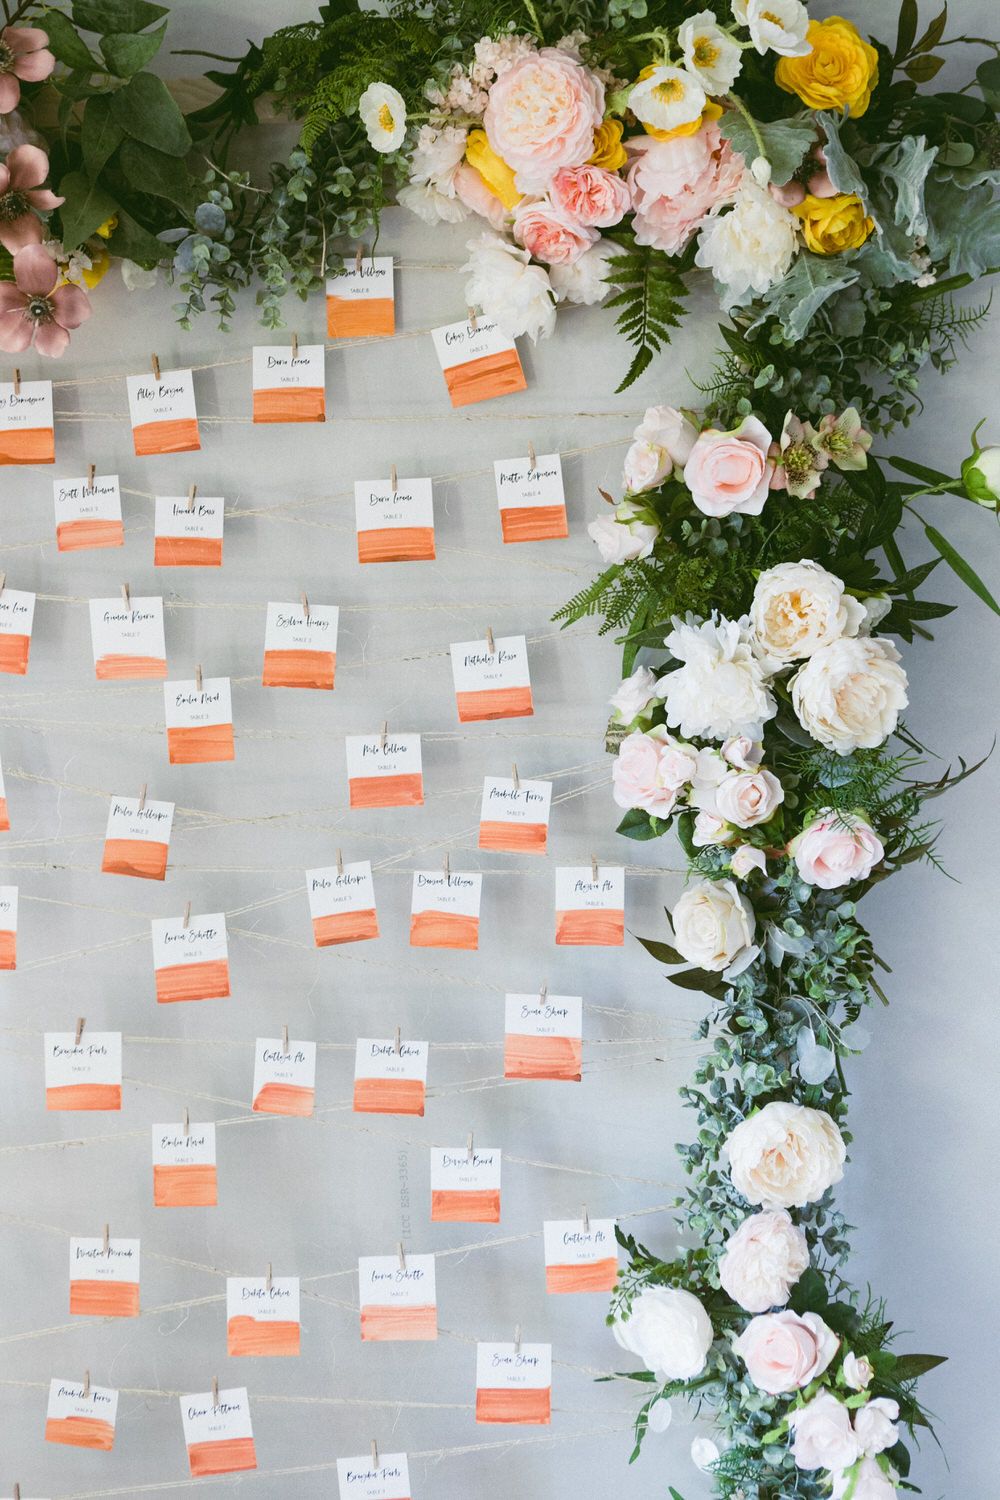
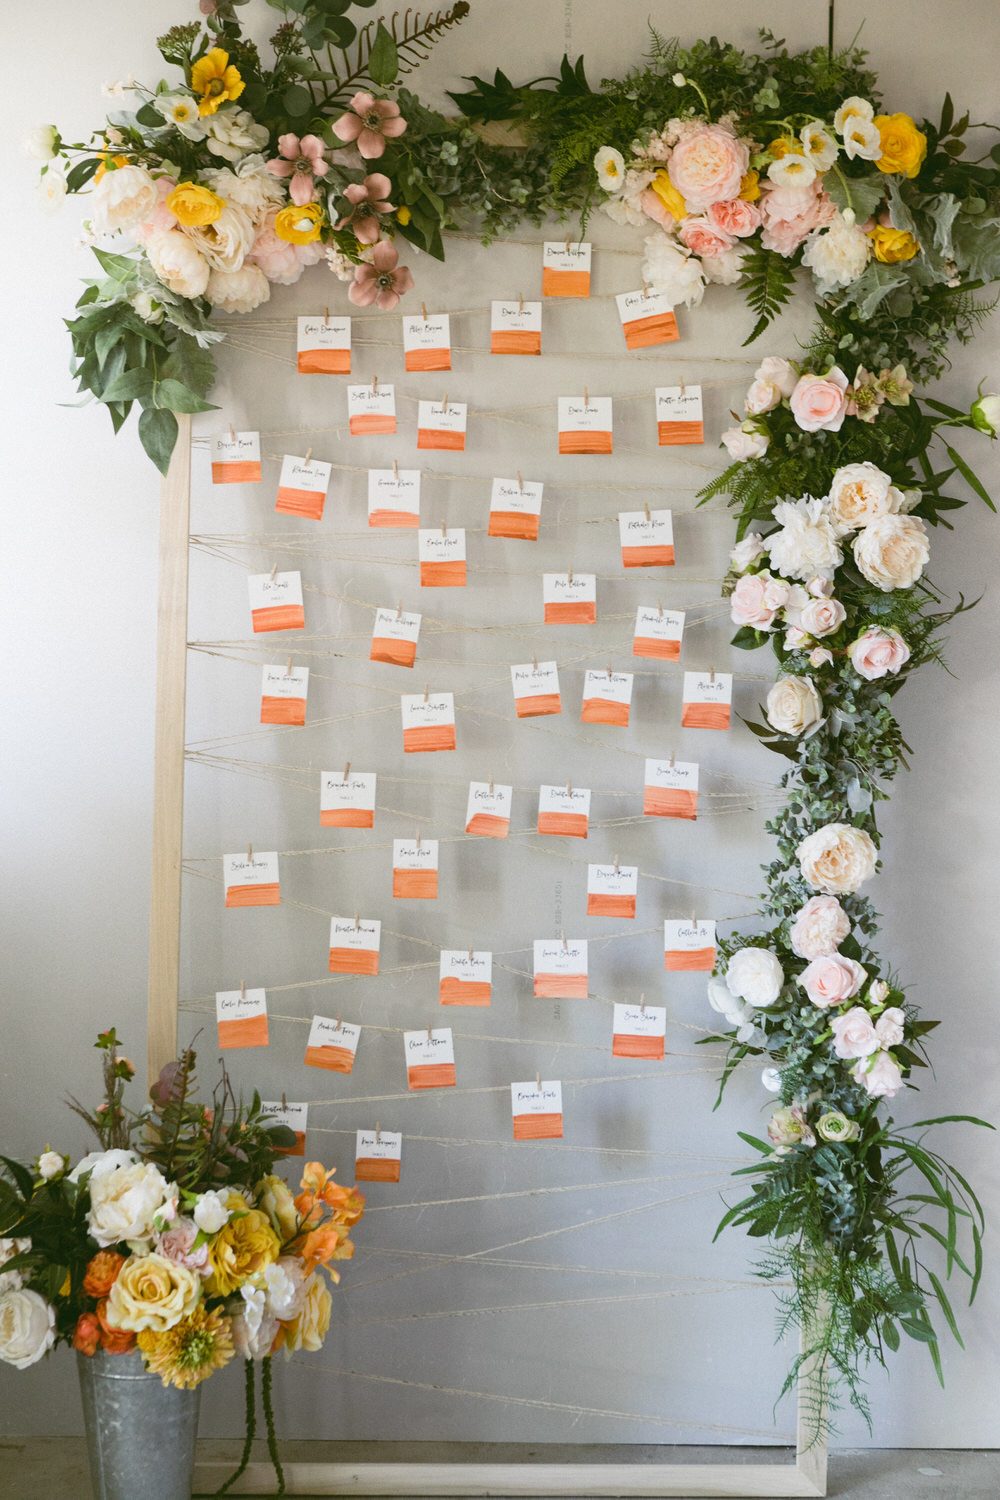


Screw in the eye-hooks and add twine. I added a faux greenery garland around the frame with a flower arrangement on top, attaching them with twine.
Here we used the frame for a seating chart wall, but you can also use it to display photos + artwork — if you make it before your bridal shower, you can bring to display your engagement photos, too!
We love wall art DIYs, and if you have a penchant for home decor projects, you might also love these DIY projects:
DIY Tulle Wall Hanging
DIY Bamboo Pendant Light
DIY Paper Eucalyptus Wreaths
This DIY wall seating chart + photo wall display was truly made easy with the help of this hand drill. Screwing in eye hooks onto wood that’s as thin as this one needs pre-drilling, and Fiskars Precision Hand Drill gives you the control you need when working on such tiny surfaces!