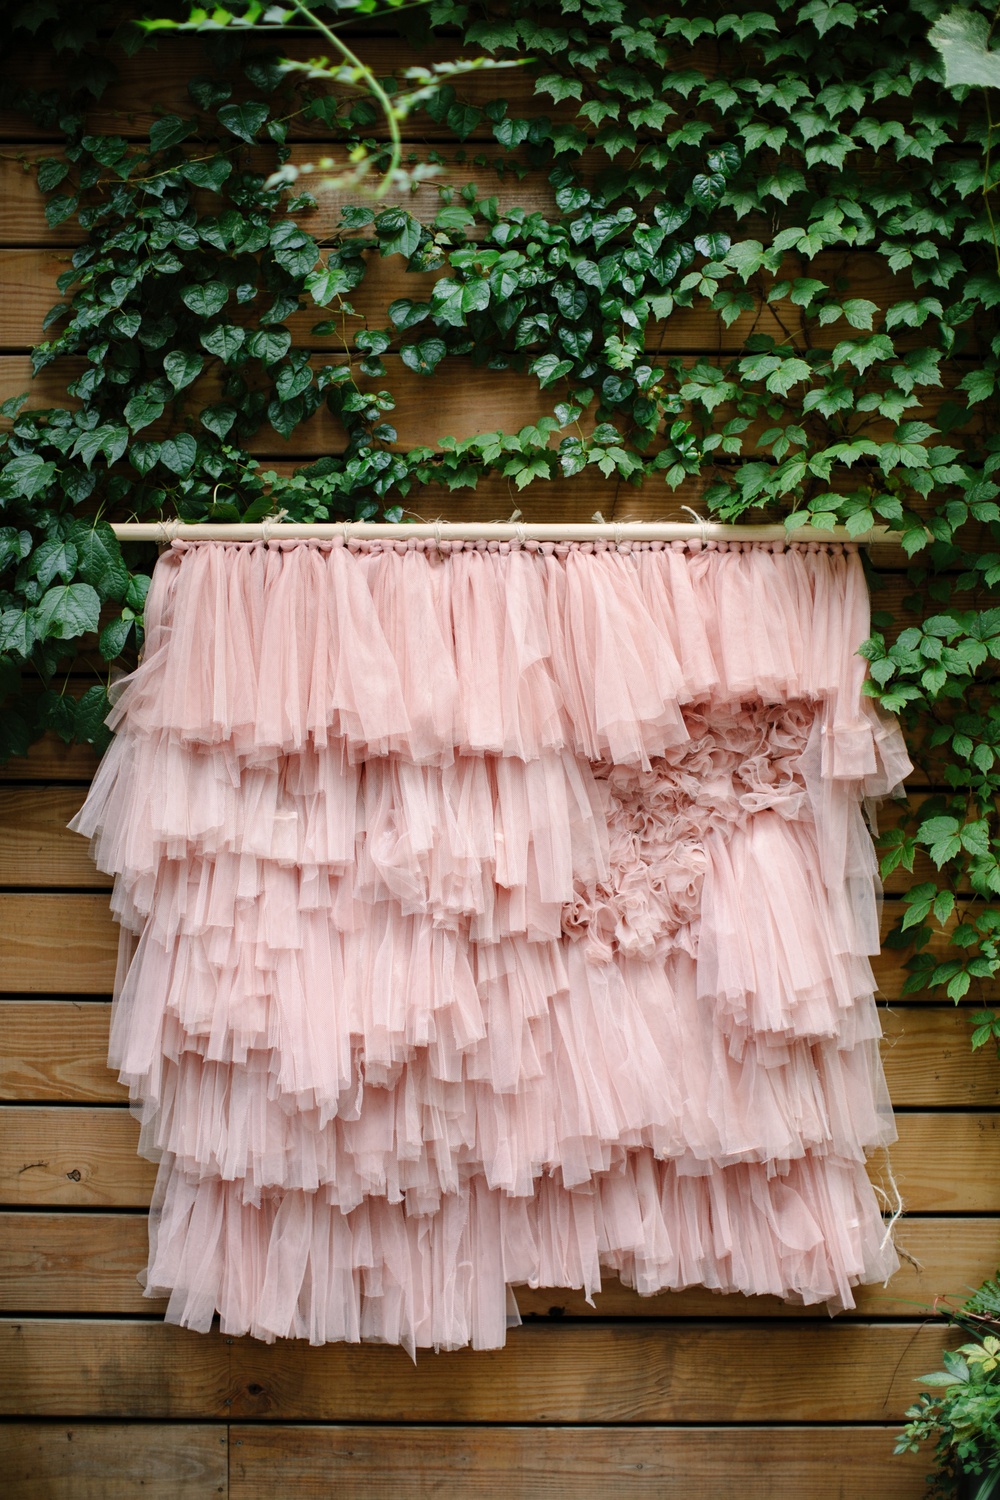
DIY Tulle Wall Hanging
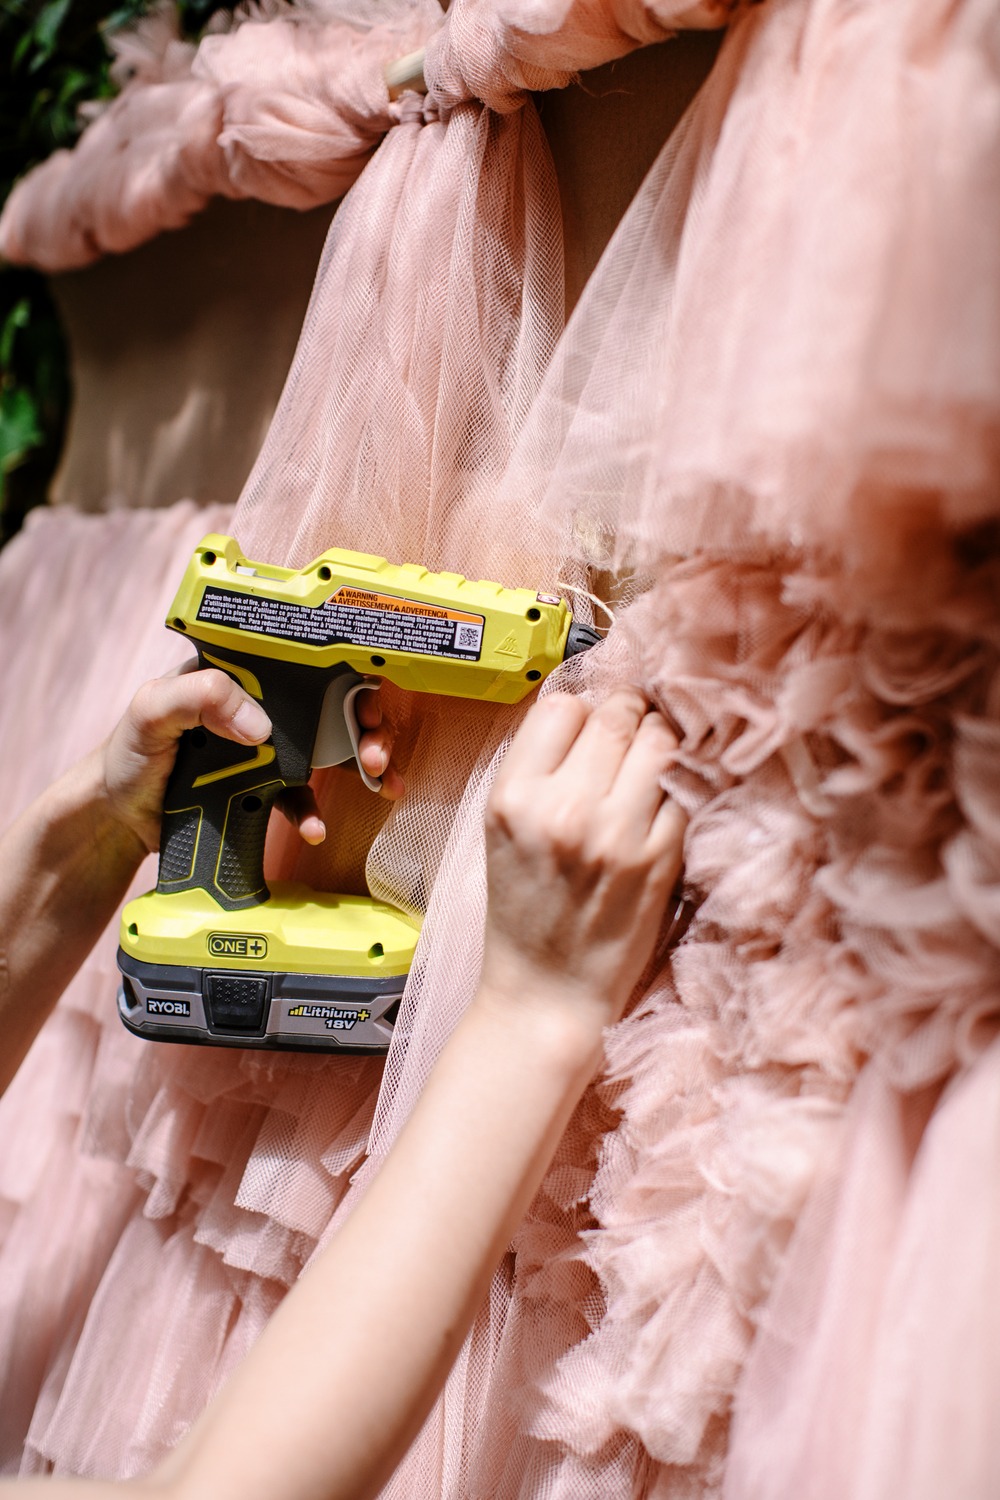
“It looks so good!” was what my humble self kept saying as I finished this tulle wall hanging. We had a totally different project for this, but after our mauve pink discovery, we had a make-it-work moment so we did just that. But before you gasp at the amount of tulle used, let me preface by telling you that you can get it done fast by using my tricks below and these scissors:
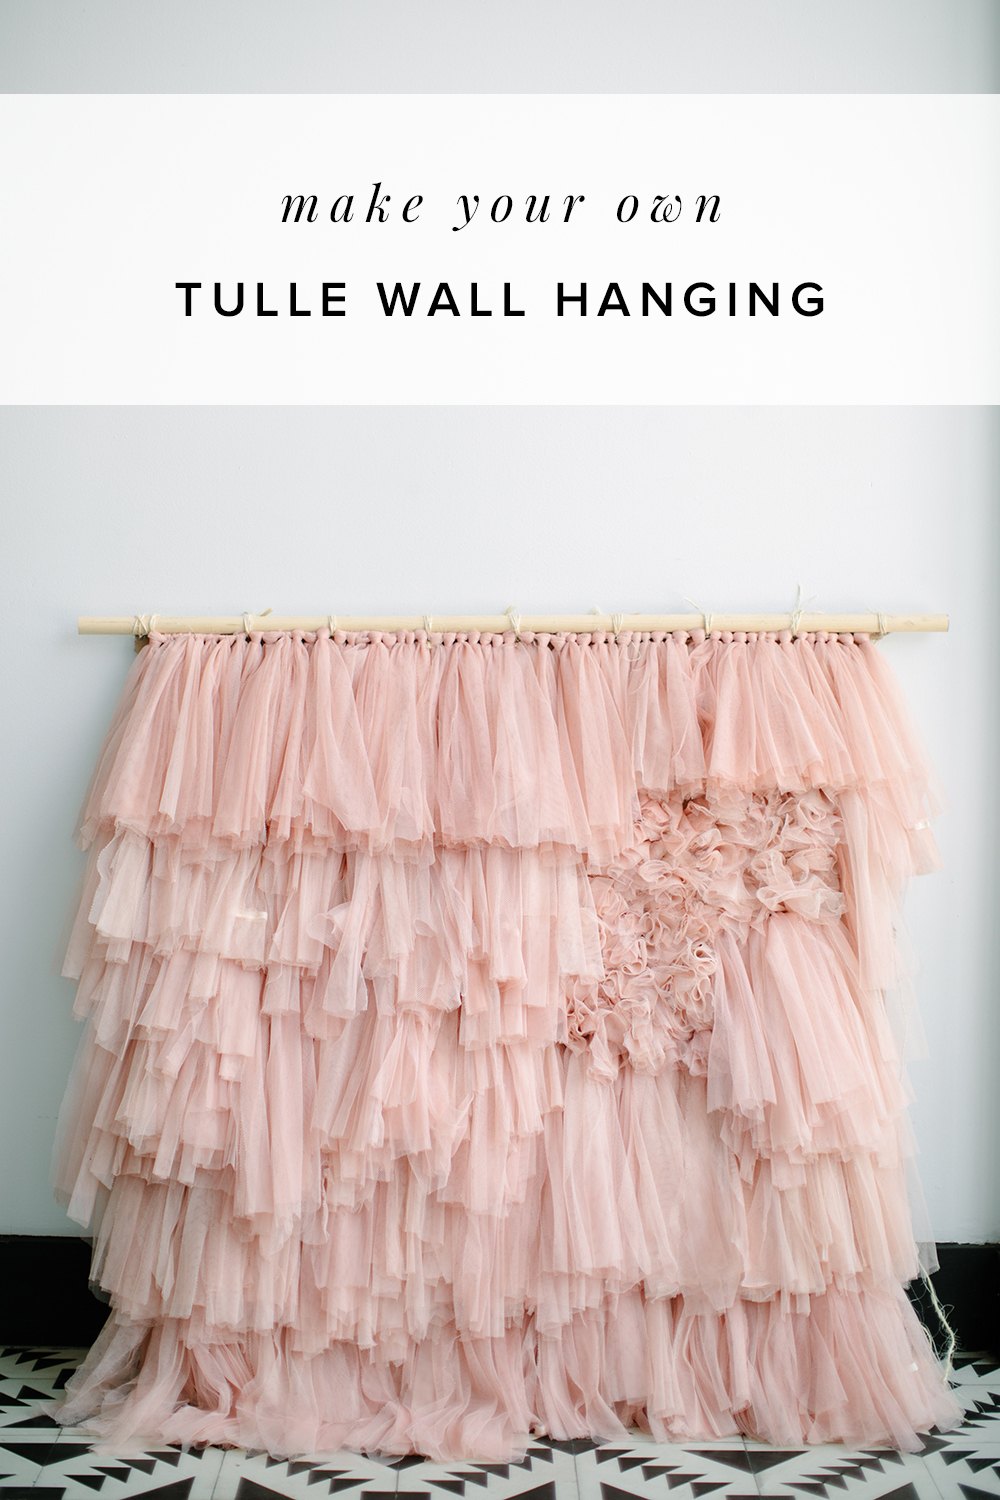
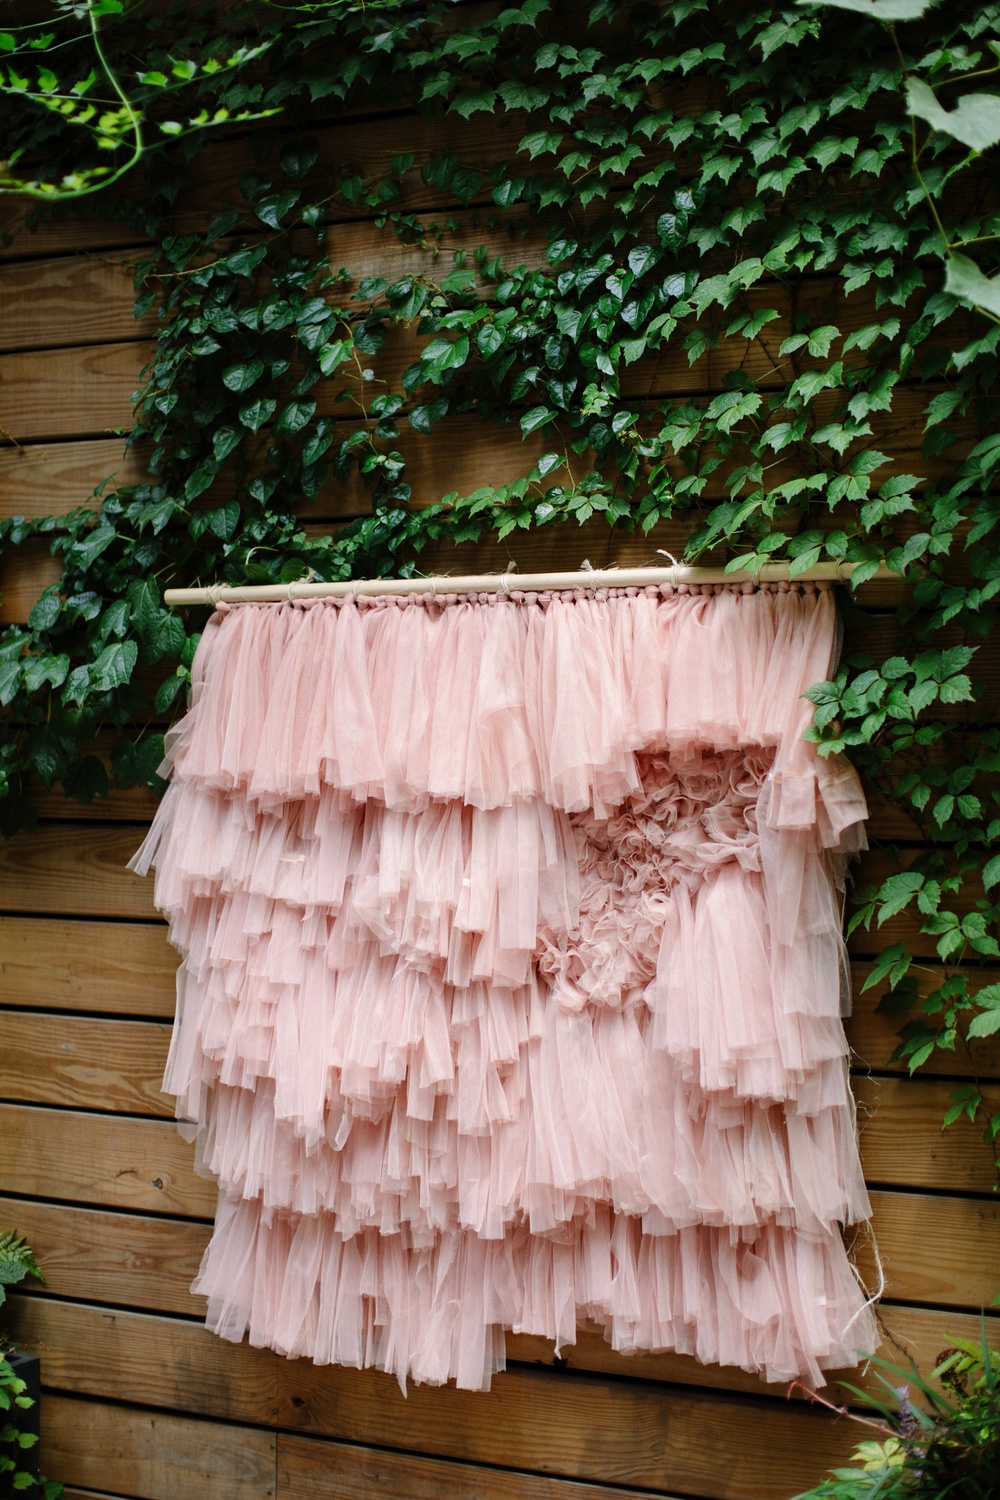
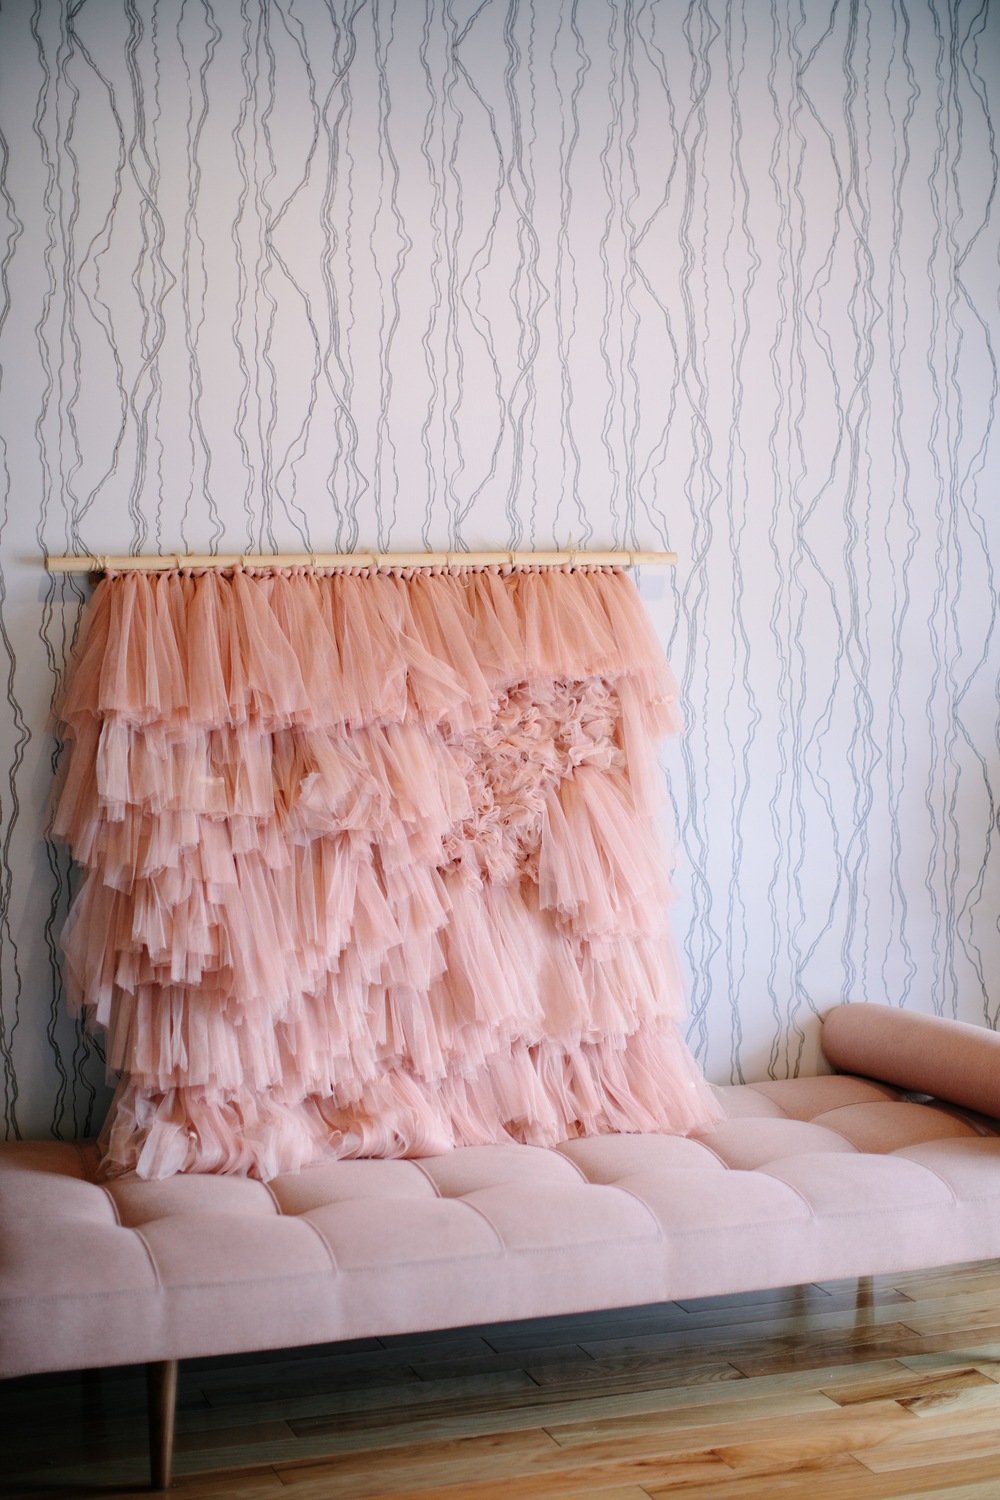
This large wall hanging is great to use as a backdrop for a dessert or cake table then bring it home and hang it on a wall.
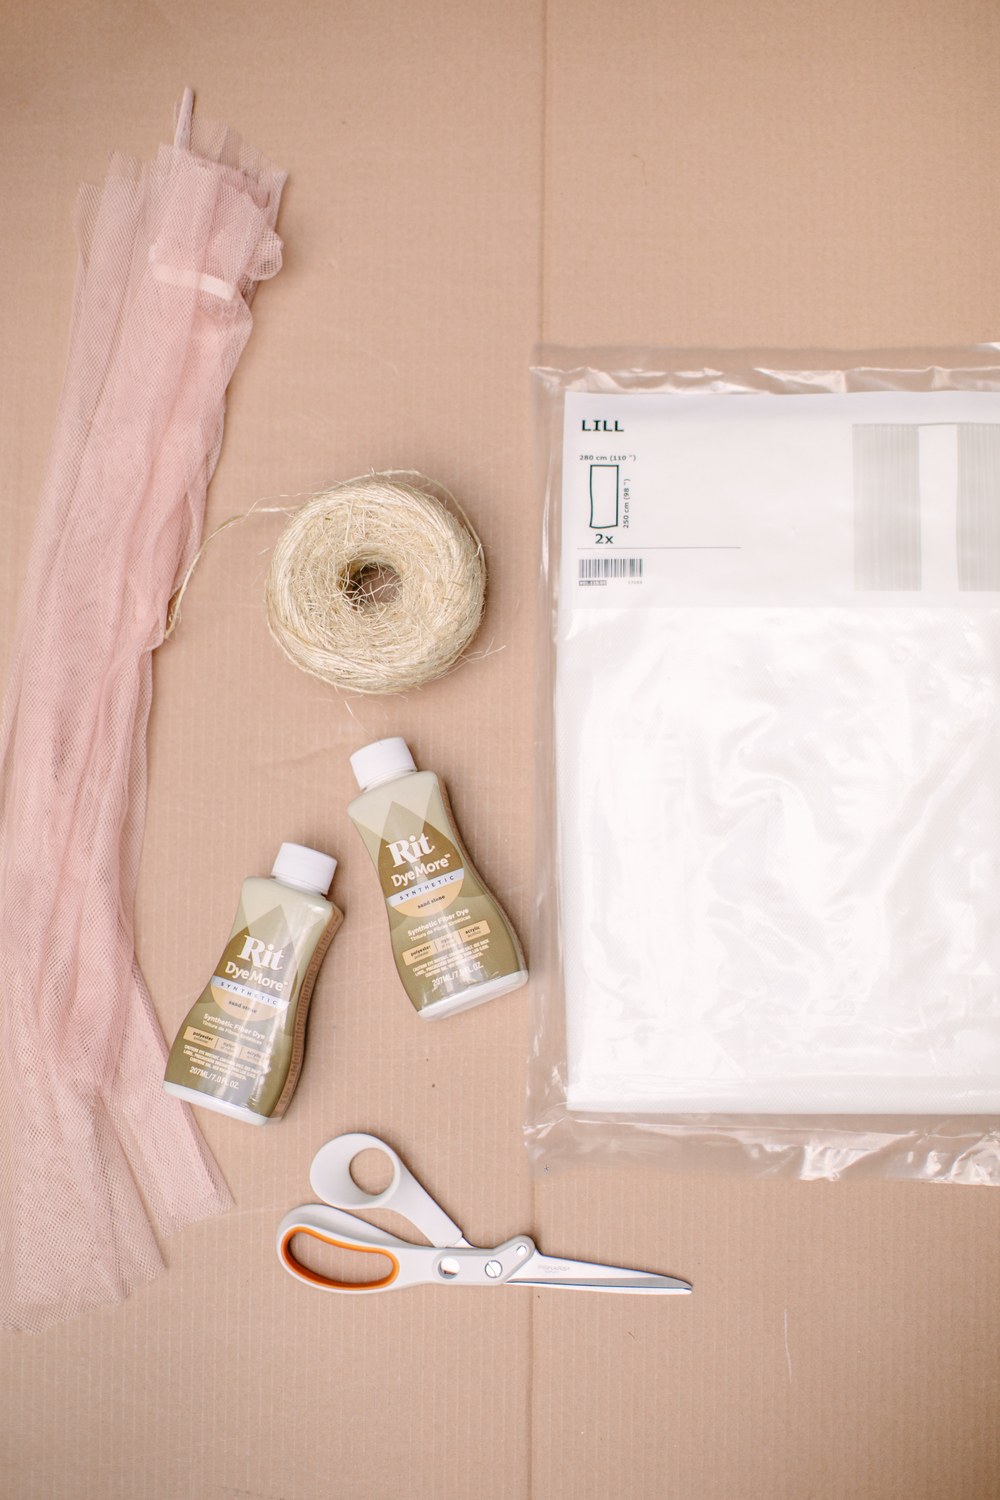
What you’ll need:
Fiskars Amplify Scissors
3 packs of IKEA Lill curtains
2 Bottles of RIT DyeMore in Sand Stone
Twine
Cardboard
Hot glue gun
Wooden Dowel
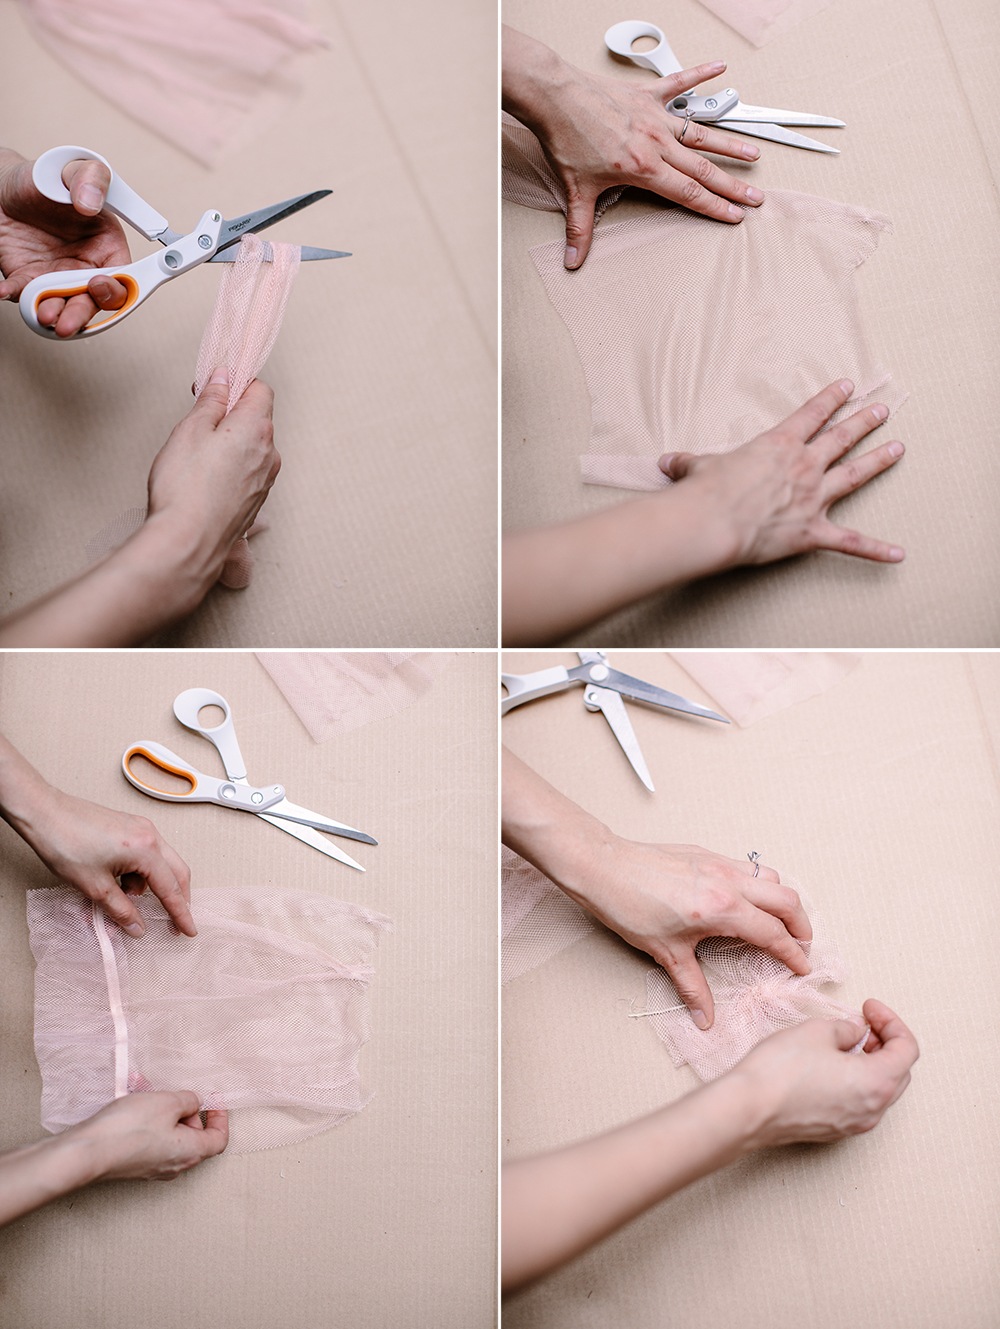
Remove the plastic wrap and cut the curtains into 5-6 inch strips before you unfold them. I used my Fiskars Amplify Scissors because it easily cuts multiple layers of fabric.
I needed the tulle to be dyed taupe for what I wanted to make. Dying polyester is a little trickier because you need to do it on the stove to keep the heat constant for at least 30 minutes. There was no way I would dye SIX panels of tulle in a pot, so I grabbed the largest plastic bin I had and boiled water in pots. I did not prewash them. Oops.
Maybe that was how the curtains turned into a lovely shade of mauve. So, if you want that shade of pink, I recommend replicating my steps to dying them.
The Lill curtains from IKEA have a softer texture compared to regular tulle, so it drapes nicely as a wall hanging.
With these scissors scissors on hand, I went to town cutting strips. I threaded the long strips back in a curtain rod and placed the rod perpendicular to a bookshelf to stay put so I could pull the curtain strips towards me.
By now you’re probably aware of how much I use the Amplify Mixed Media Shears from Fiskars for almost all of our projects. It cuts multiple layers of cardstock and heavy mixed media materials — it will effortlessly cut even magnet sheets, and are comfortable for prolonged use so these are THE scissors for this type of project where I need to cut multiple layers of tulle.

The length of each strip was an arm’s length (is that a thing?) or about 2 feet for those mathematical folks. I started to pull about 10 strips at a time measuring them by the length of my arm to prep for my garland strips. It goes FAST.
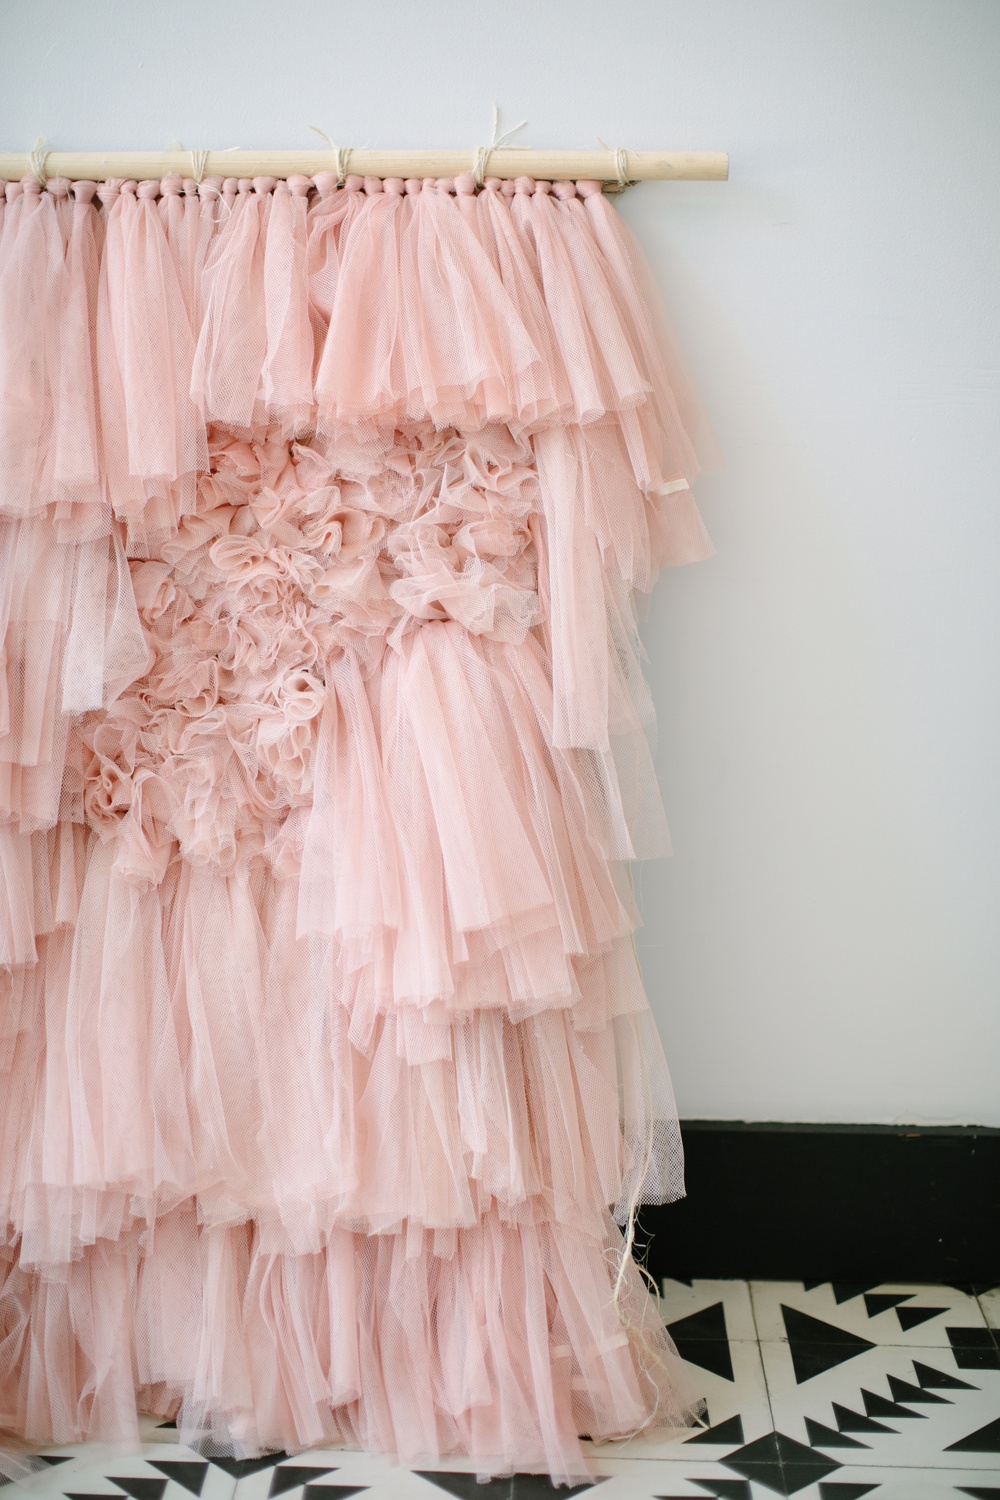
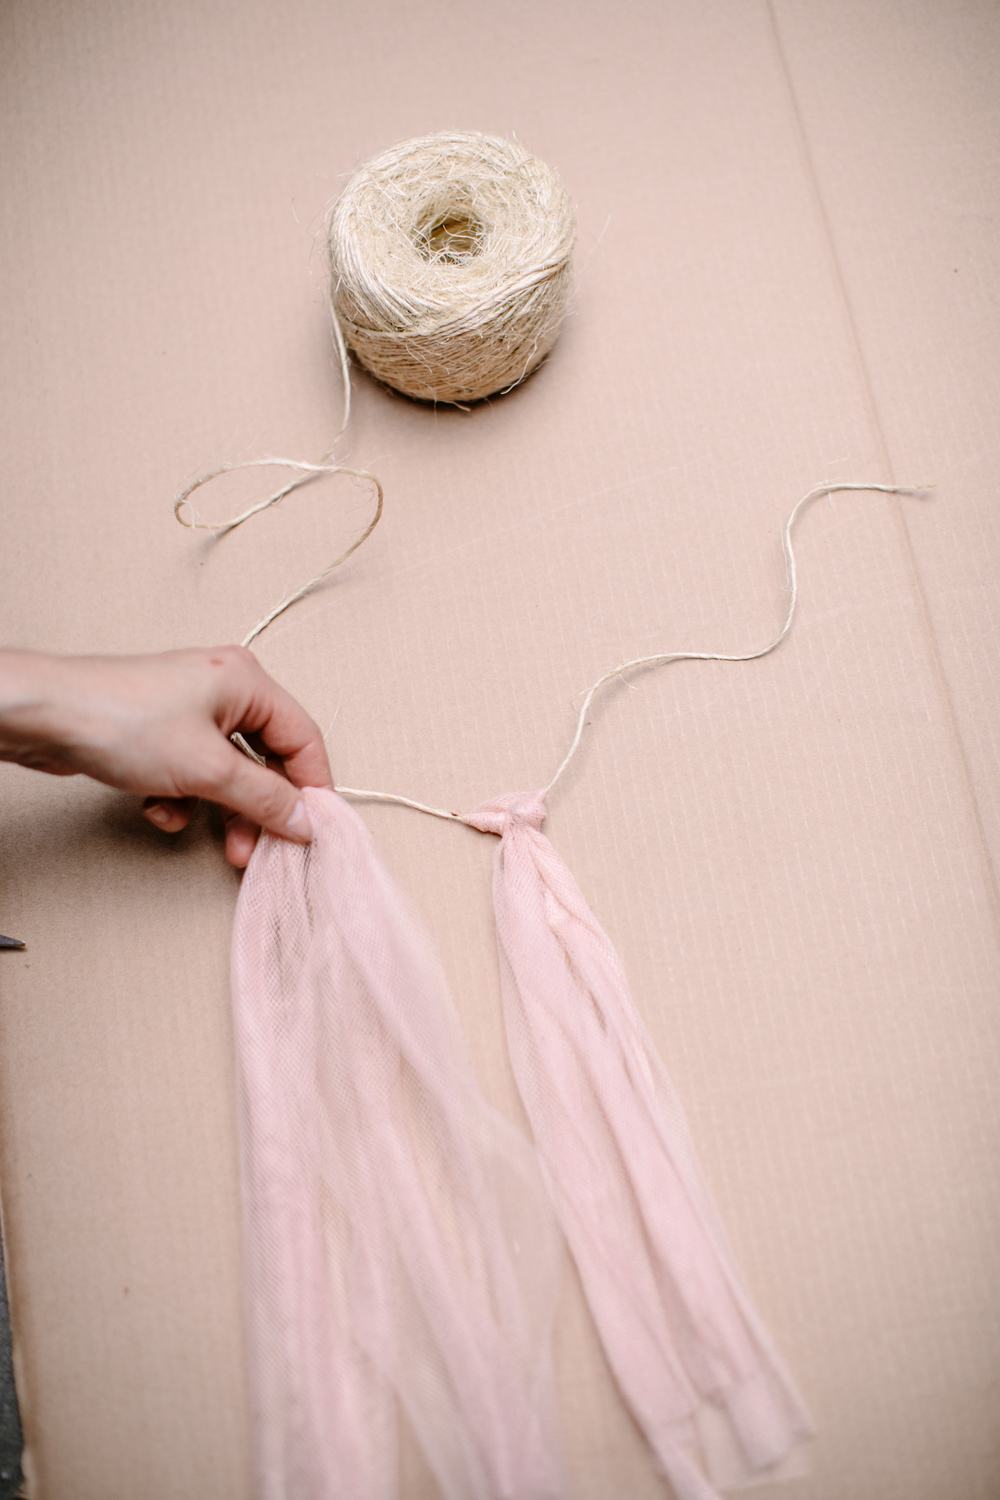
With your pool of tulle strips, you’re going to make garlands. Depending on the size of the wall hanging you want to make, the number of strands and the length of them will vary. For reference, my wall hanging is about 40″ square and I used 5 strands of garland measuring about 10-12″ in length each.
Grab a piece of cardboard and arrange the size of what your wall hanging will be.
Start from the bottom up, by placing the first garland at the bottom edge of the cardboard. I poked a hole on the cardboard in the middle and tied a knot on the back to secure the first garland. You will use your hot glue gun last, once you’re happy with your final design.
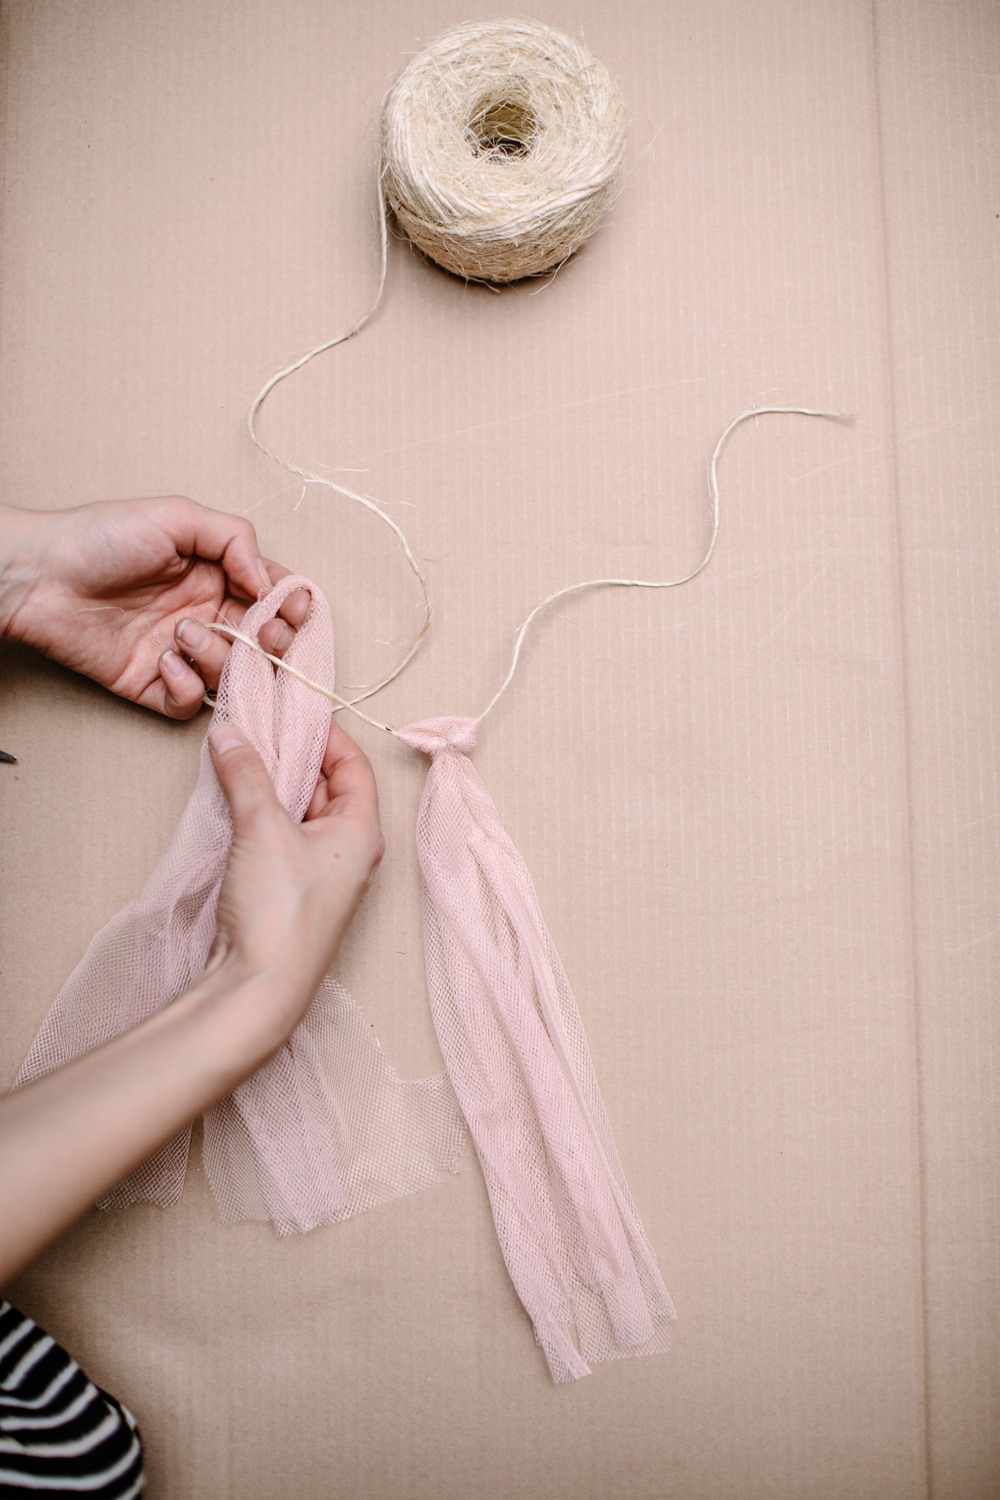
Layer the second garland on top, again, poke a hole on the cardboard to secure your garland without glue for now. To do this, you’ll cut a piece of twine and loop it over the garland, tying a knot on the back. The knot has to be larger than the hole to stay put OR make a spacer out of cardboard then tie a knot.
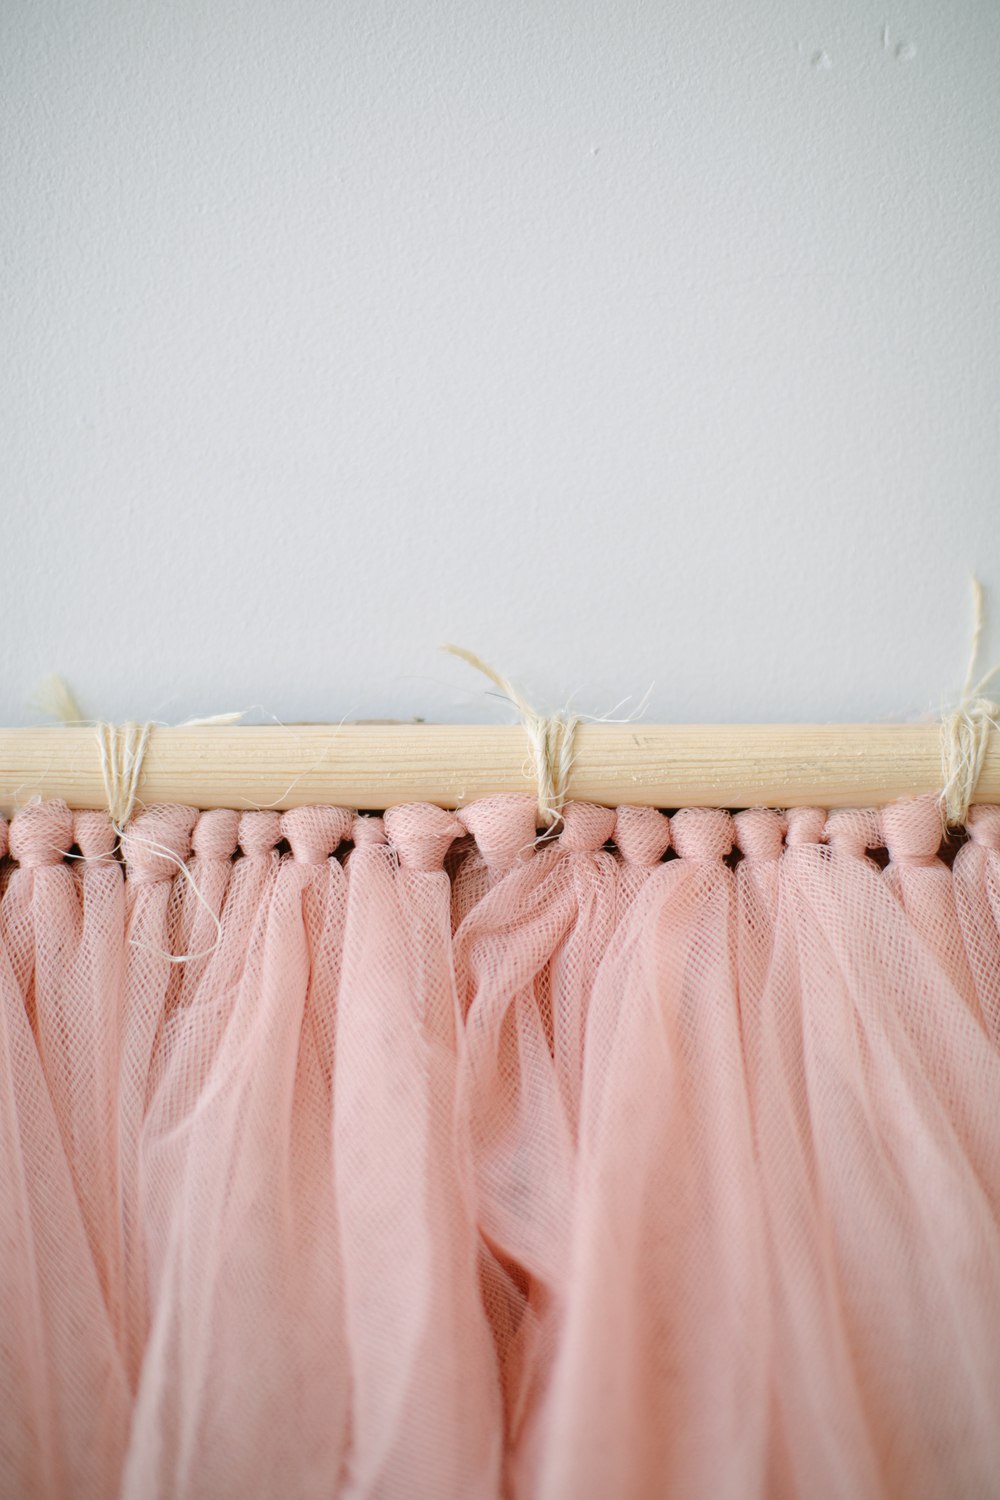
The top garland will be tied around a wooden dowel instead of the cardboard, using a few loops of twine.
Grab your scissors and give your wall hanging strands a haircut.
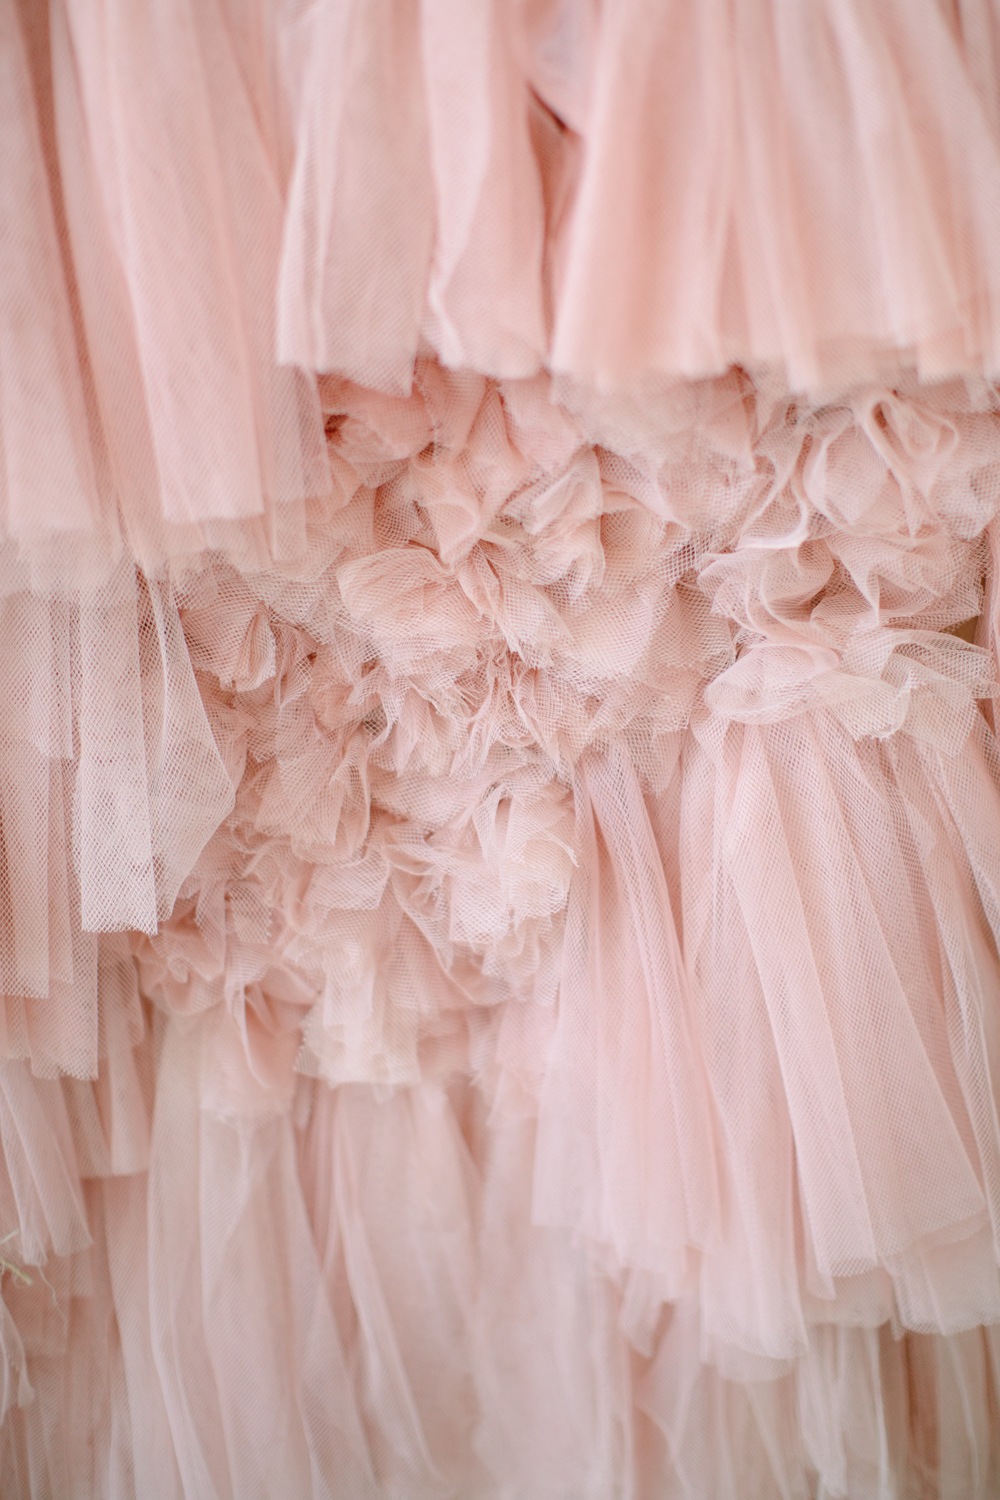
We were running out of tulle, so I added ruffles with leftover fabric. These were made by folding a piece of scrap tulle and bunching it up to form a flower-like shape. Hot glue everything in place.

Glue the strands in place and the knots on the back of it, as well as the wooden dowel on the cardboard.
Add a piece of twine on the back to hang by poking two holes on the cardboard, and tying a knot on the front of the wall hanging. These knots will be hidden under the tulle strips so it will look seamless.
Not bad for less than $25, huh?


This tulle wall hanging is proof we have a thing for DIY wall decor. You can check out this DIY Macrame Wall Hanging or this DIY Matisse Wall Hanging
Hi! So cute! I’m just curious as to how you dyed the tuelle. You said you did it in a big plastic bin? Did you just dump the boiling water into the bin with the tuelle and 2 bottles of dye?
Yep, that’s it!