Transform Glass Vessels with these DIY Leather Sleeves
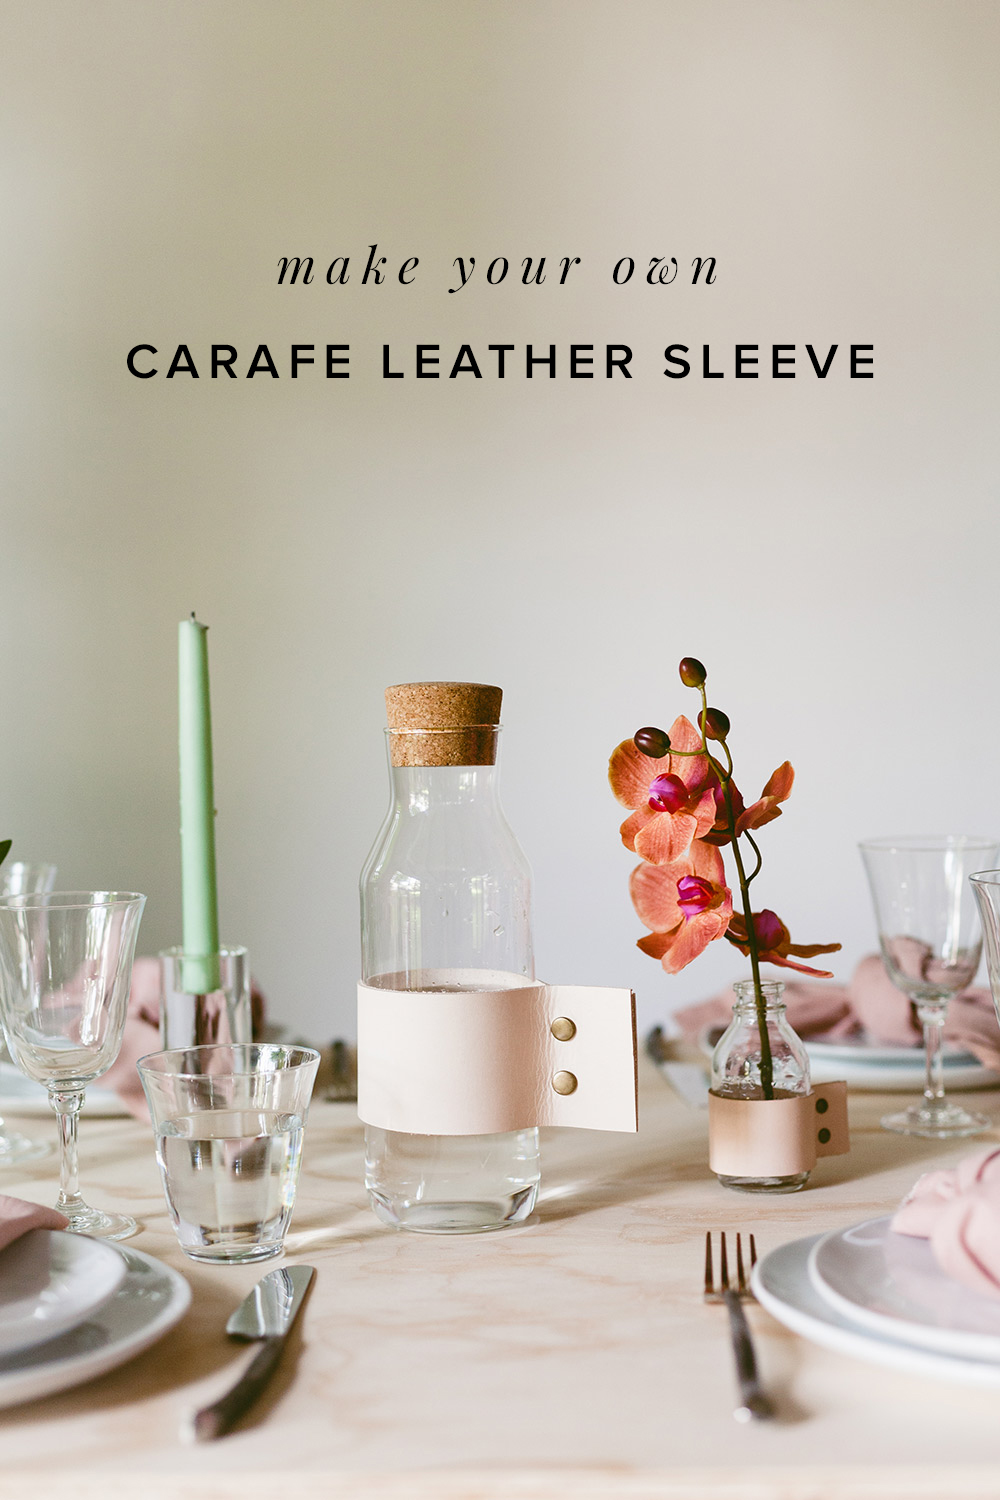
Natural leather and brass, a combo we’re loving right now. These DIY leather sleeves are sitting pretty dressing up glass carafes and other glass vessels, and the how-to is almost too easy to share! Fiskars came to the rescue with the right tool for getting the perfectly straight cut = less expensive material wasted and the details on making your own in 15 minutes flat are below:


As with most of our DIYs, we dreamed up a project that could work in a wedding and translate to your home decor as well once it has served its initial purpose. We’d recommend using neutral colors if you want pieces that will work with decor for every season, and these baby pink + cream hues definitely do the trick!

What you’ll need:
- Leather medium weight
- Snaps
- Fiskars Hammer
- Fiskars 3 Piece Rotary Cutting Set
- Leather hole punch
- Ikea carafe or these mini medicine bottles

Use a circumference calculator (like this one) to calculate the length of your leather piece. Add another 2 inches for the flaps. For the Ikea carafe, we used a 12×24″ pre-cut sheet of leather.
Genuine leather is expensive, so to avoid mistakes you always “measure twice and cut once”!

I started out by cutting the leather into long strips to make the cuffs. The sheet I had was 12″ tall, so I cut 3″ lengths giving me enough cuffs for 4 carafes. This 3 Piece Rotary Cutting Set will help you make sure you cut a perfectly straight line every time. The clear ruler allows you to align with the grid on the cutting board, so I knew the leather strips I was cutting were going to be 3 inches from the beginning to end.
This Rotary Cutting Set comes with an extra-large 18″ x 24″ Cutting Mat and a self-healing, double-sided surface, so I know I’ll be using for many, many projects to come.
The rotary cutter cuts thick leather like butter. The blade is sharp, so run it against the ruler just once but slowly. You don’t have to go back and forth with your cutter to cut think materials. In fact, don’t do it to avoid ragged edges. This tool would have been a godsend to make these ribbon wands!

It features a rolling 45 mm blade that cuts multiple layers and the blade gives clean edges, which is everything for a simple project like this one. It’s all about the perfect clean cut lines.

By now you should have 4 pieces that are 3″x 24″. Wrap one around the vase or carafe and mark where you’ll punch the holes for the snaps. You want them as close to the edge of the vessel as possible, but not so tight that the snaps won’t stay put. Make a template out of scrap fabric if you want to be sure before cutting the leather.
You’ll need 2 holes for each snap, so 4 total here. Follow the instructions on the box of snaps and hammer them with the help of the rivet anvil that they come with. So so easy, right?


If you’re making these for your wedding, you can use an alphabet stamp for leather and mark table numbers for the tables. Such a subtle but striking effect to a tablescape, if I say so myself!
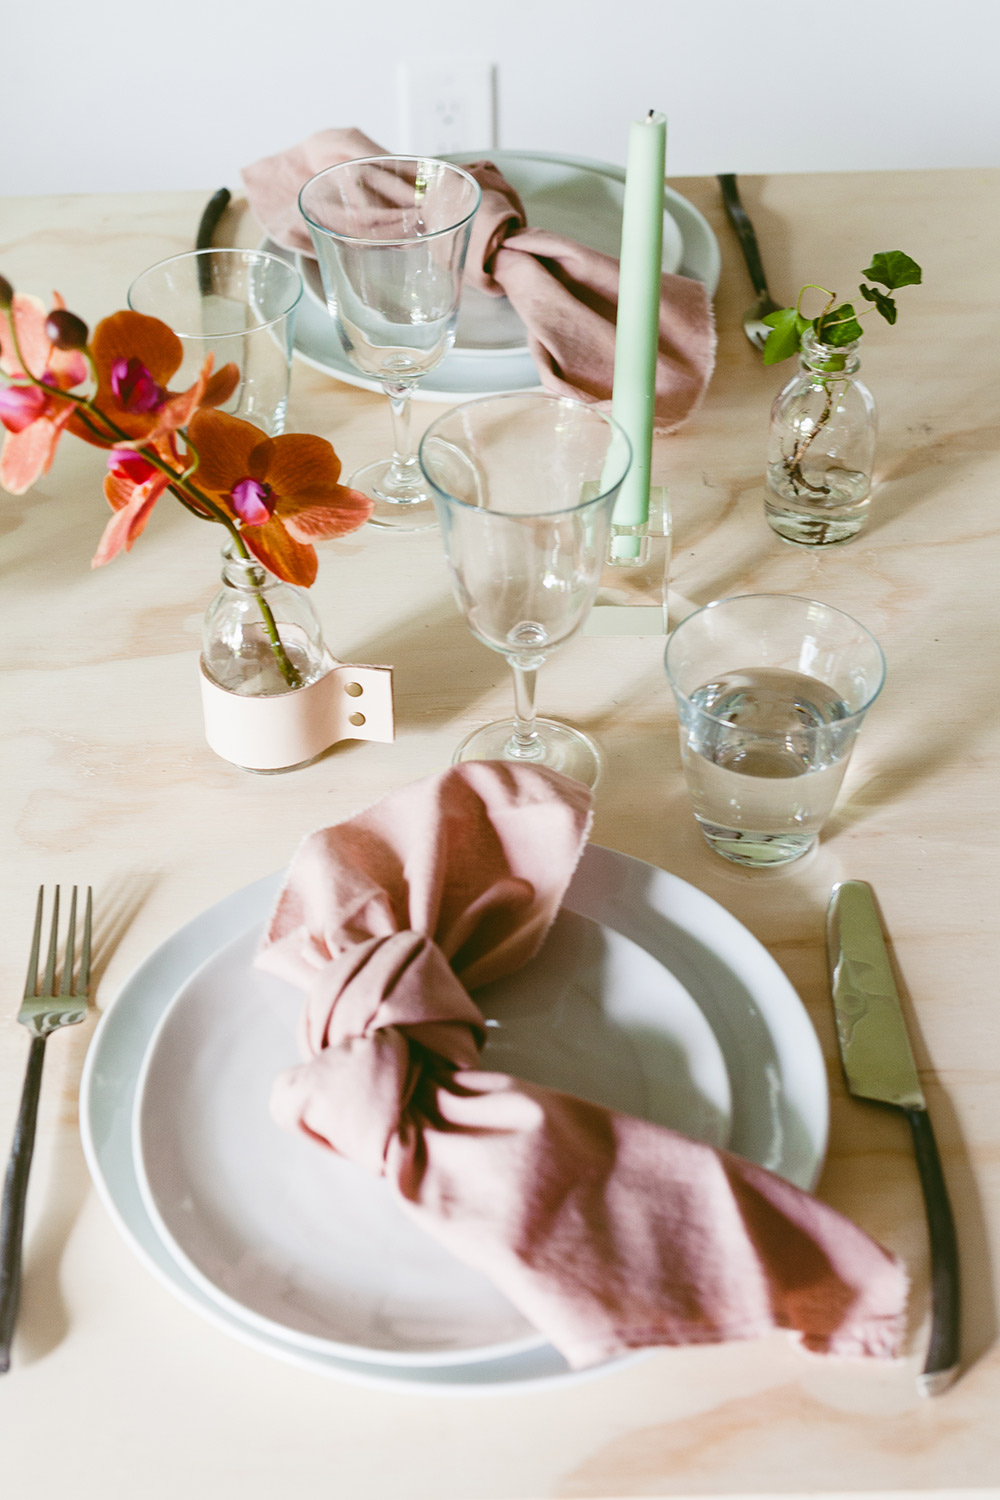
Easy as 1-2-3, right? We live by the phrase simple, yet significant, and this minimalist design does just that. It means you can save a whole lot on the floral bill, by adding dimension in other areas. And we’re all for making every detail count! Whatever way you use them, they’re sure to make an impact. So head over to Fiskars to get the tools you need for this handy project, and we’d love to see what you create in the comments below!