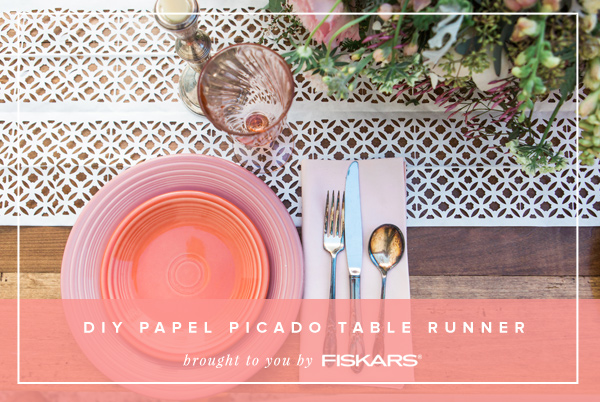
DIY Papel Picado Table Runner

Here’s our second fantastic DIY project with Fiskars and I think this super-easy, beginner-friendly project will certainly bring the wow factor at your next event. Like our last DIY project, this one is also a papel picado project and this time it’s a gorgeous table runner. Keep scrolling for the how-to’s and photo inspiration!
[image_mapper id=”3″]Materials:
Fiskars AdvantEdge Punch System
Fiskars Garden Lattice Large Punch Cartridge
Fiskars Orange Handled scissors
Gift Wrap

In a similar way you’d make our papel picado backdrop, this table runner follows suit. Cut a long strip of butcher paper or gift wrap and fold every 2-3″ inches like a paper fan.
Depending on the length of your table, you can add an extra 12″ on each end of it to waterfall on the edges.

The trick here is to keep each square punch separate from one another. That’s how the strips will stay in one piece. The closer your folds are to the width of the punch, the more seamless your final product will look.
To do this, get your AdvantEdge ready and run the paper through exactly as the instructions.

Each time you move down the handle of your AdvantEdge for the next punch, it locks itself in place. You want to feel your cartdrige locking itself in each notch, which is how you get the evenly spaced punch.


