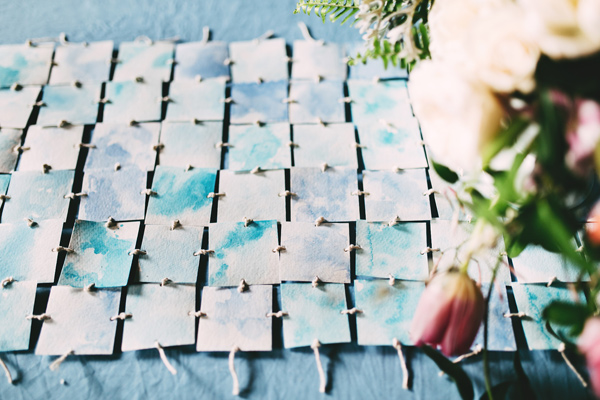
DIY Watercolor Table Runner

One of the greatest things about watercolor is how many different ways it can be used throughout decor — and it’s a perfect match for this DIY table runner. Studio Cultivate by Kathryn Godwin and Emily Chidester are sharing all the tips and tricks behind this one, and we know you’ll fall in love with it once you see just how easy it is!


For this project, you will need:
-Craft paint
-paint brush
-water container
-hole puncher
-white twine
-tapestry needle
-scissors
-watercolor paper

Instructions:
1. Cut watercolor paper into 2″ squares.
2. Hole punch squares in the middle on each side – we used this fancy hole puncher to have smaller holes – a normal hole punch created holes that looked too kid-crafty.


3. Brush clear water onto squares, covering completely. Dip brush in watered down acrylic paint and touch to wet square – paint pigment will immediately start to bleed and spread across square. If you wish to have more color per square, just repeat this step by dipping more paint onto the paper.


4. Allow to dry. By using various shades of blue, we were able create a nice variation of tones.

5. Thread needles and begin to stitch chains of squares together – we tied a knot between each square, to prevent them from sliding.


6. After creating chains the length of the desired runner, begin to stitch these chains together – again tying knots between each.


This is a very neat DIY idea! Bookmarked and shared Ruffled!
Chicas. Que papel es el que utilizan? Me encantooo