DIY Dip Dyed Cork Garland + Menu Holders
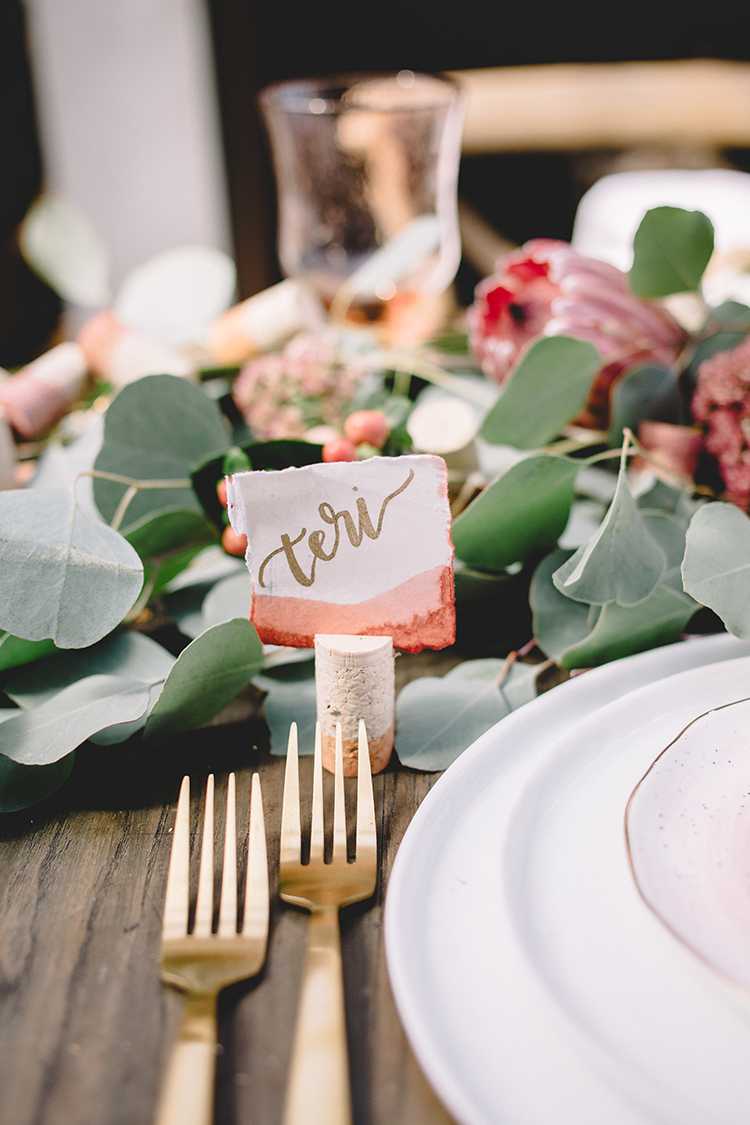
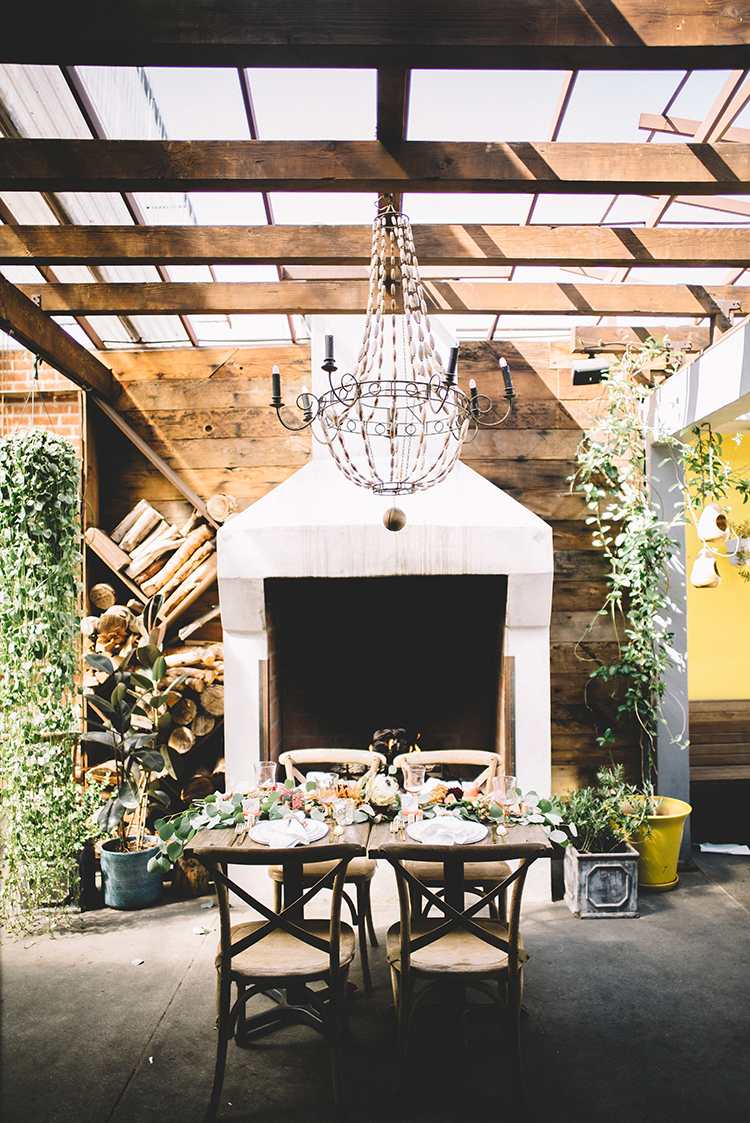
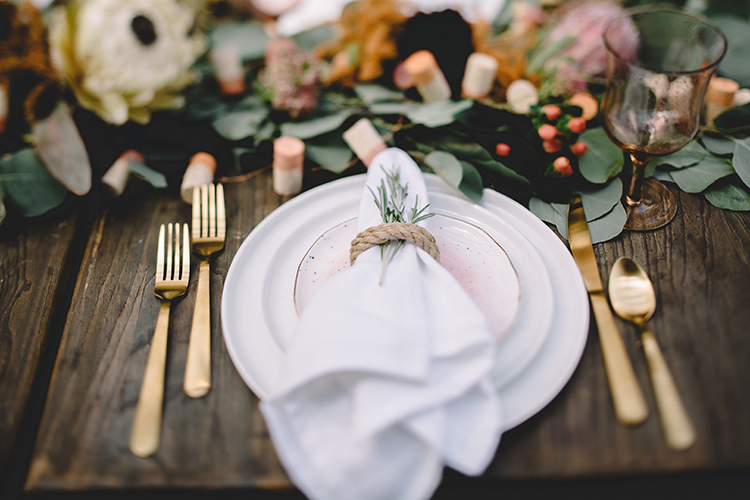
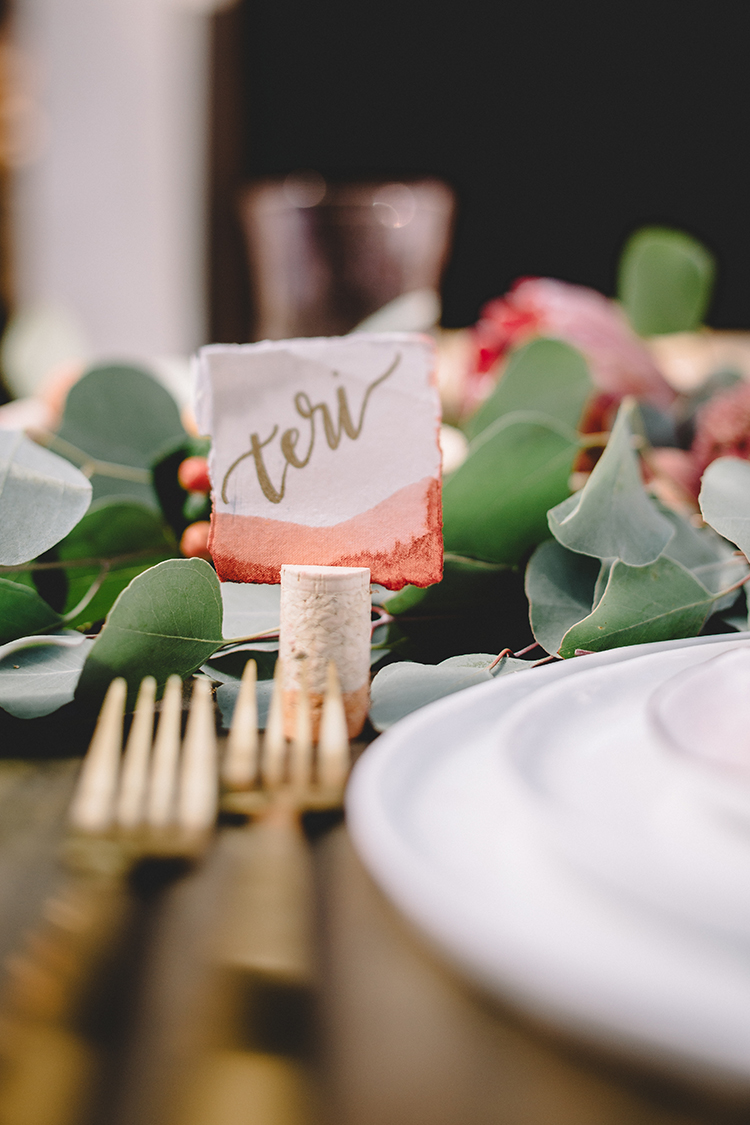
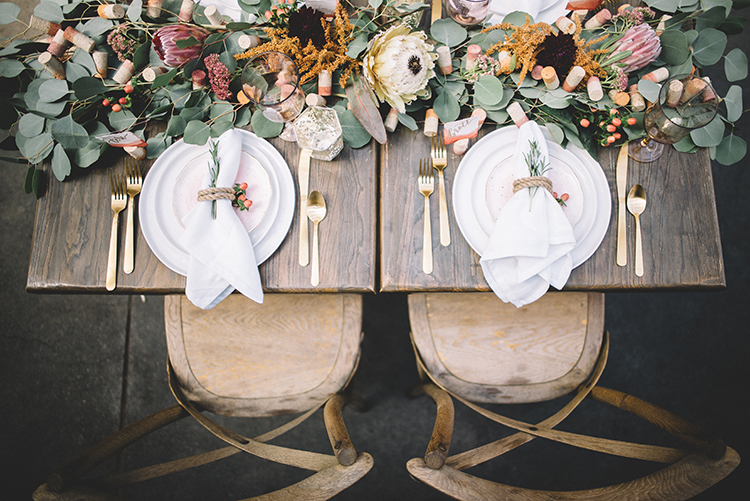
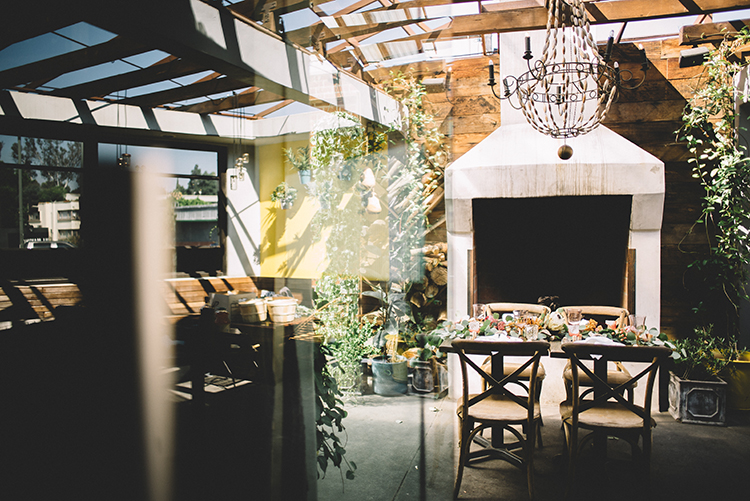
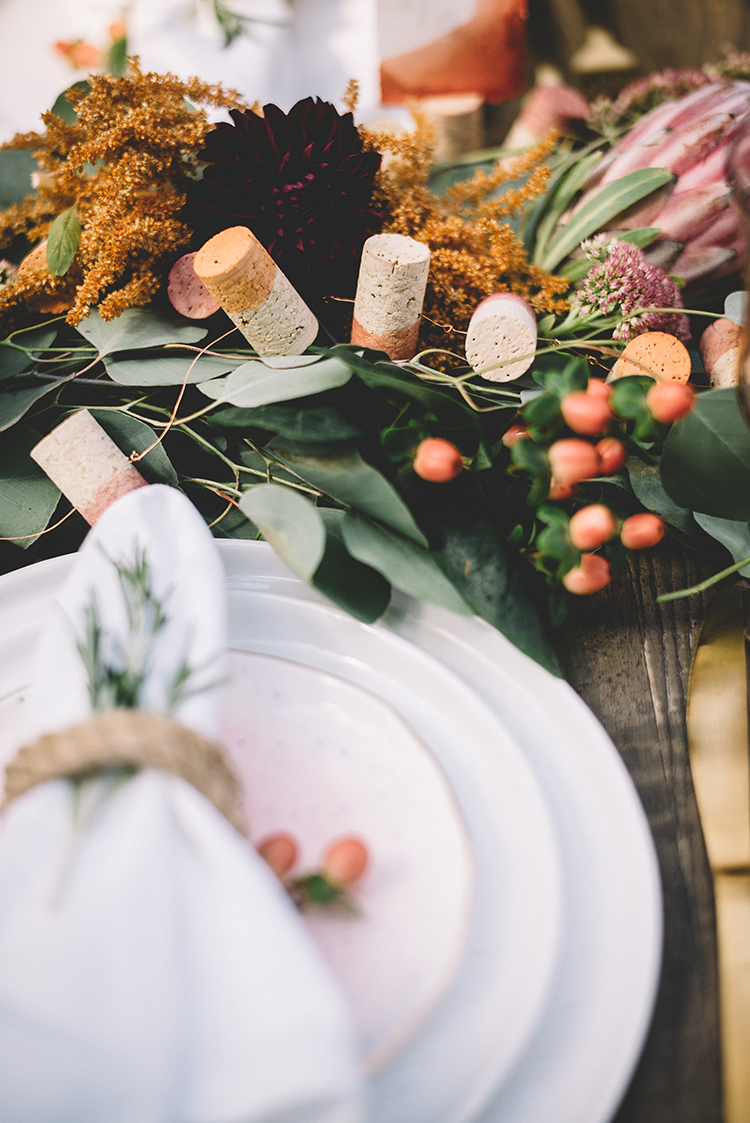
We’ve always loved the idea of using wine corks in wedding day decor, but we now love them even more with a bit of added pizazz. Teri B Photography captured this great DIY tutorial showing how you can elevate your wine corks with a simple dip dye, tying in your wedding colors for that added attention to detail. Thank you to Terroir Bespoke and Corkey Creations for helping it all come together!
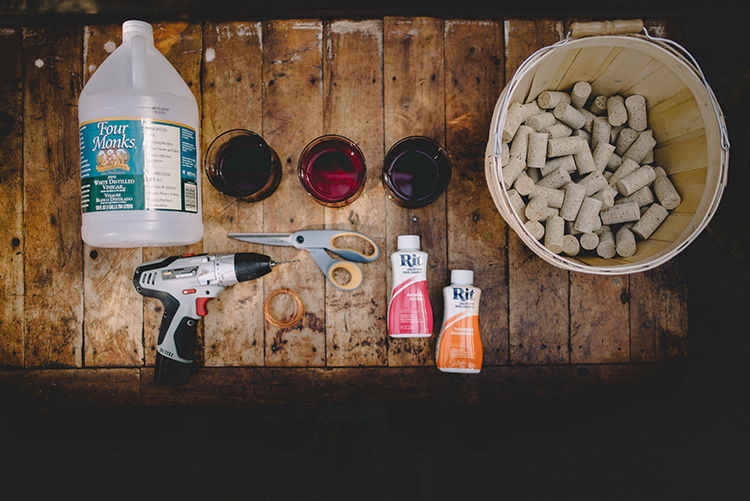
For this project, you will need:
- 25-30 Natural, un-dyed wine cork per 6’ table runner
- Rit Liquid Dye, tangerine + fuchsia (or preferred colors)
- Vinegar
- 3 separate bowls
- 24-26 gauge copper wire (or green wire) for garland: this can be found at home depot or craft store.
- paper towels
- drill
- drying rack
- woodblock (if working on a table other than a work table)
Instructions:
1. Mix equal parts Rit liquid dye and vinegar in 3 separate bowls. 1 pure tangerine, 1 pure fuchsia and one blend of tangerine/fuchsia.
2. Dip undyed wine cork about 1/2 way for “dip dyed” effect. For more saturated color, allow cork to sit longer. Dip a couple times to ensure the dye takes and give each cork a quick wipe in between dips to ensure minimal dripping (and faster drying for those of us that are impatient!)
3. Allow corks to dry for about an hour.
4. Take drill and select a smaller bit size to ensure that corks don’t slip on wire. Move onto step 5 to test sizing with a couple corks before you drill all of them (I learned this the hard way)
5. Take about 6-1/2’ of copper wire and “knot” the end. Make sure the end knot is large. String first cork. Add a single knot about 2-2-1/2” from first knot and slide 2nd cork till the knot secures into center of cork. This should be snug. Continue with remaining corks and make another large knot at opposite end when finished.
6. Bask in the glory of your fine craftsmanship.
Wedding Vendors
Photography: Teri B Photography
Styling + Design, Flowers, Calligraphy: Terroir Bespoke
Venue: Madera
Corks: Corkey Creations
Plates and Glasses: Anthropologie and CB2

