DIY Birch Log Ring Box
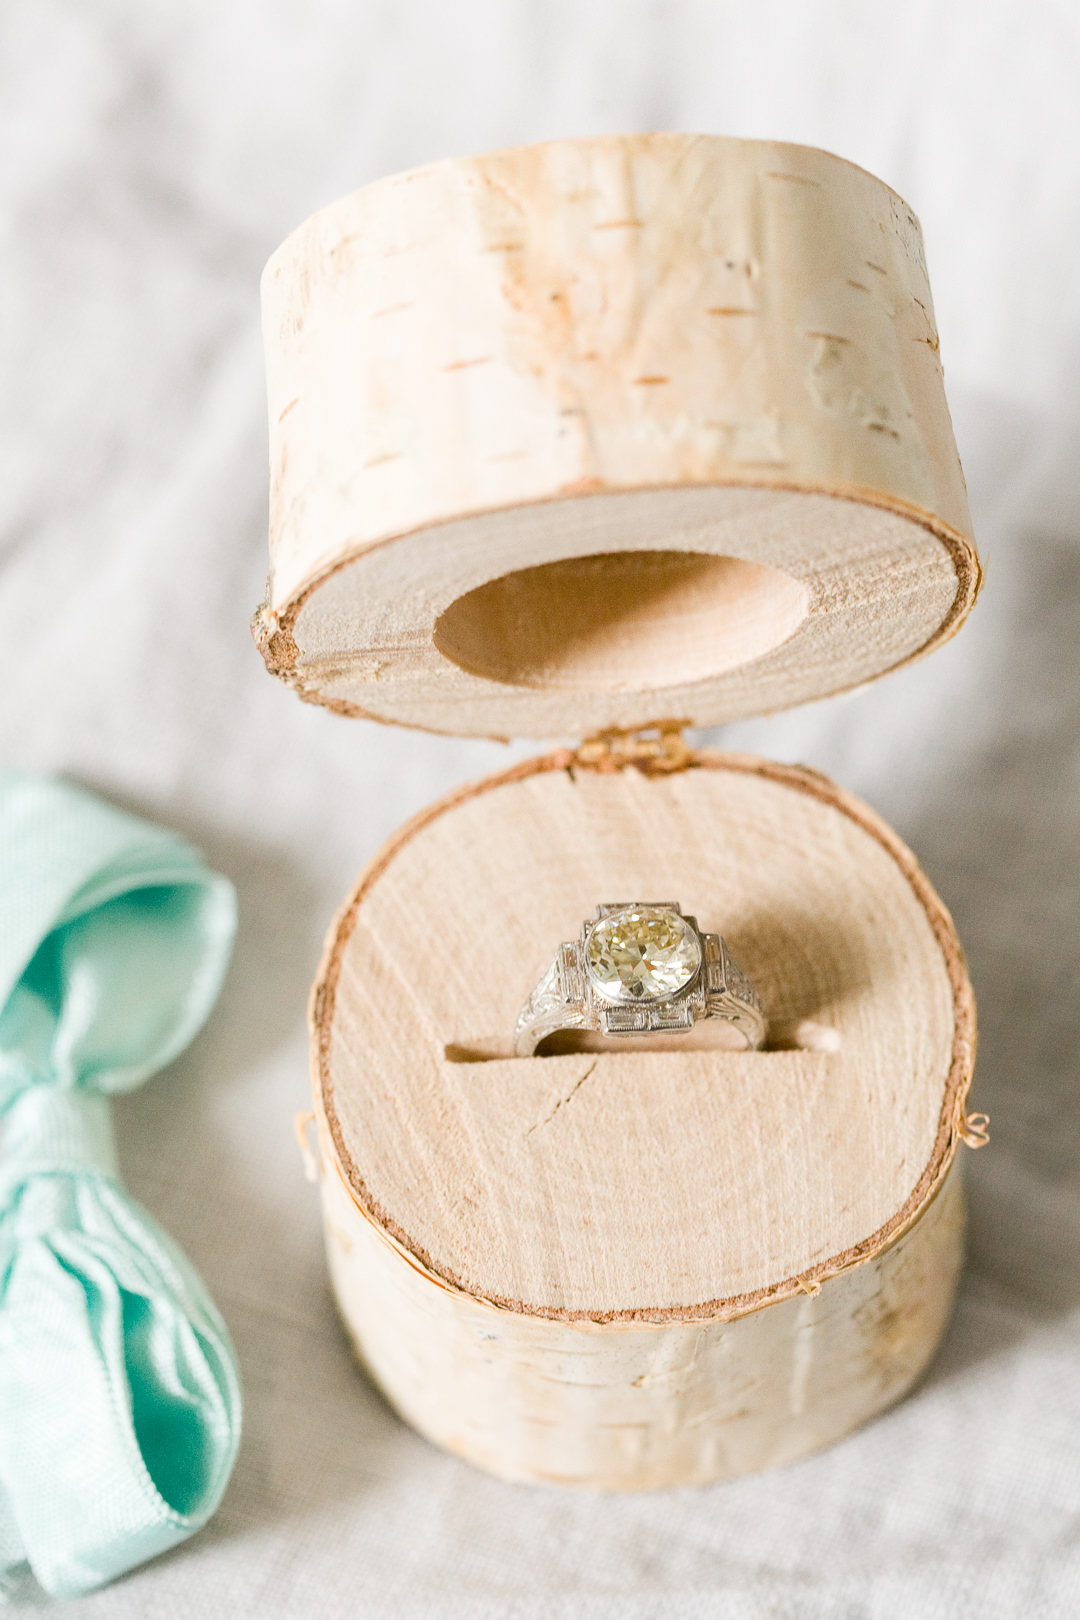
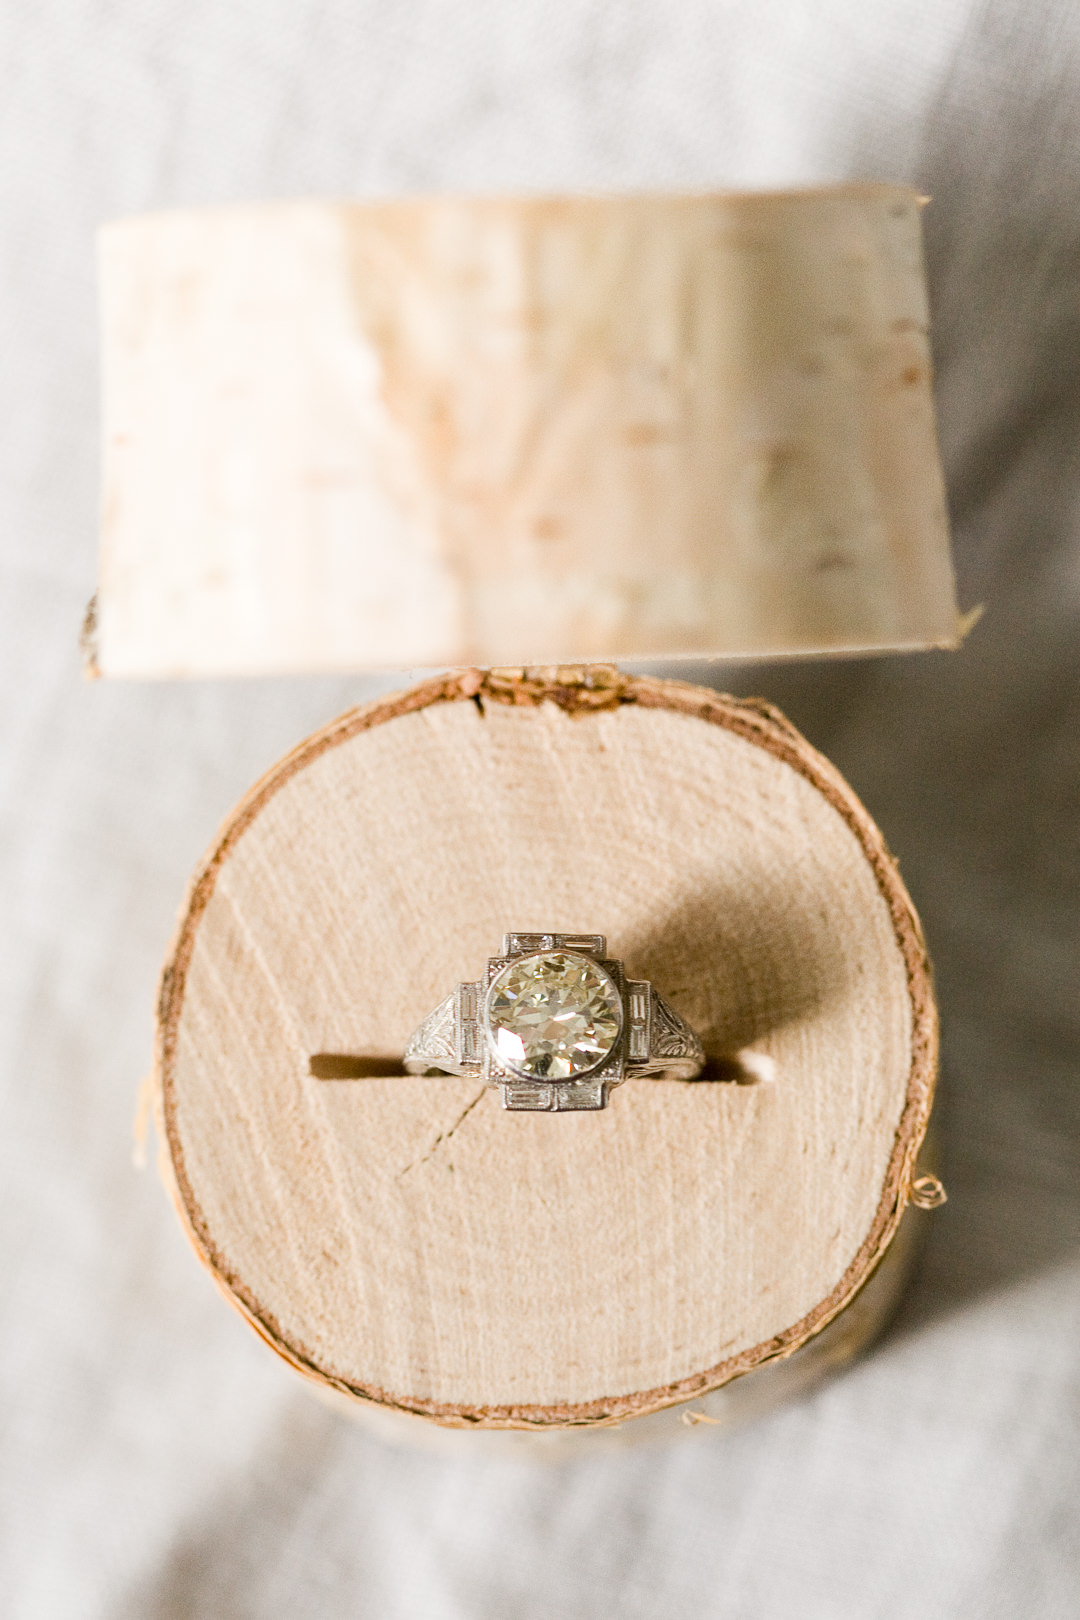
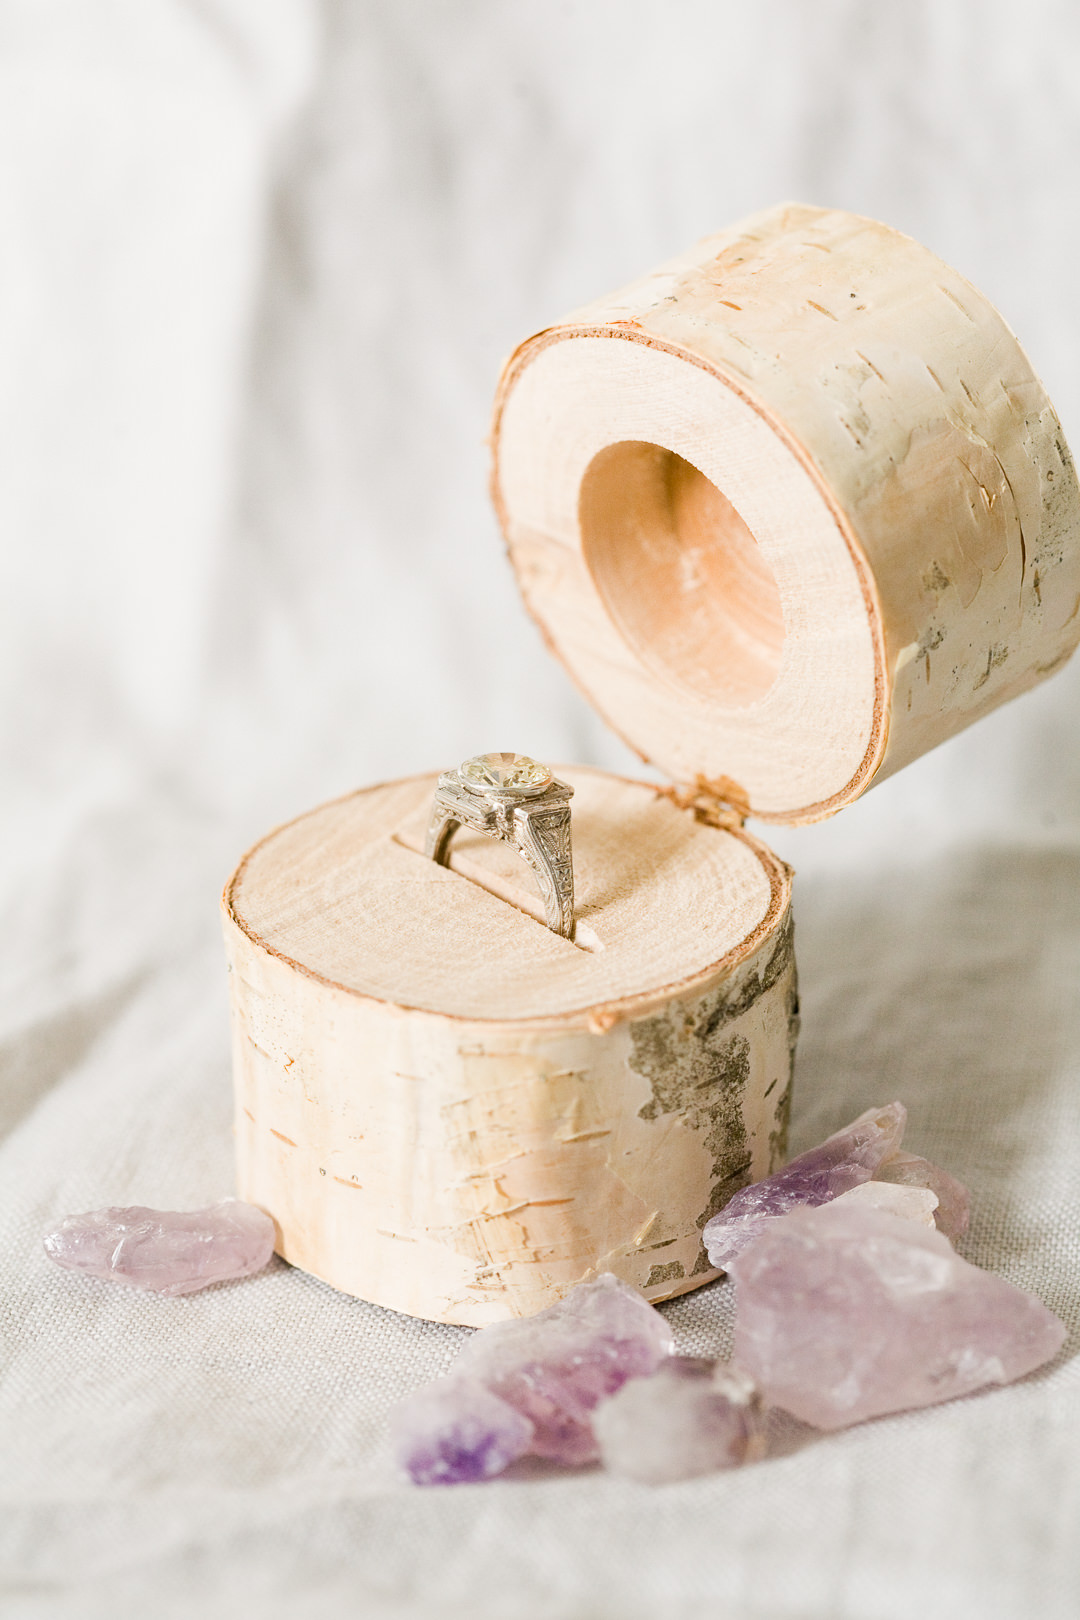
The ring box is one of the few things in a wedding that you get to use beyond the wedding day, so we wanted to have some fun with it and make a ring box that’s achievable at any skill level with the help of Fiskars. The best part about this project is that you might already have some of these items in your garage or tool shed and the whole project takes an hour or less! This DIY birch log ring box can also be made as a small trinket box or carry two rings for the walk down the aisle, so take a look at how to make your own:
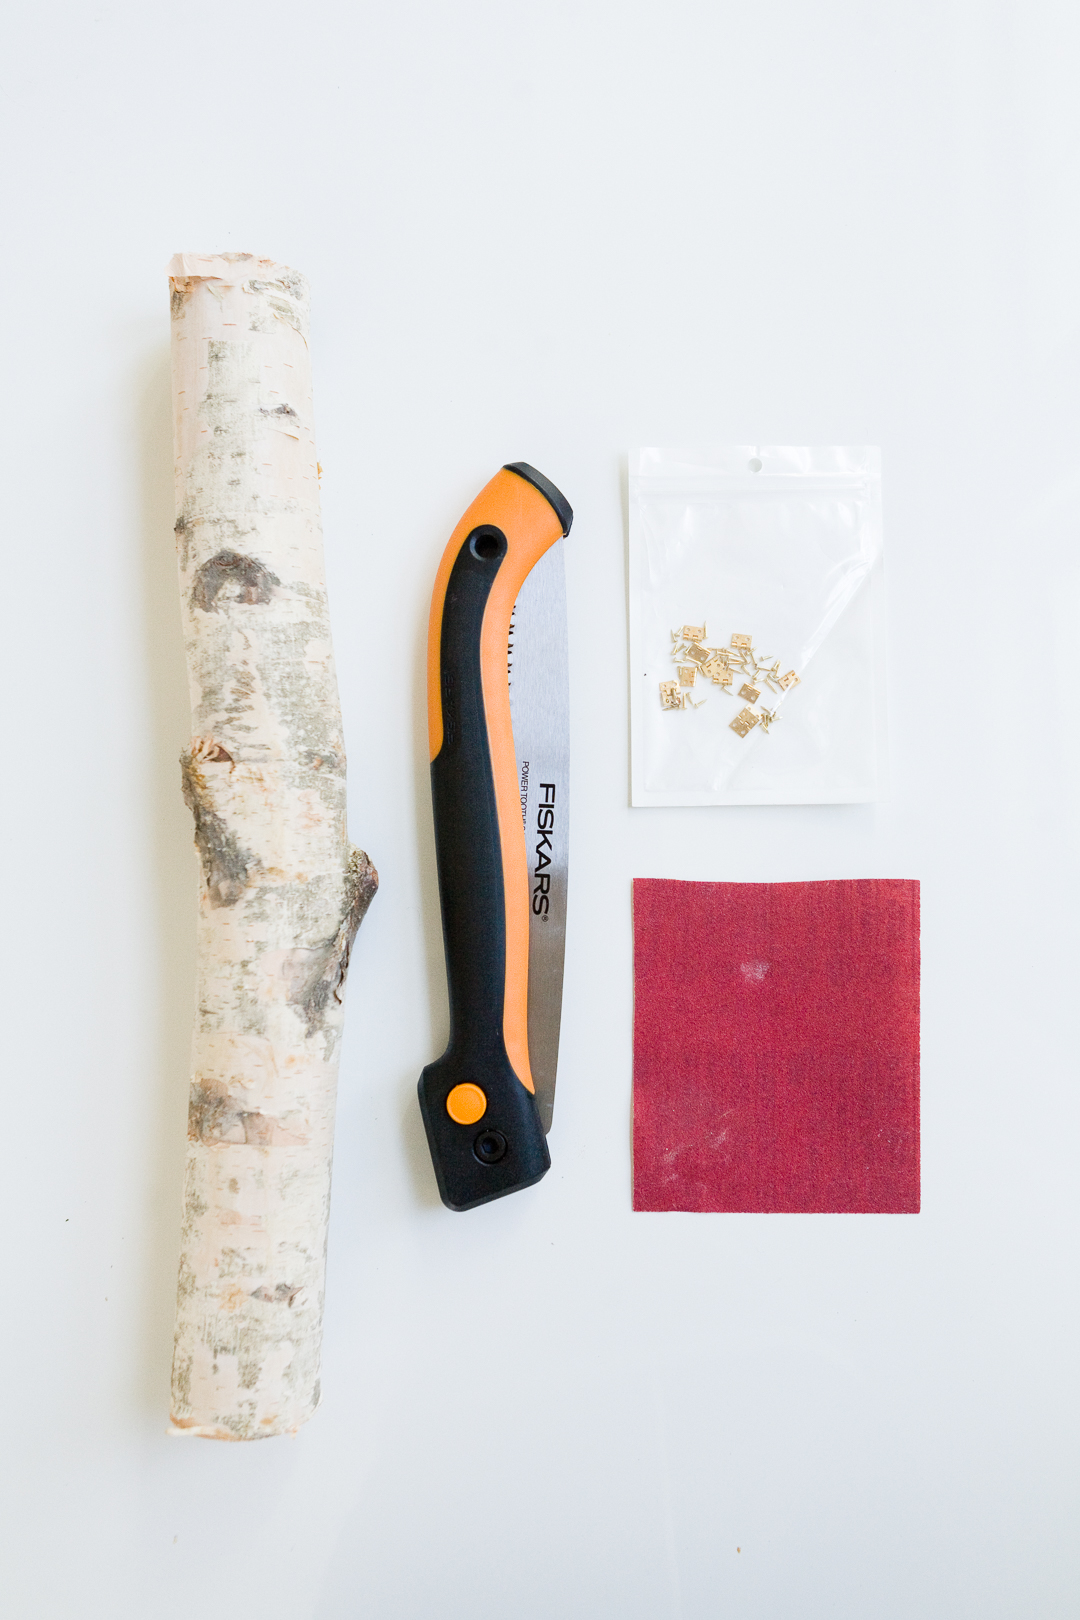
What you will need:
- Fiskars Power Tooth Softgrip Folding Saw
- Birch log
- Small hinges
- 1 1/8″ Shank Forstner Drill Bit
- Clamps
- Sanding paper
- Gorilla Glue Gel
- Dremel Tool
- Wood cutting blade
Instructions:
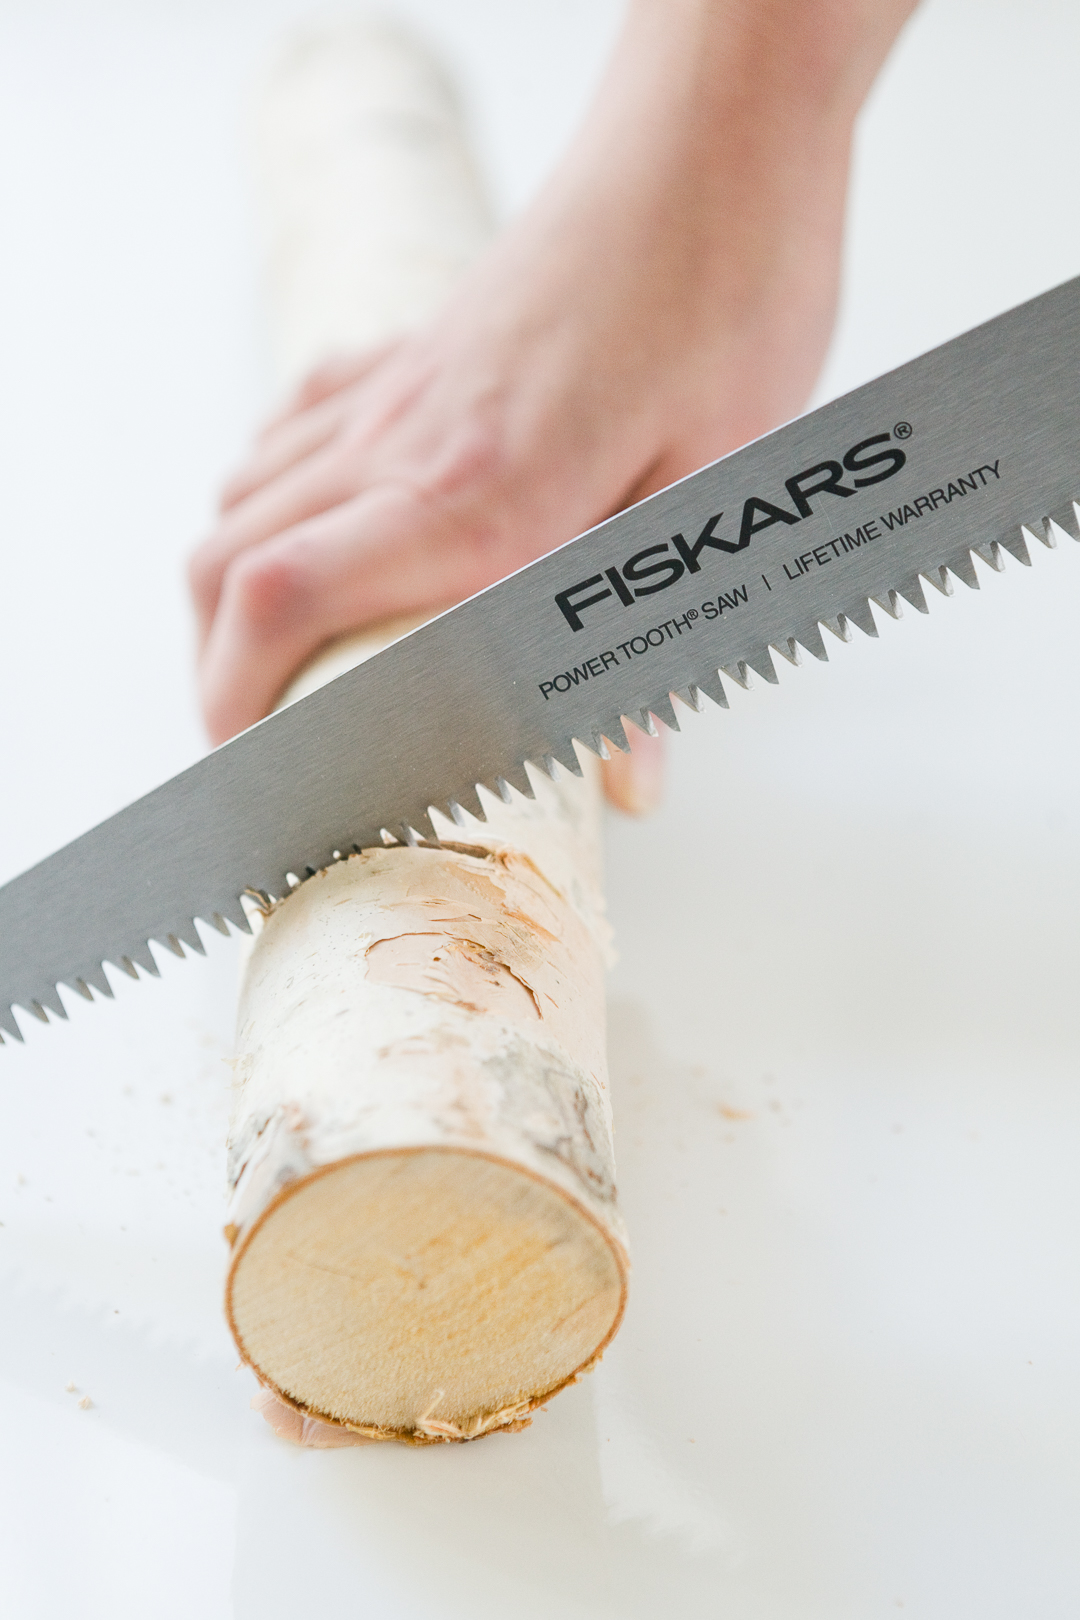
Cut two pieces of birch in 1.5″-2″ lengths each using Fiskars Power Tooth Softgrip Folding Saw.
This folding saw was made for cutting thick branches and is an essential in a garden shed, though its compact size and ease to use found a home in our craft closet. Fiskar’s POWER TOOTH®blade with razor-sharp, triple-ground teeth powers through wood faster, and it’s much easier to use than your regular saw for smaller projects.
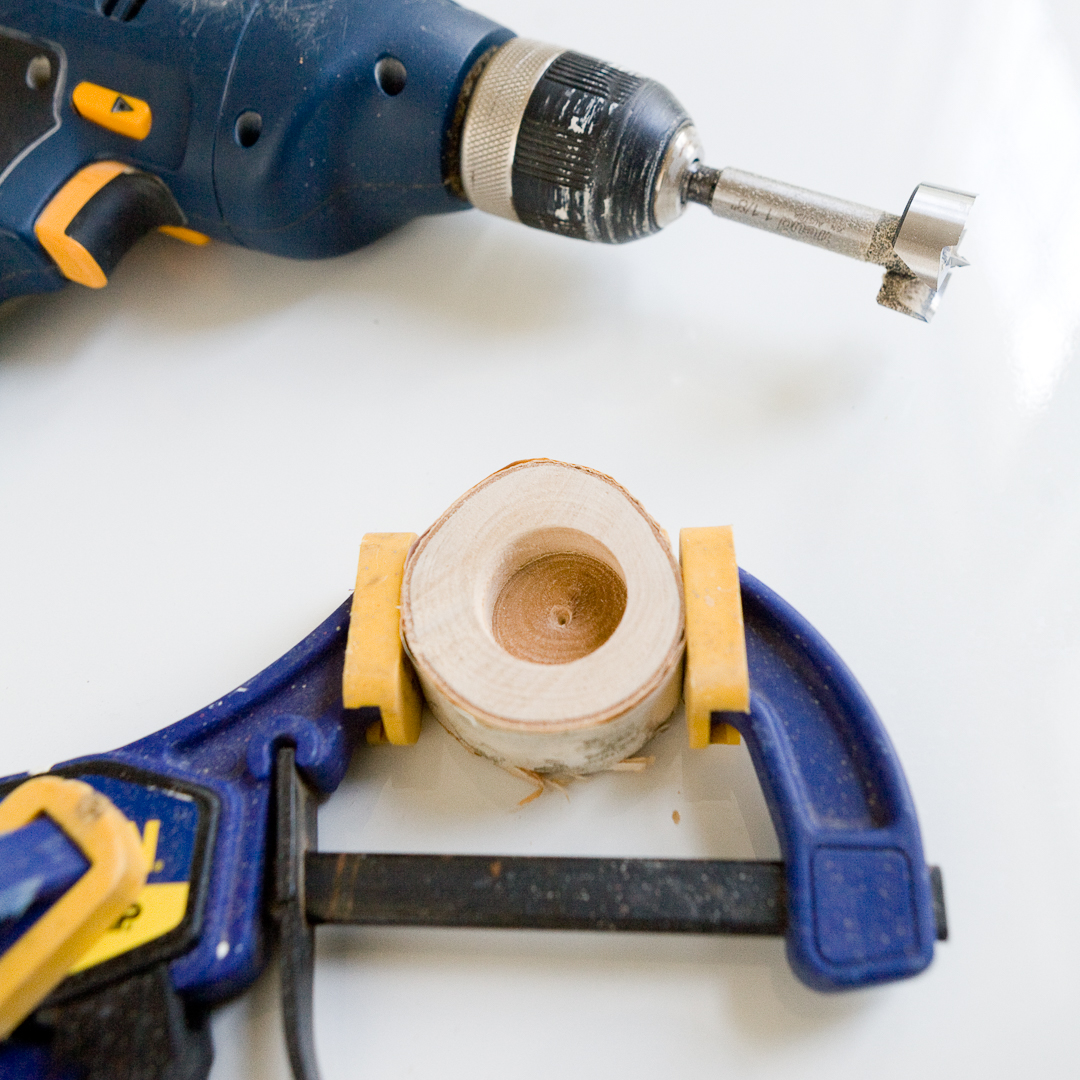
On one piece, drill 1/2″ or so using a Forstner drill bit (this bit will give you a flat bottom)
On the other piece, drill a slit using your Dremel tool, about the depth of the cutting blade
Sand all ends of your birch log and glue the hinge. Once the glue is dry, nail the hinge in place – the nails are so small that having the hinge already glued on makes it easier to nail.
For more information on Fiskars crafting products, including their DIY essential Orange-handled Scissors (which will be celebrating their 50th Anniversary this year!) check out their website or follow Fiskars on Facebook, Twitter, Instagram and Pinterest!
This post is in partnership with Fiskars. All opinions are Ruffled’s own. Thank you for supporting our sponsors!




Oh really it’s super cute.Thanks for the lovely share.