DIY Wisteria Trellis Ceremony Backdrop to Wow Your Guests
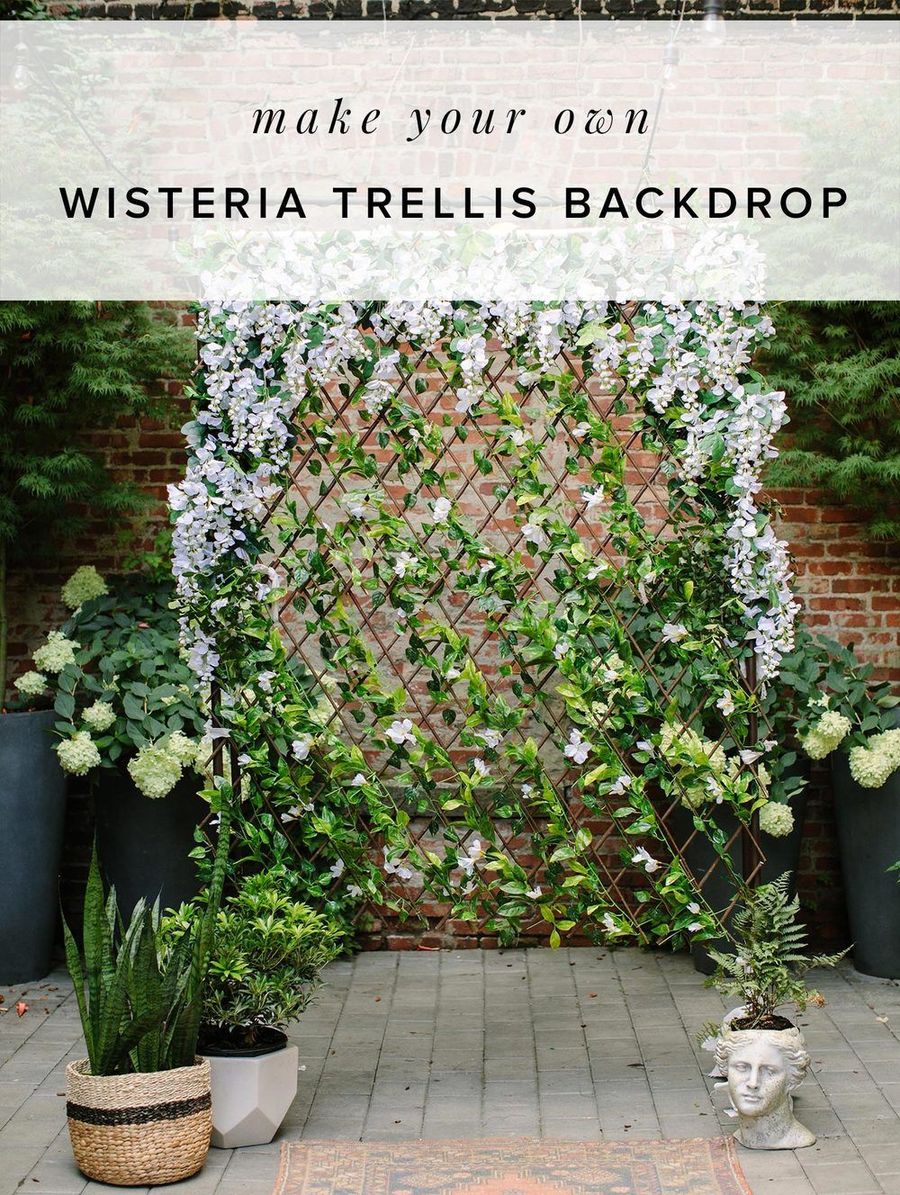
I hope you’re ready to rumble because today’s DIY trellis backdrop is nothing short of amazing, if we do say so ourselves. We’ve shared several projects using silk flowers + accessories from Afloral through the years – most recently a terrarium card box and dogwood bouquet that we are still seeing people create! But this time we used our creative juices to come up with a wisteria trellis ceremony backdrop that anyone can master (and everyone should try)!

This project is perfect for the couple that wants #alltheflowers without the price tag. If anything, DIYing a few elements of your day may allow you to go crazy with fresh flowers in other areas. It’s all about creative balance to figure out what’s best for you based on your personal style + budget.

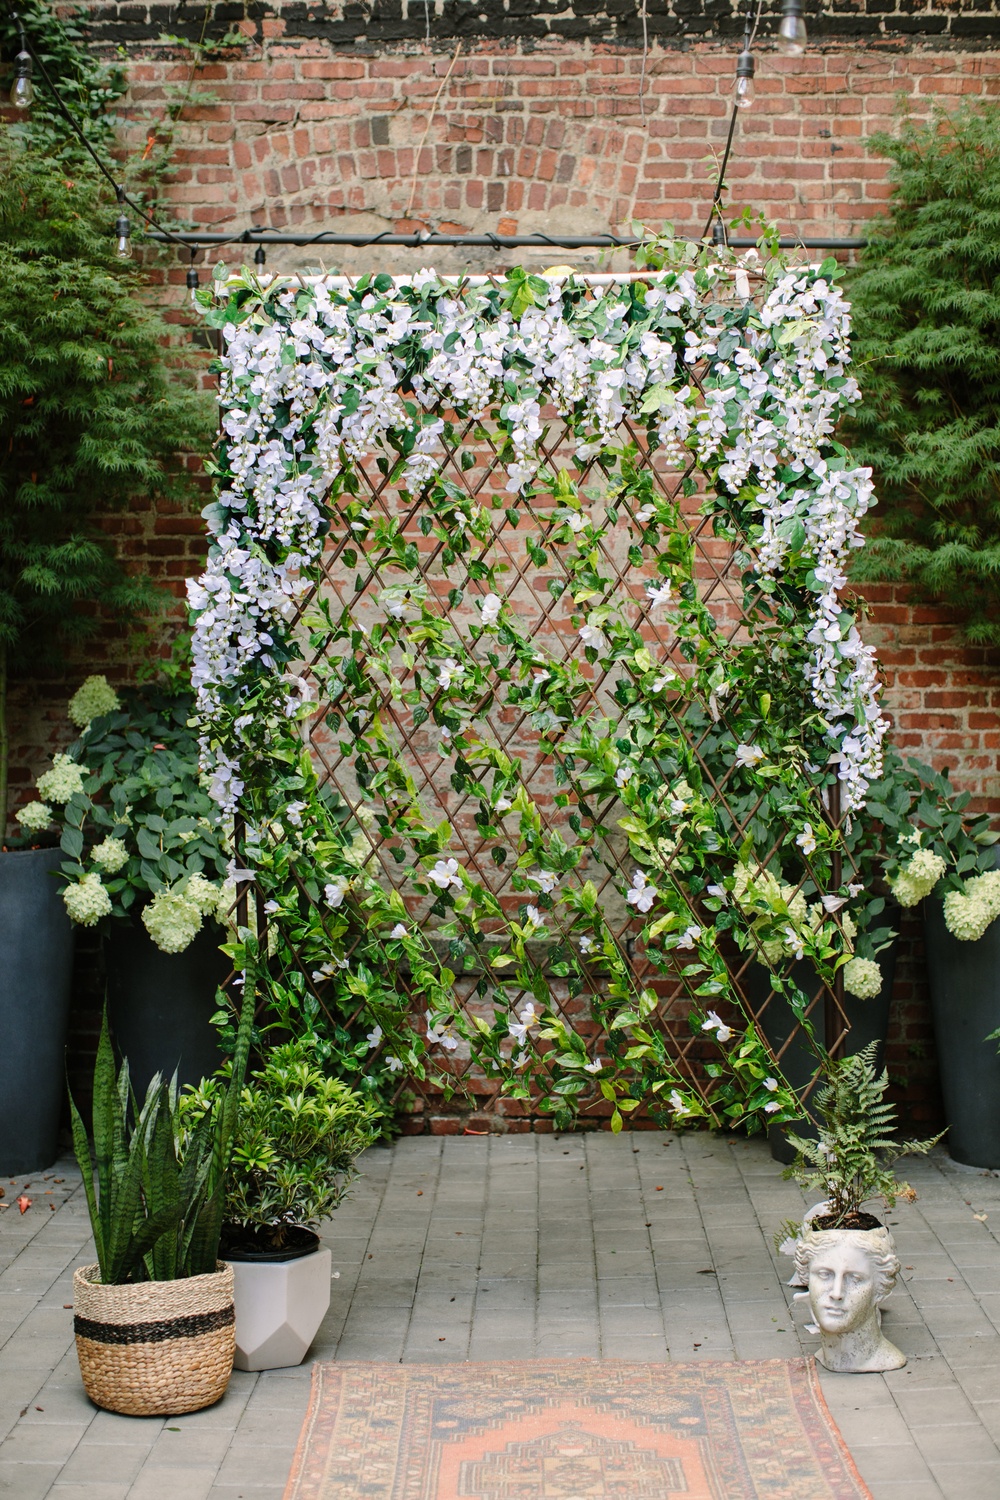
Why do we love this backdrop? For starters, it’s an affordable design that packs a big punch. Plus it’s pretty simple to create with the right tools. It may look ambitious at first glance, but trust us when we say, you’ve got this. Though it never hurts to have a friend try it with you if you’re more comfortable with a spotter, you can totally fix it up on your own. Just channel your inner Chip + Joanna Gaines 😉
What You’ll Need:
- 2 Outdoor Trellis
- 4 White Wisteria Bush
- 3/4″ PVC pipes (cut list below)
- Spray paint
- Cement
- Milk Cartons or other containers to use as molds
- PVC pipe cutter
- Wire Cutter
- Hot glue gun
PVC Cut List
- 4 10 foot 3/4 pvc pipes
- 1 pipe will cut into 5 lengths: 72″, 12″, 12″, 12″, 12″
- 2 pipe will cut into 2 lengths: 72″ and 48″
- 1 pipe will cut into 3 lengths: 72″, 12″ and 12″. Cut the leftover pipe in 4 pieces! Each leftover piece will end up being about 6″ long.
If you want to go a step further and add another supporting piece, get an additional 10 ft 3/4″ pipe and cut a 60″ length to attach to the back frame with 2 additional T fittings. You’ll need to cut the back vertical lengths once more to fit the cross bar.
The 4 72″ lengths need to be cut in half to add a crossbar on both sides.
PVC Fitting List:
- 4- 3/4″ 3 way
- 4- 3/4″ T
- 6- 3/4″ couplings


To keep the frame stable, I added cement weights just how I made these DIY cement centerpieces years ago. Follow this link for the how-to – the only difference is that here, I stuck a 6″ piece in the middle instead of making a mold.
While your weights cure, cut your PVC pipe to length. Spray paint all of your pipes brown or green to blend in the background and let dry.

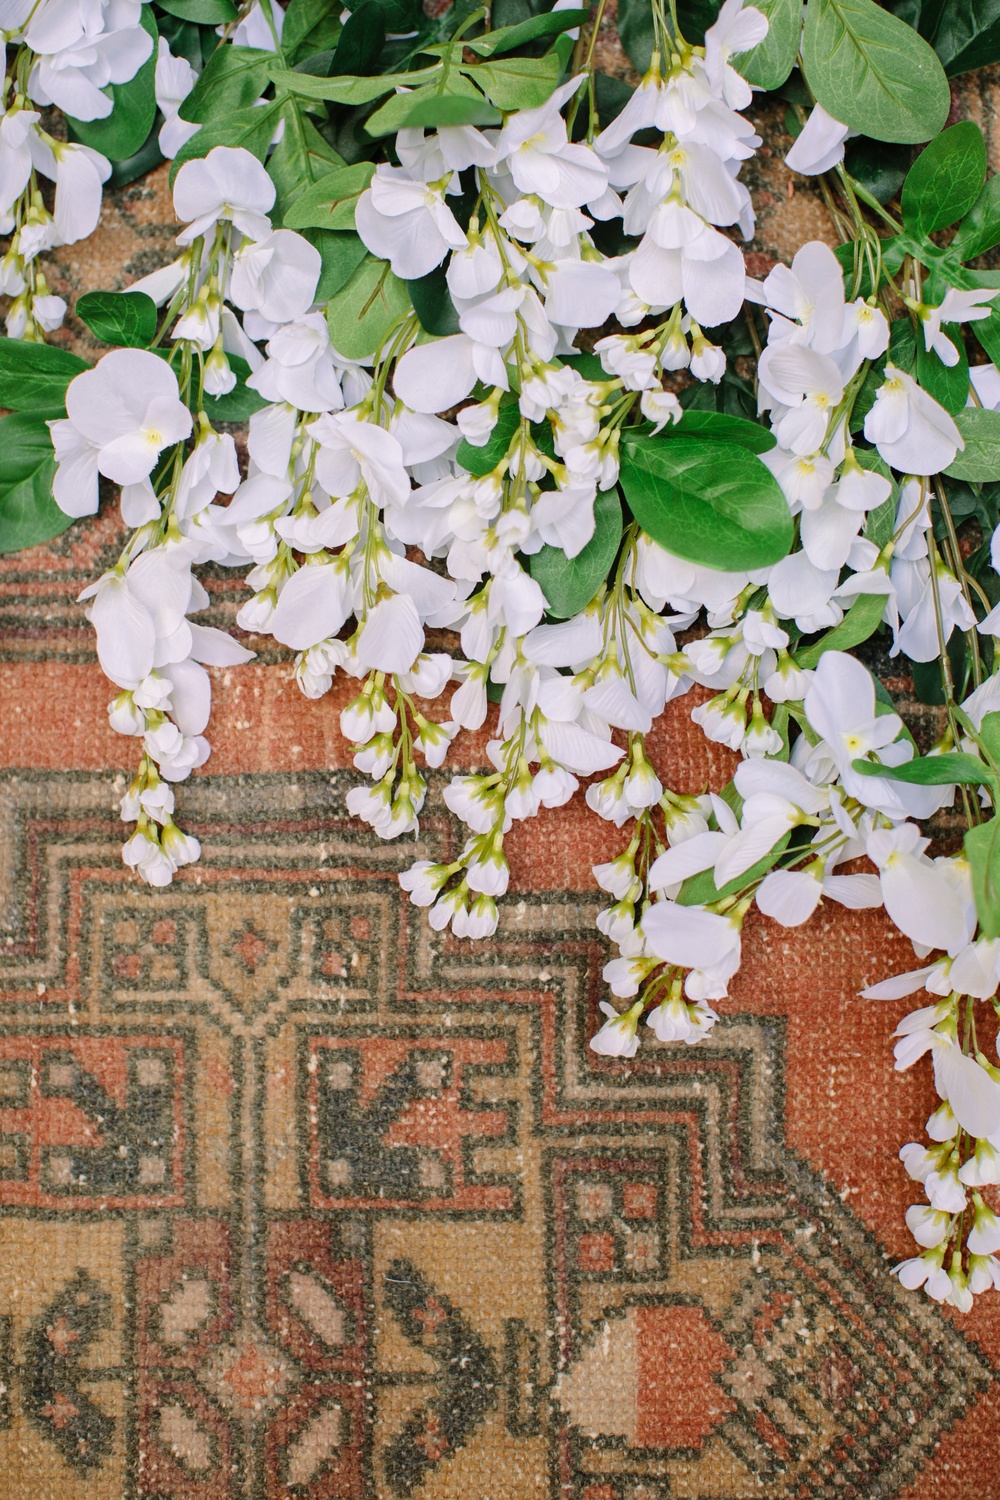
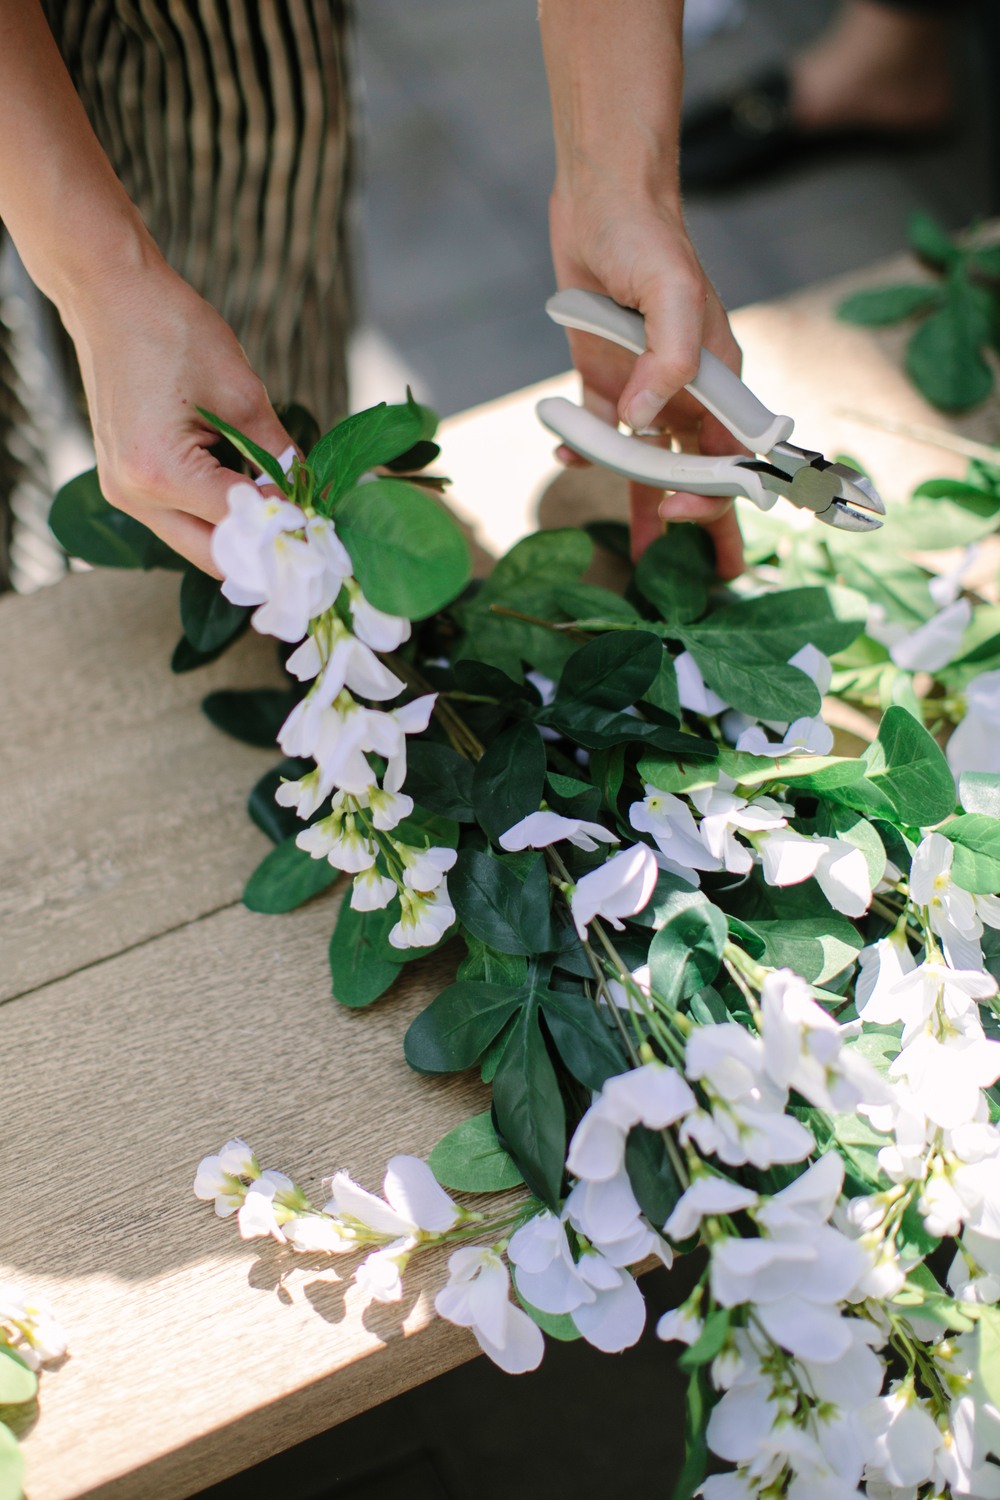
In the meantime, grab your wisteria bundles and cut the branches off of the bundles. You’ll use these in the same direction as the wire to get that climbing effect. Keep the cascading blooms aside for now.
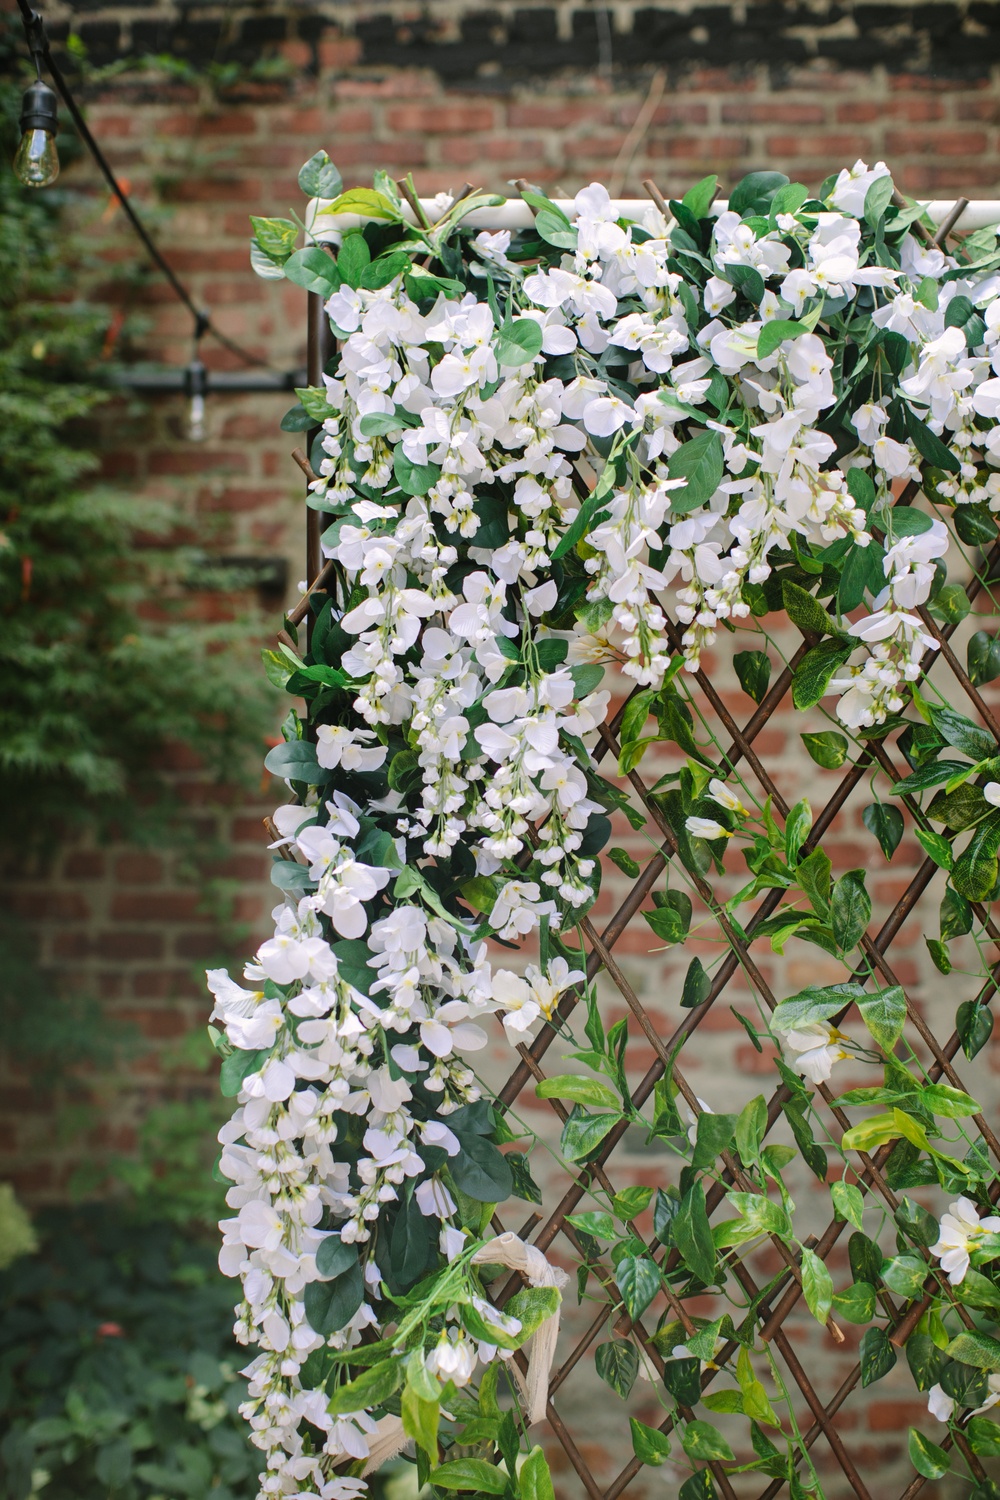
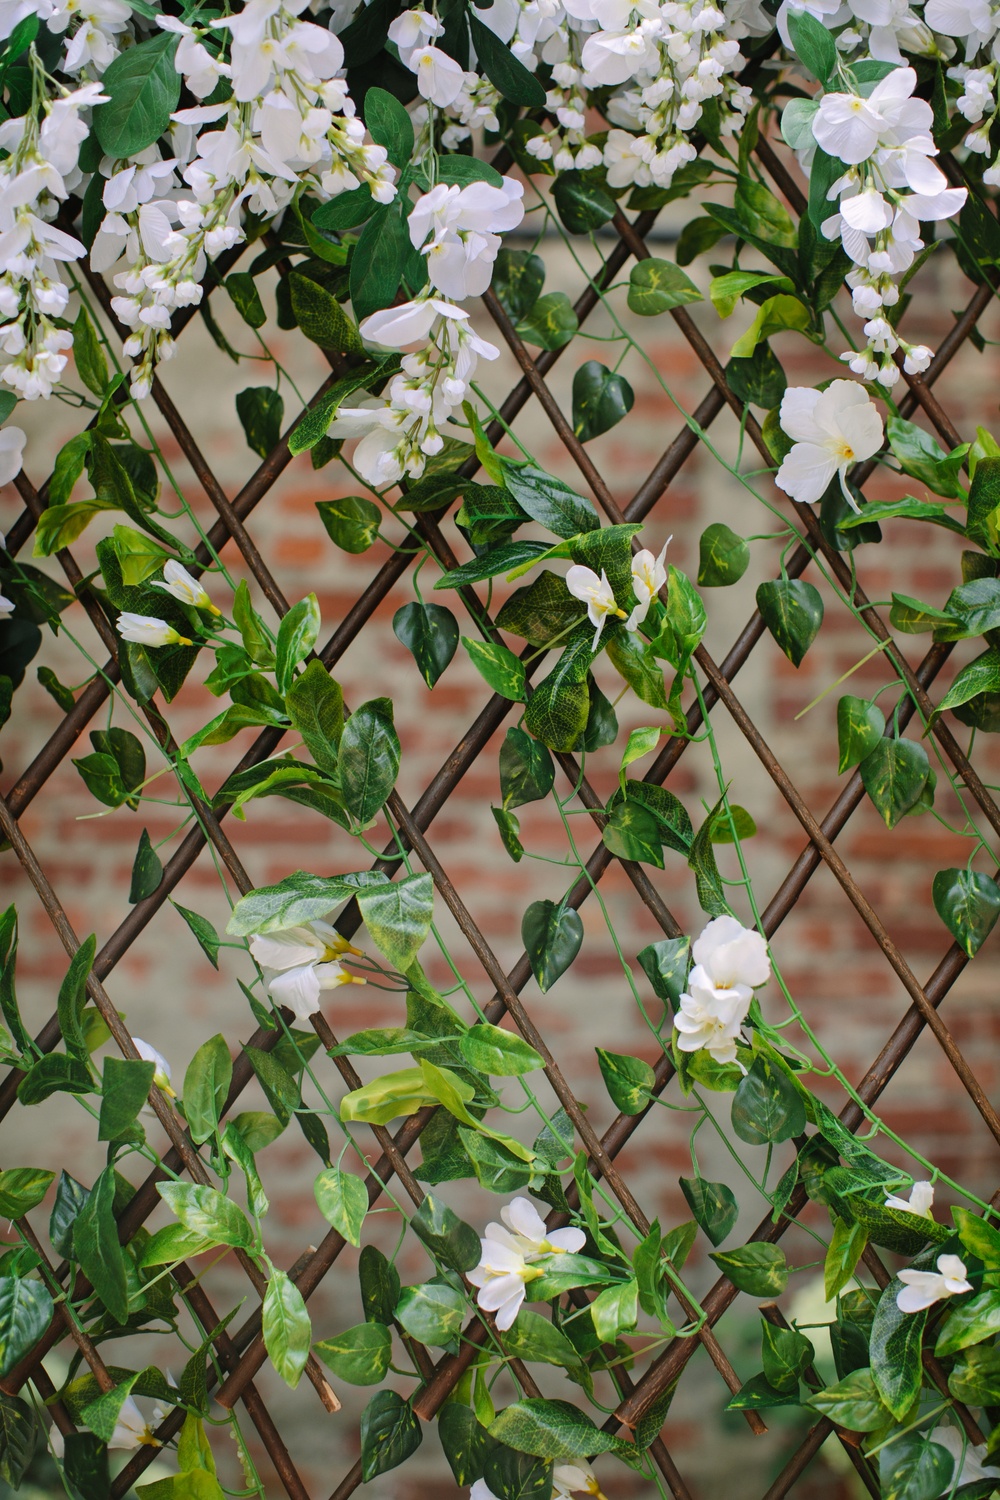
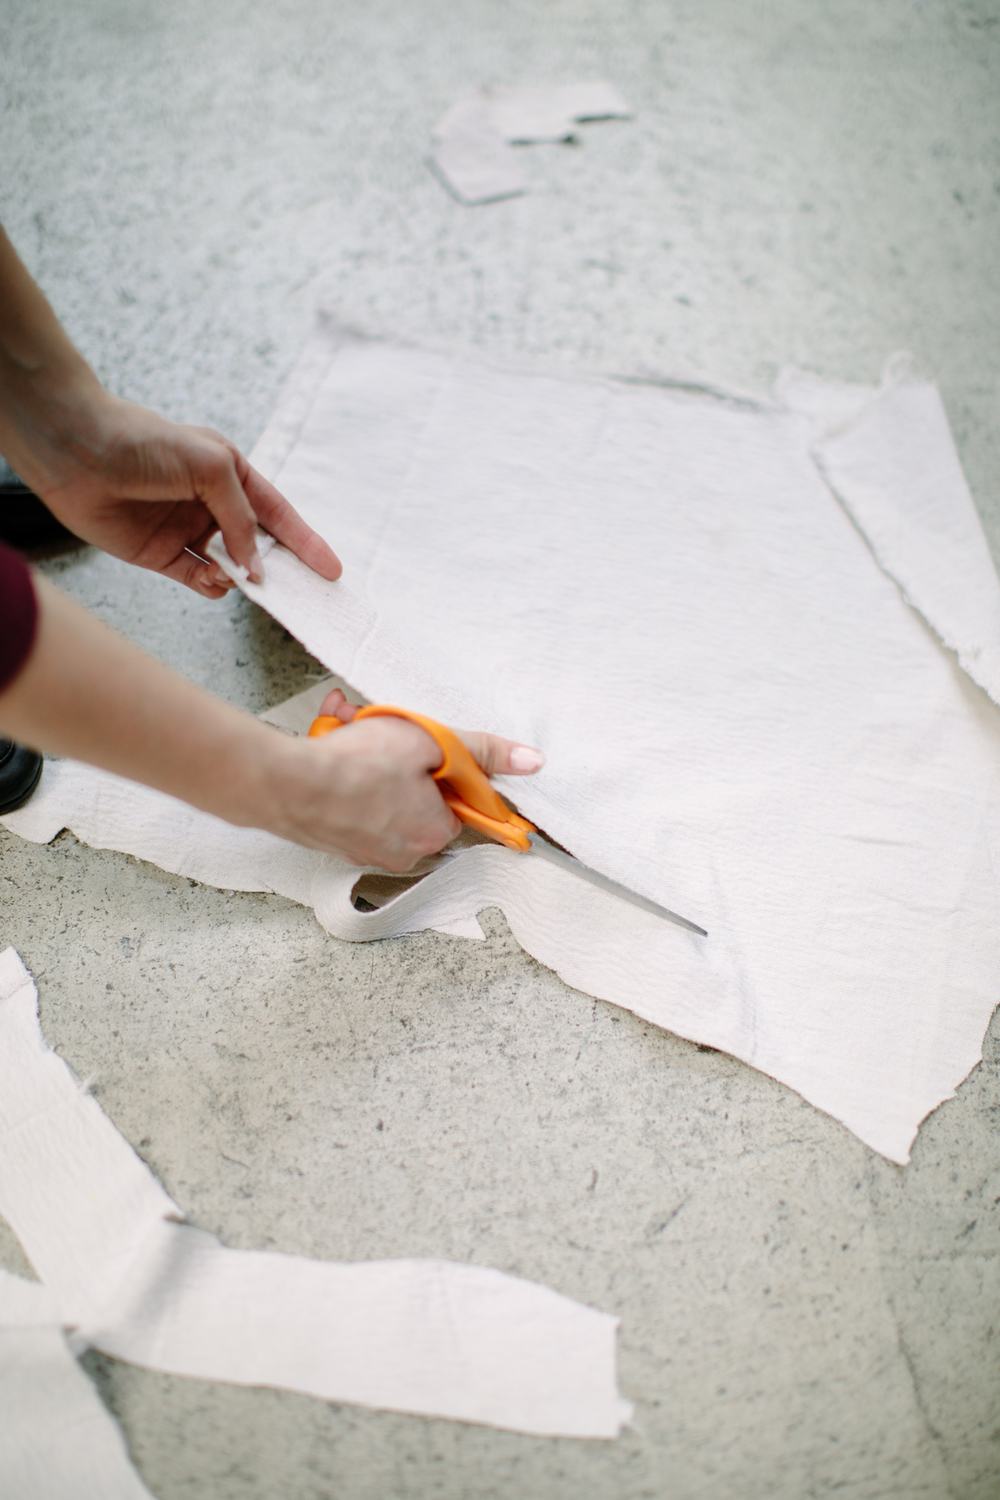
Cut strips of dropcloth that you’ll use to tie the branches + blooms to the trellis. You can vary the heights and placement of wisteria petals as you’d like, but for the most part, I kept the wisteria linear in the middle with blooms cascading down on either side, straight down the pipes with a few bits filled in the diagonal so it’s not a stark difference.


Be sure to hide your cement-filled milk cartons by draping them with the remaining dropcloth. Then add some potted plants or decorative urns in front of the trellis base so they aren’t seen. Plus, it adds some depth to the base!

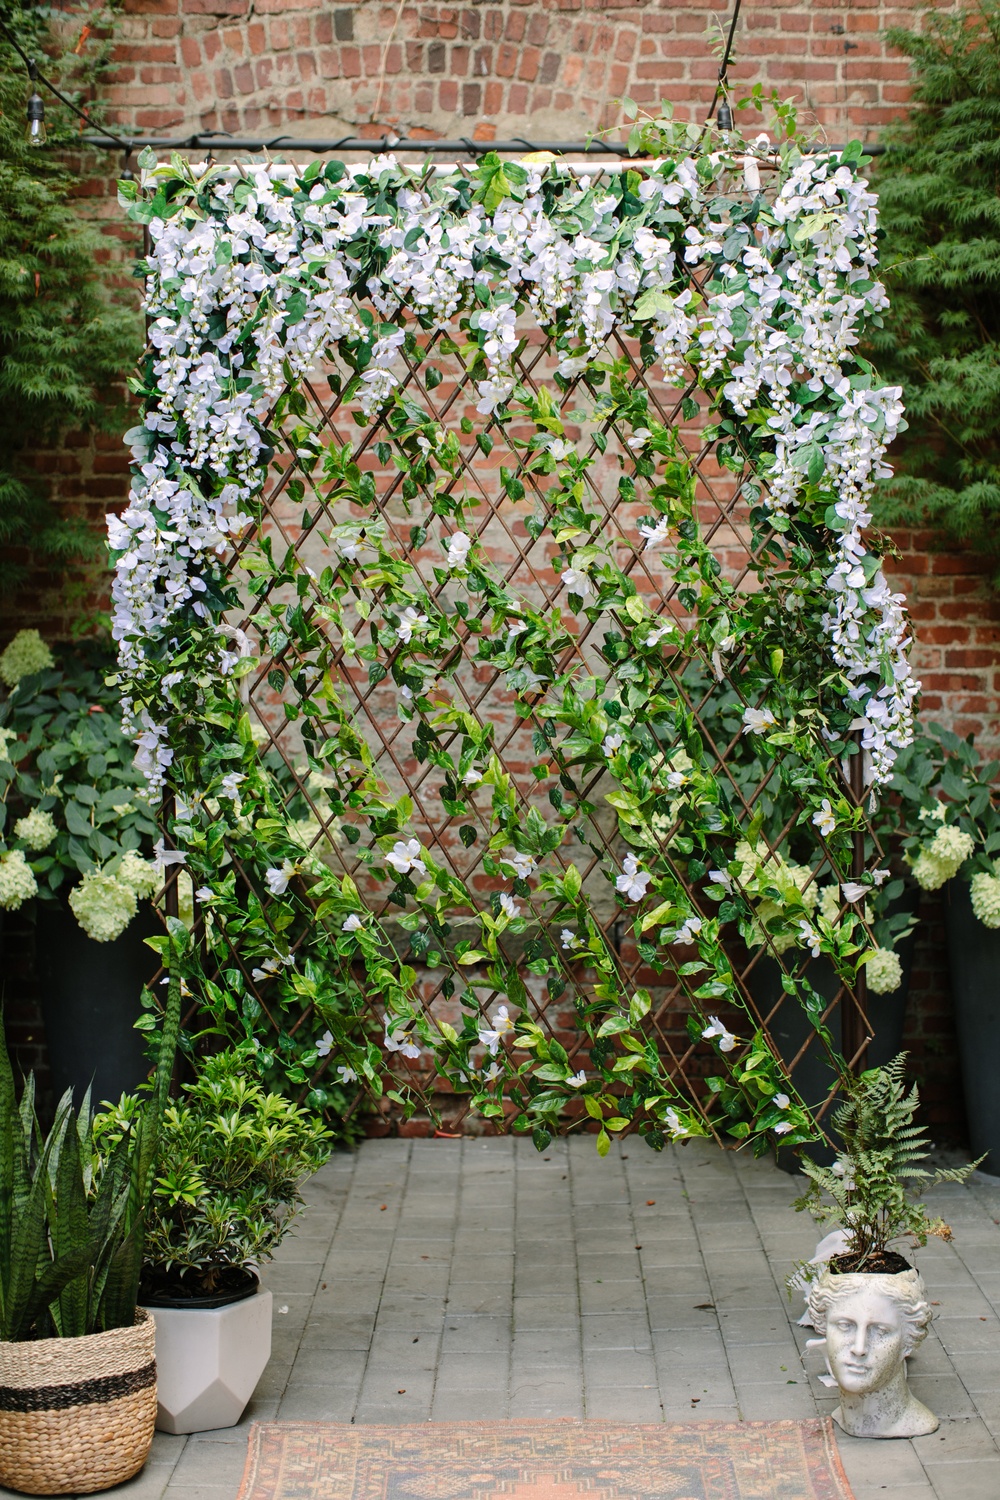
This wisteria trellis works as a backdrop for the ceremony, sweetheart table, dessert display – heck, even a photobooth! If your wedding style is classic elegance, we think this look is perfect. But don’t feel deterred if you love color + whimsy + crazy unique designs! Afloral is stocked up with over 1900 options for silk flowers, so you can simply sub out the wisteria for your favorite choice. You could even create a rainbow or ombre effect with your blooms! At the end of the day, this backdrop pretty, easy-to-transport, easy-to-create and won’t blow away in the wind. Score!
This post was sponsored by Afloral. All opinions are our own. Thanks for supporting our sponsors!

