DIY Cane Weave Backdrop with Easy Balloon Garland
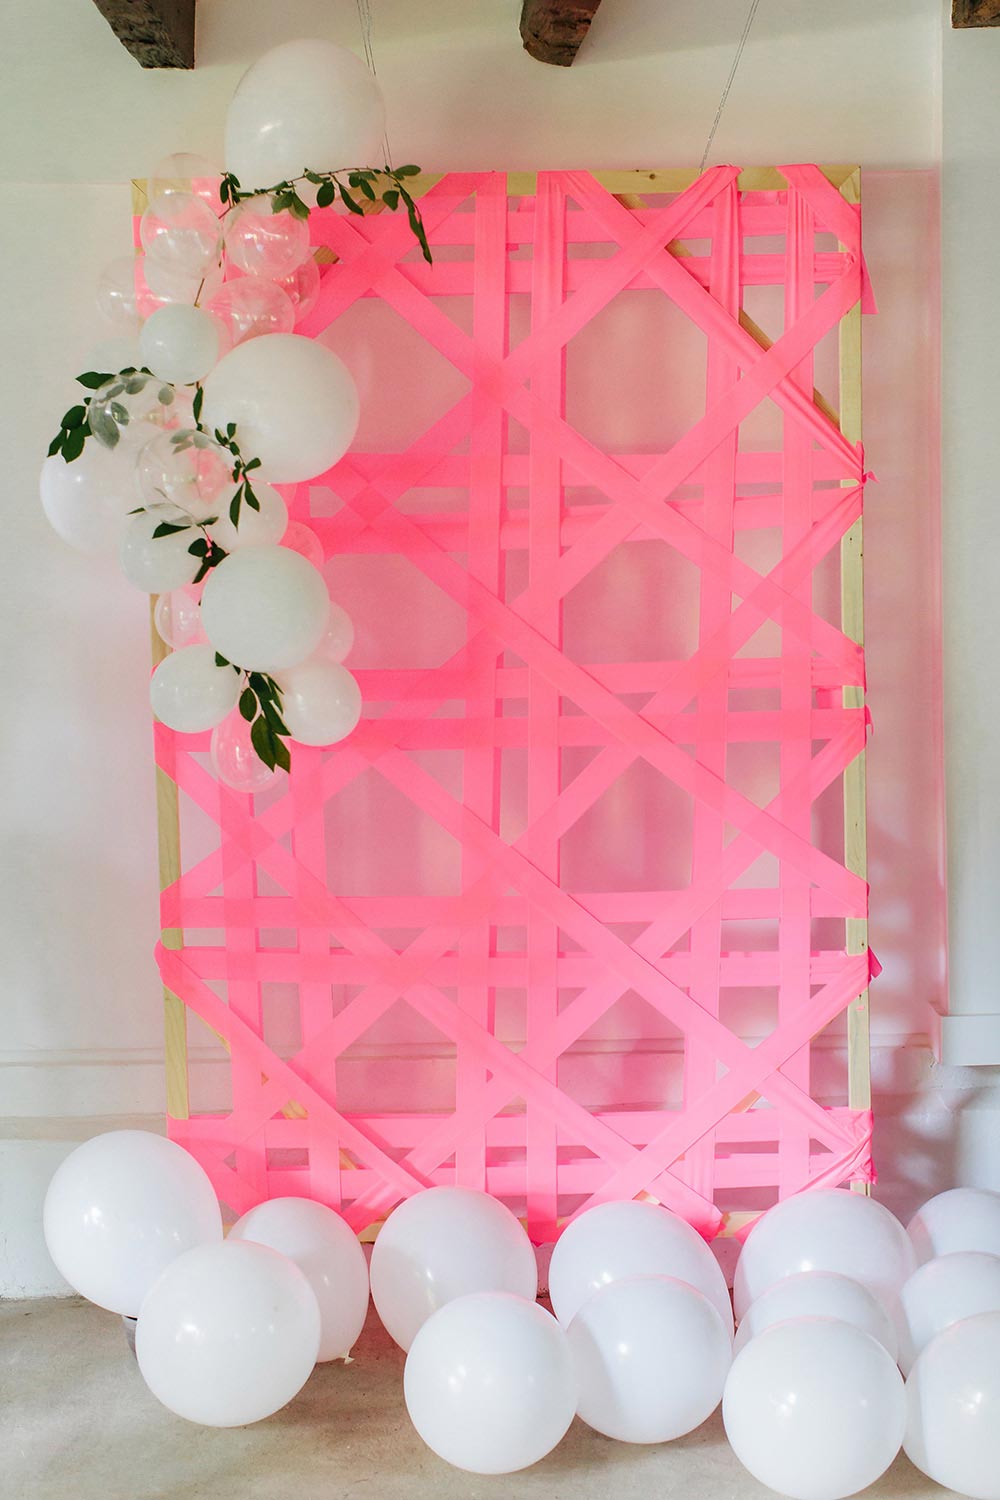


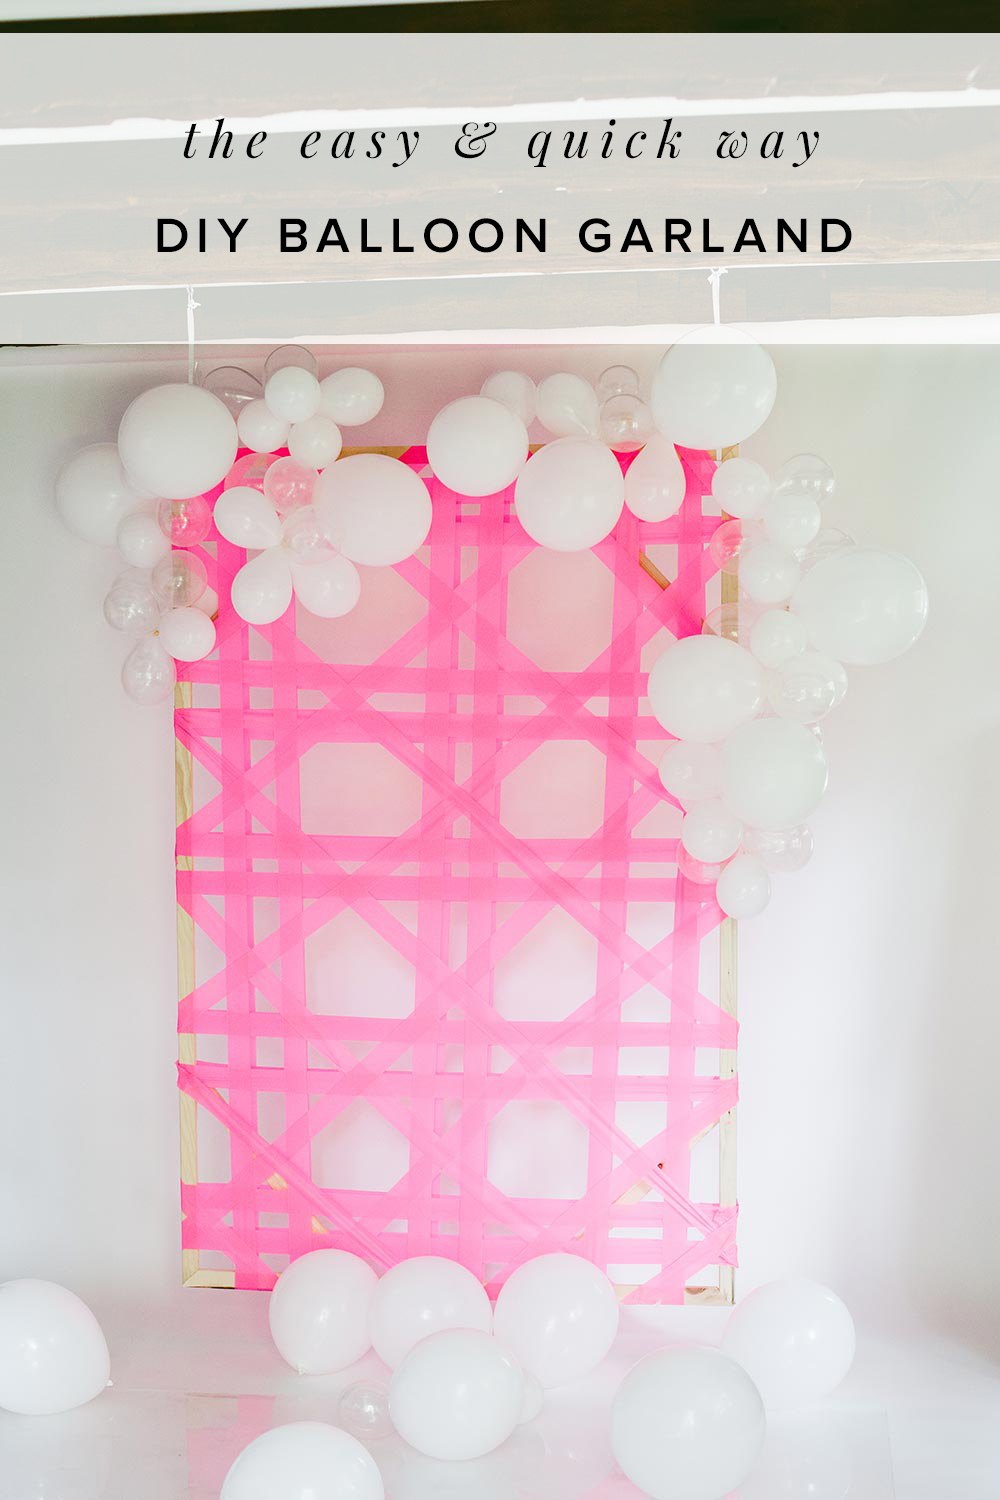
A wise man once said, “it takes a little to ball a lot.” And no mantra holds more true for today’s cane weave backdrop DIY than that! Featuring poppy hues, dynamic lines and an easy balloon garland impossible to ignore, this is the perfect kind of statement piece to use in showers, birthday parties or home entertaining in general. This fun collab with Fiskars is easy peasy:

Perhaps the greatest thing about this project is the fact it’s wholeheartedly custom. You can create whatever design you’d like with the lines, resulting in originality across the board. We opted for a cane weave pattern simply for the dimension it creates using a fairly simple process.
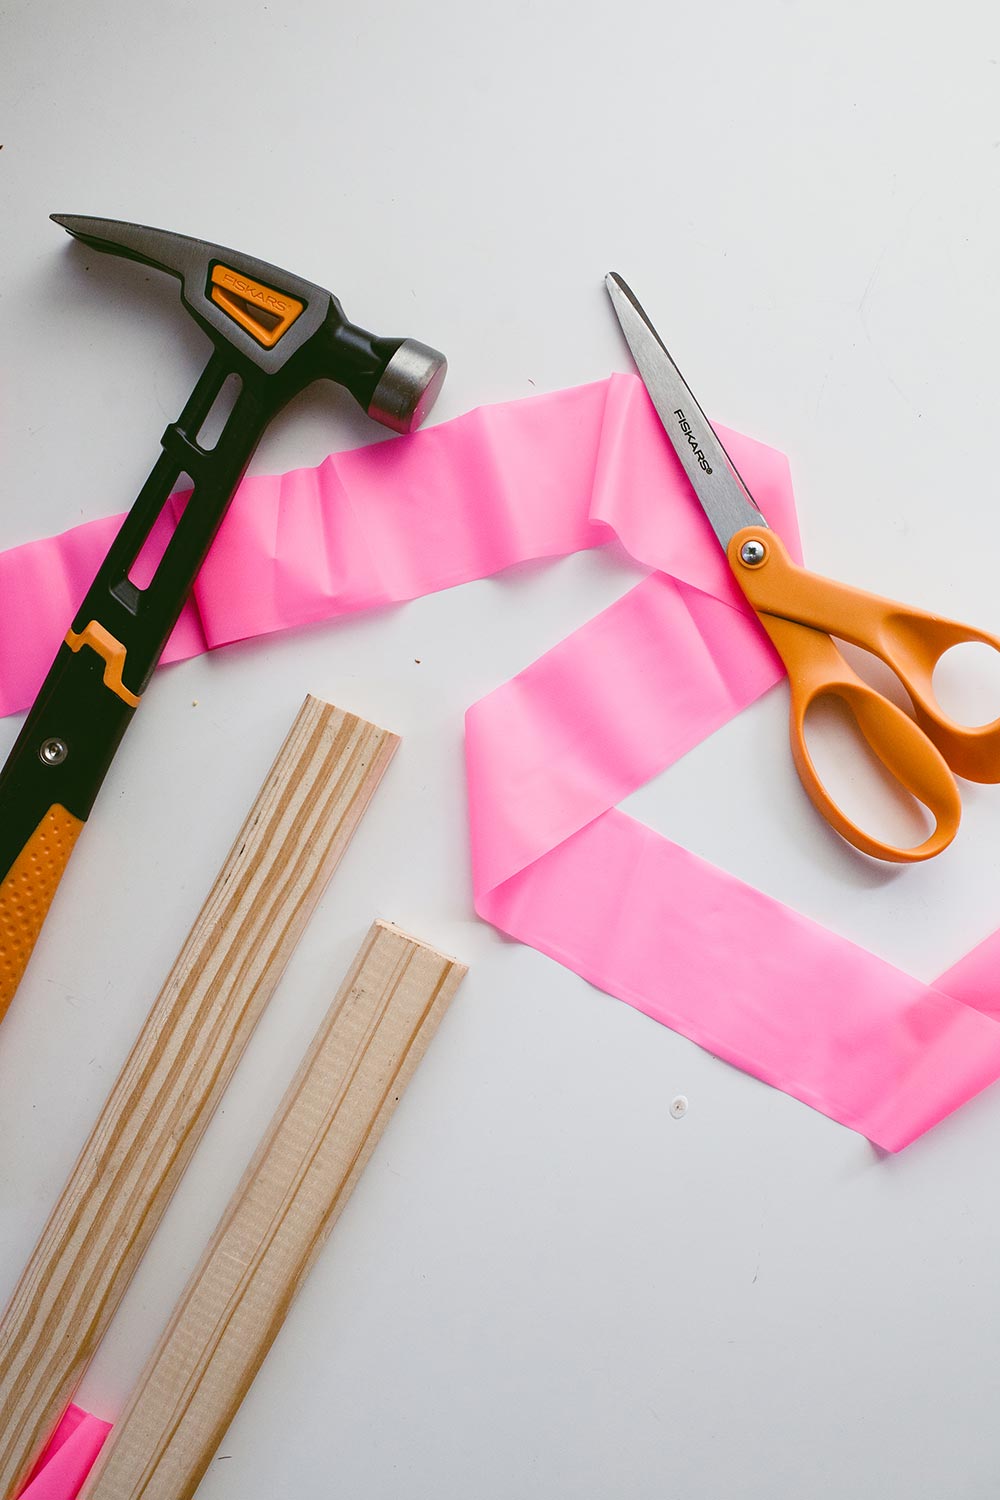
What you’ll need:
- Fiskars Orange-handled Scissors
- Flagging Tape
- Furring strips
- Hammer and nails or Nail gun
- Miter box and saw
- Hot glue gun
DIY Cane Weave Backdrop
Start out by building your frame. You can use large picture frames for a smaller scale or build out a large one for a backdrop using furring strips ($1 each at Home Depot). Mine is 4×6.
I mitered the corners and using a nail gun to attach the frame, and braced the frame with leftover pieces of wood.
Cut strips long enough to tie around your frame horizontally, then vertically. Keep the two piles separately.

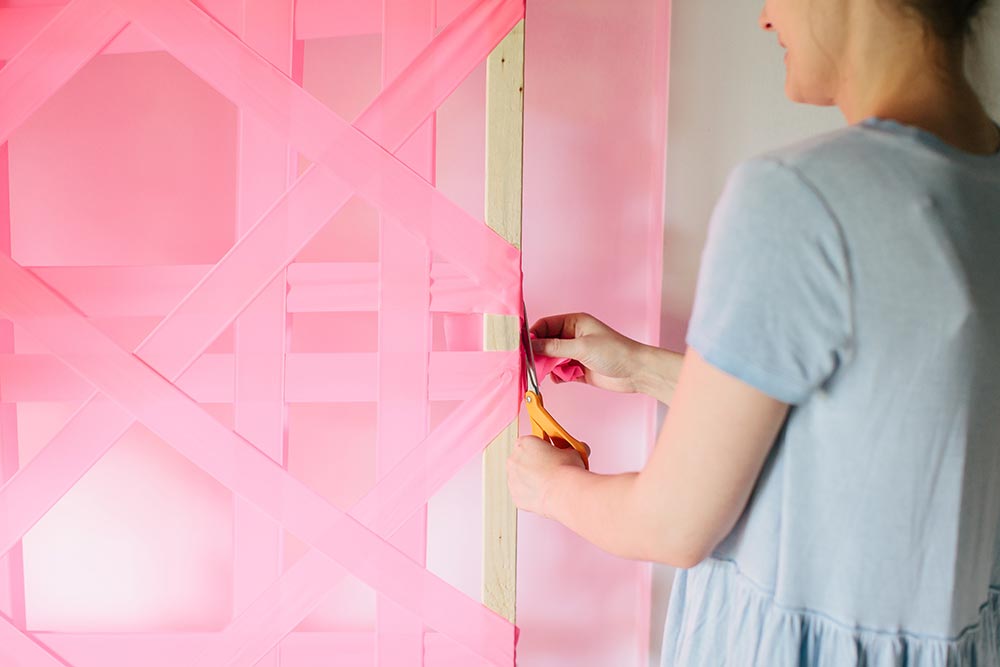
The straight lines will be double wrapped and the 45-degree lines will be wrapped just once for this project. Here’s how we added the tape to form a cane weave pattern, so watch the below and grab your glue gun:
Trim the excess tape with scissors and add a dab of hot glue wherever the tape feels a little loose. Then you’re all set!
DIY Balloon Garland
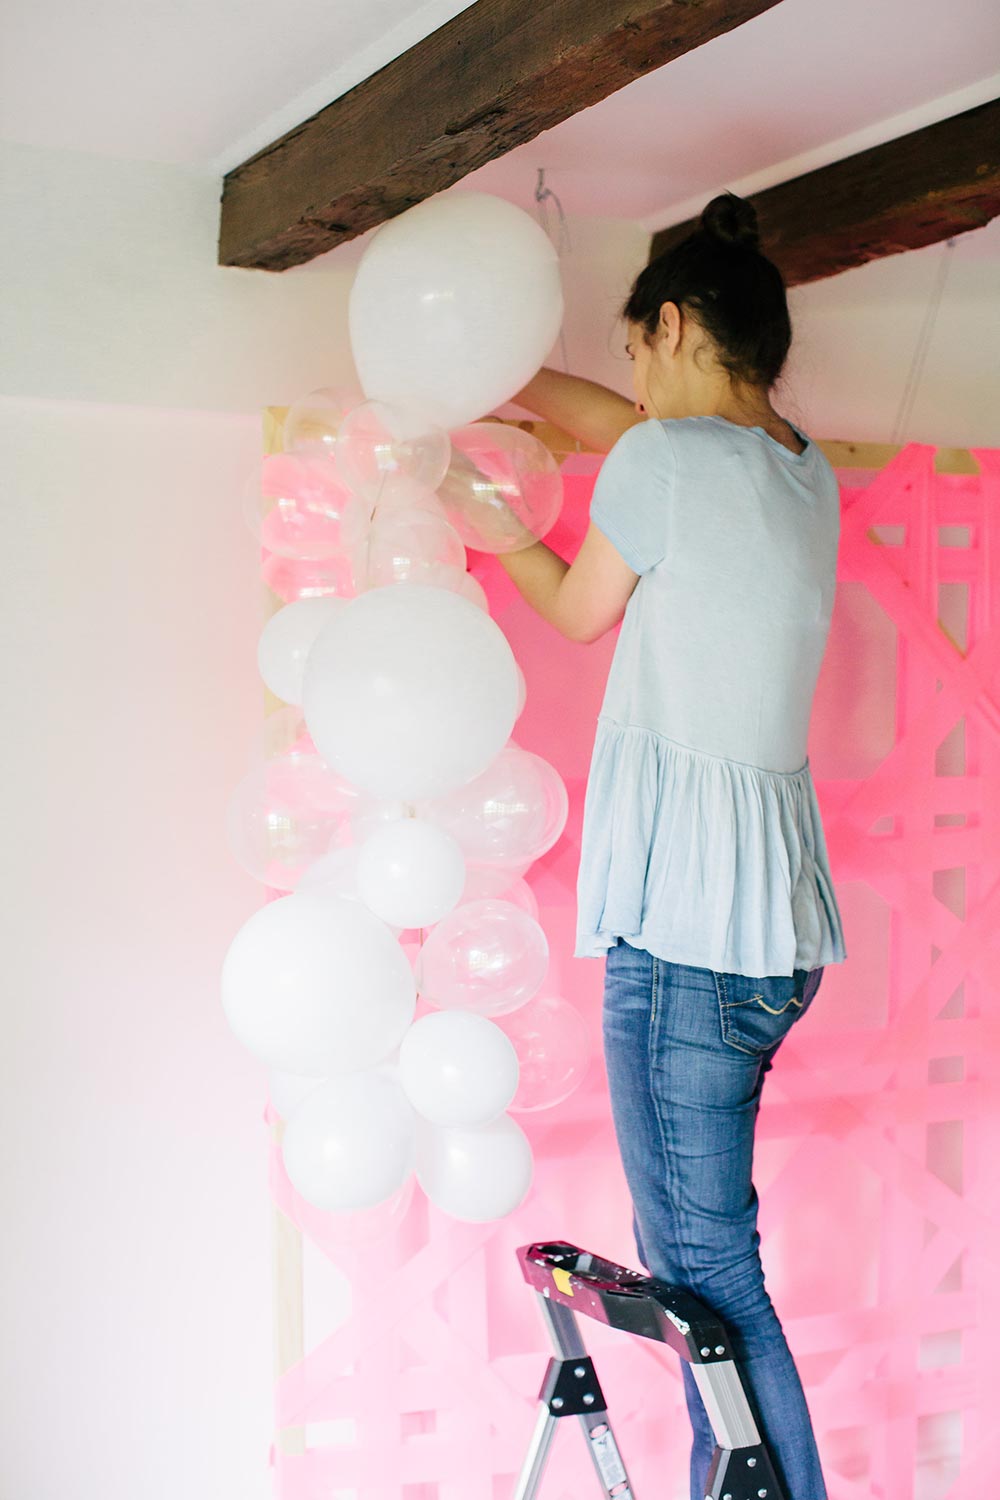
I know, I know. Balloon garlands are everywhere, but I promise you, this method is the easiest I’ve found after making a ton of them. For the backdrop garland we used fishing line, which doesn’t lend itself for instructional images, so I’m sharing the how-to from a previous 20 ft garland I made for my daughter’s birthday.

Start out by tying two balloons at once (save your fingers!). I like pairing them by picking different sizes and colors.
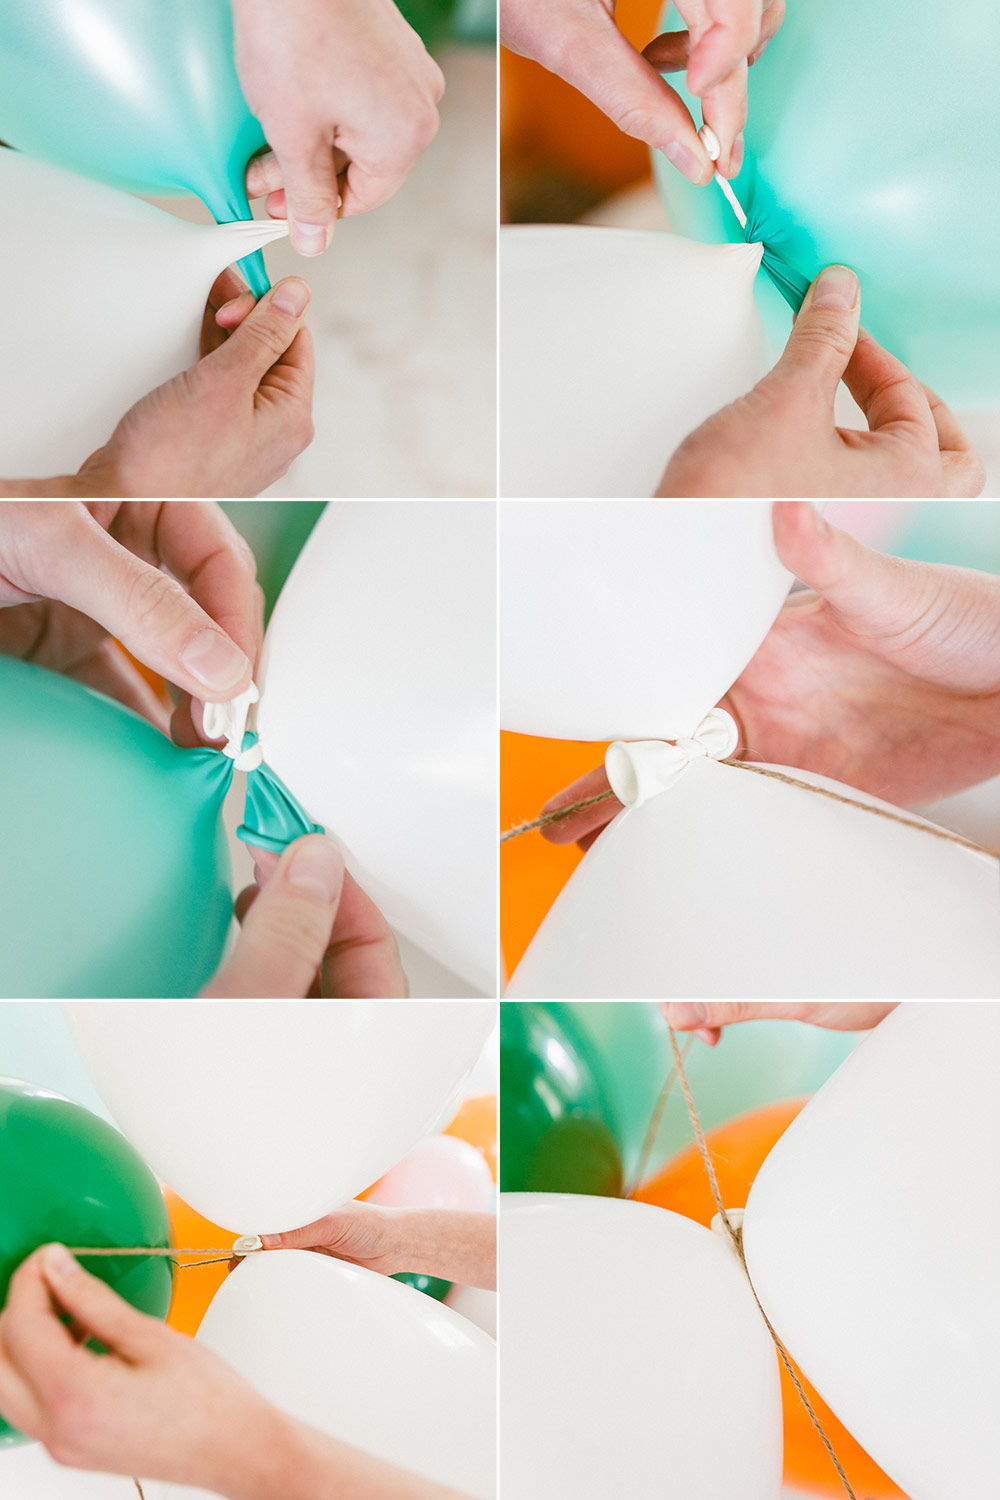
Wrap the string around the ballons twice. Yep, there’s no tying involved nor special clip necessary. I pick them at random. They hold in place just like tying a knot!
Rinse and repeat.
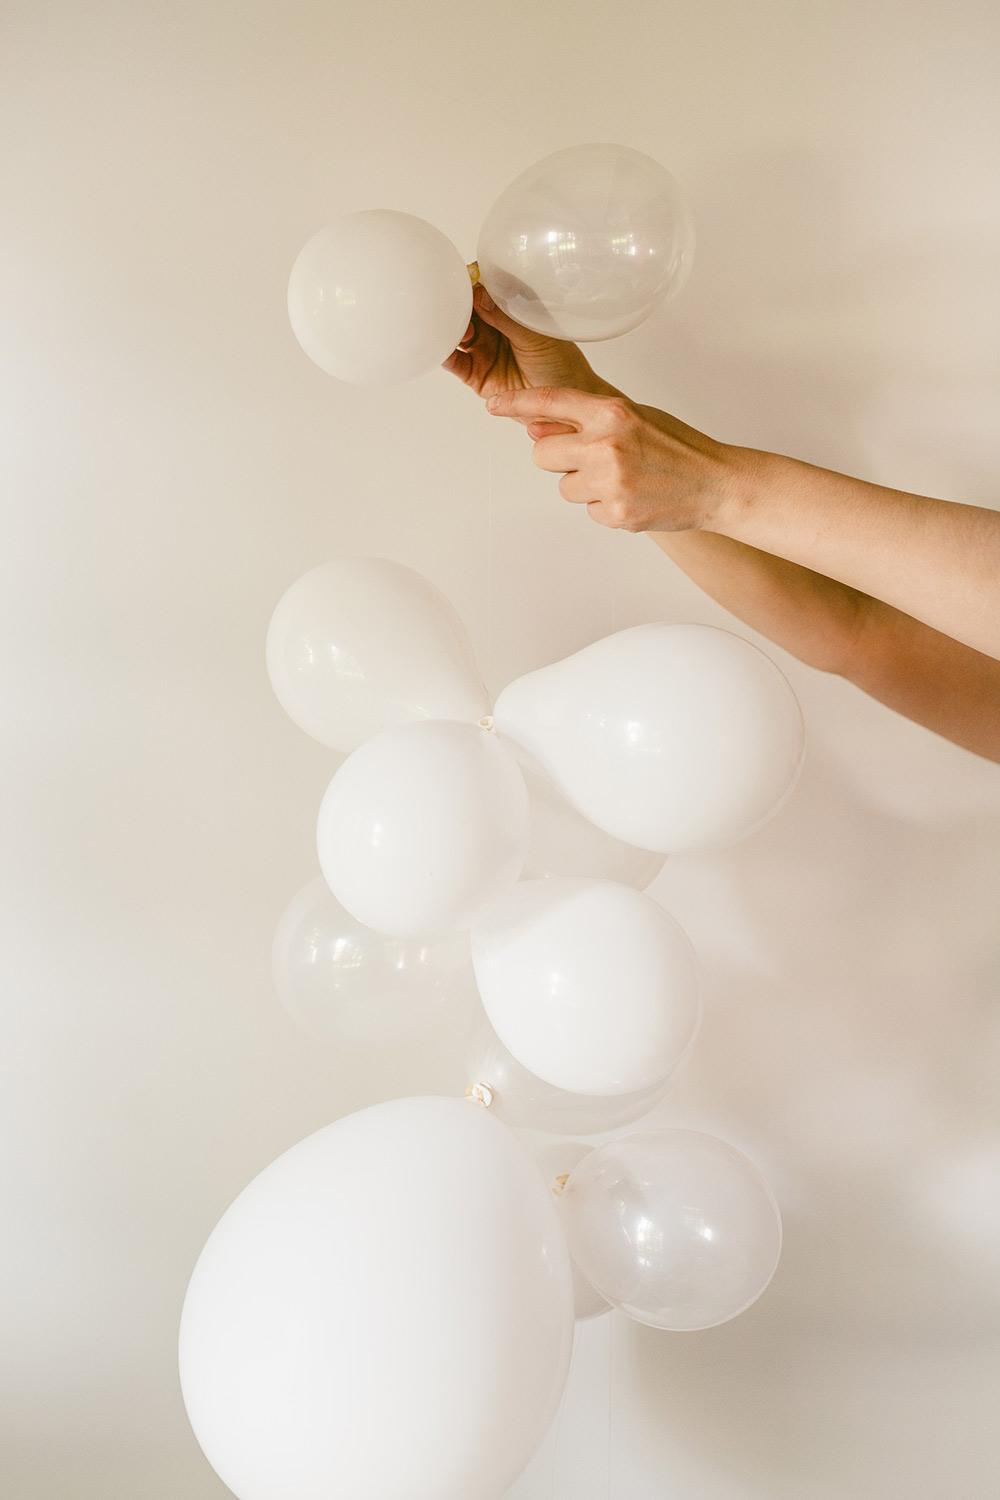
That’s it. Really, that’s it. If you have all balloons tied in pairs, attaching them to a string goes by in minutes. Want to edit your DIY balloon garland? Just unwrap the sequence you want changed! If you plan on hanging it outdoors, I recommend adding some weights to the ends of the garland either on the ground or small rocks in the last balloons.
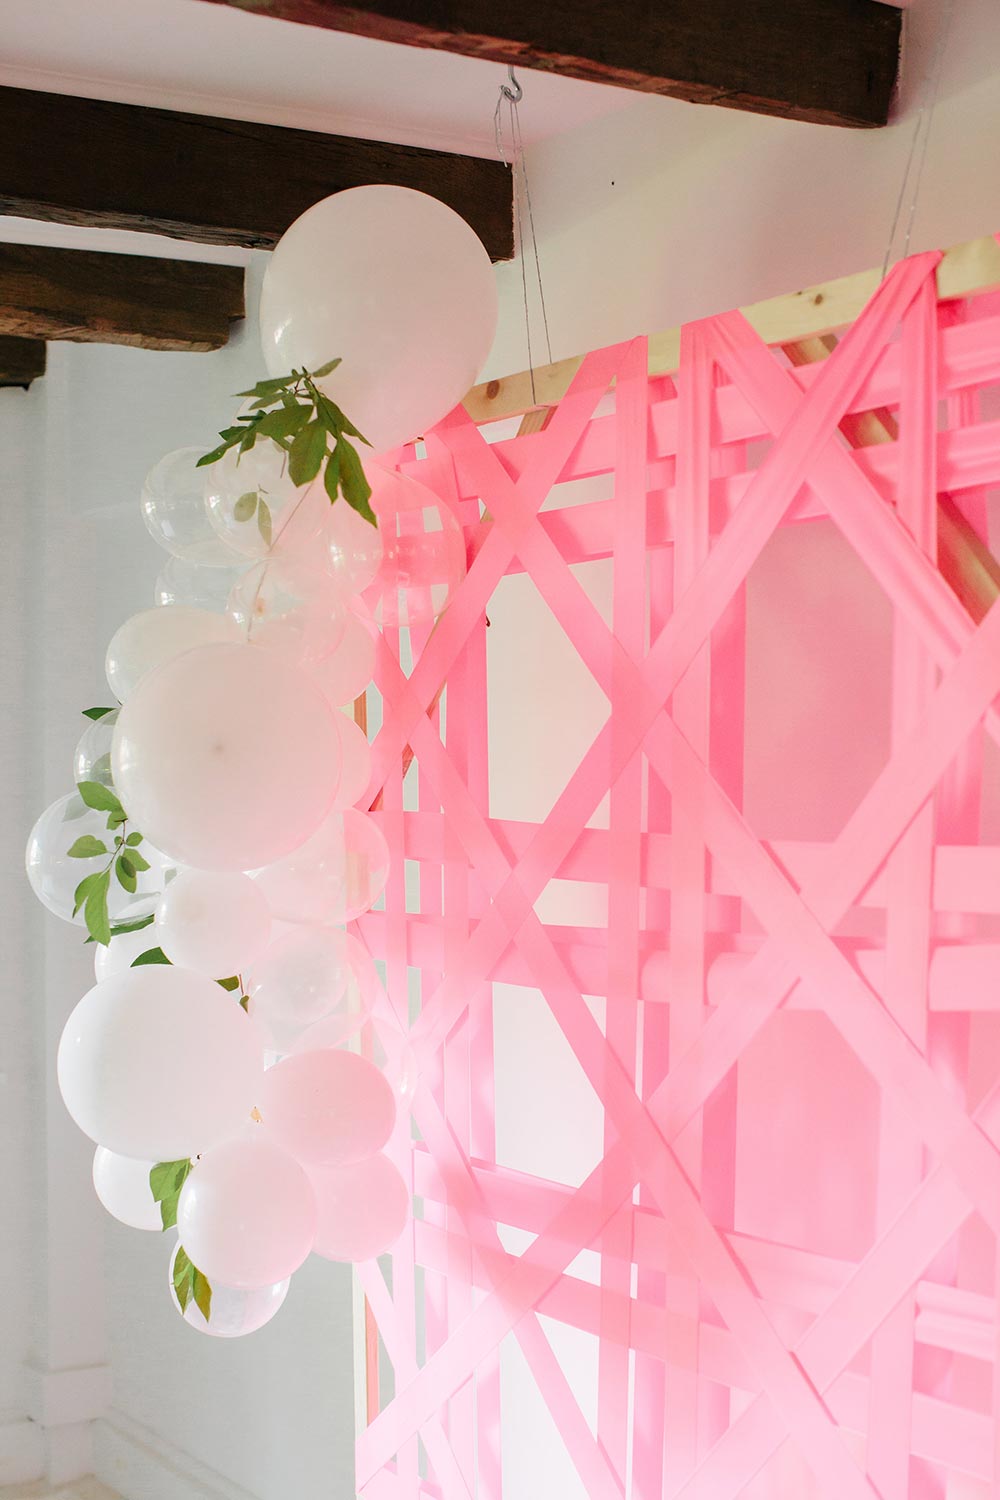
So you can why we’re obsessed with this easy peasy backdrop + balloon garland, right? It packs a whole lotta punch with little effort on your part. See more of our party ideas using Fiskars tools on our DIY page – the liquid-filled glitter place mats and plastic bottle flower wreaths are just a couple we’re still doing happy dances over!

