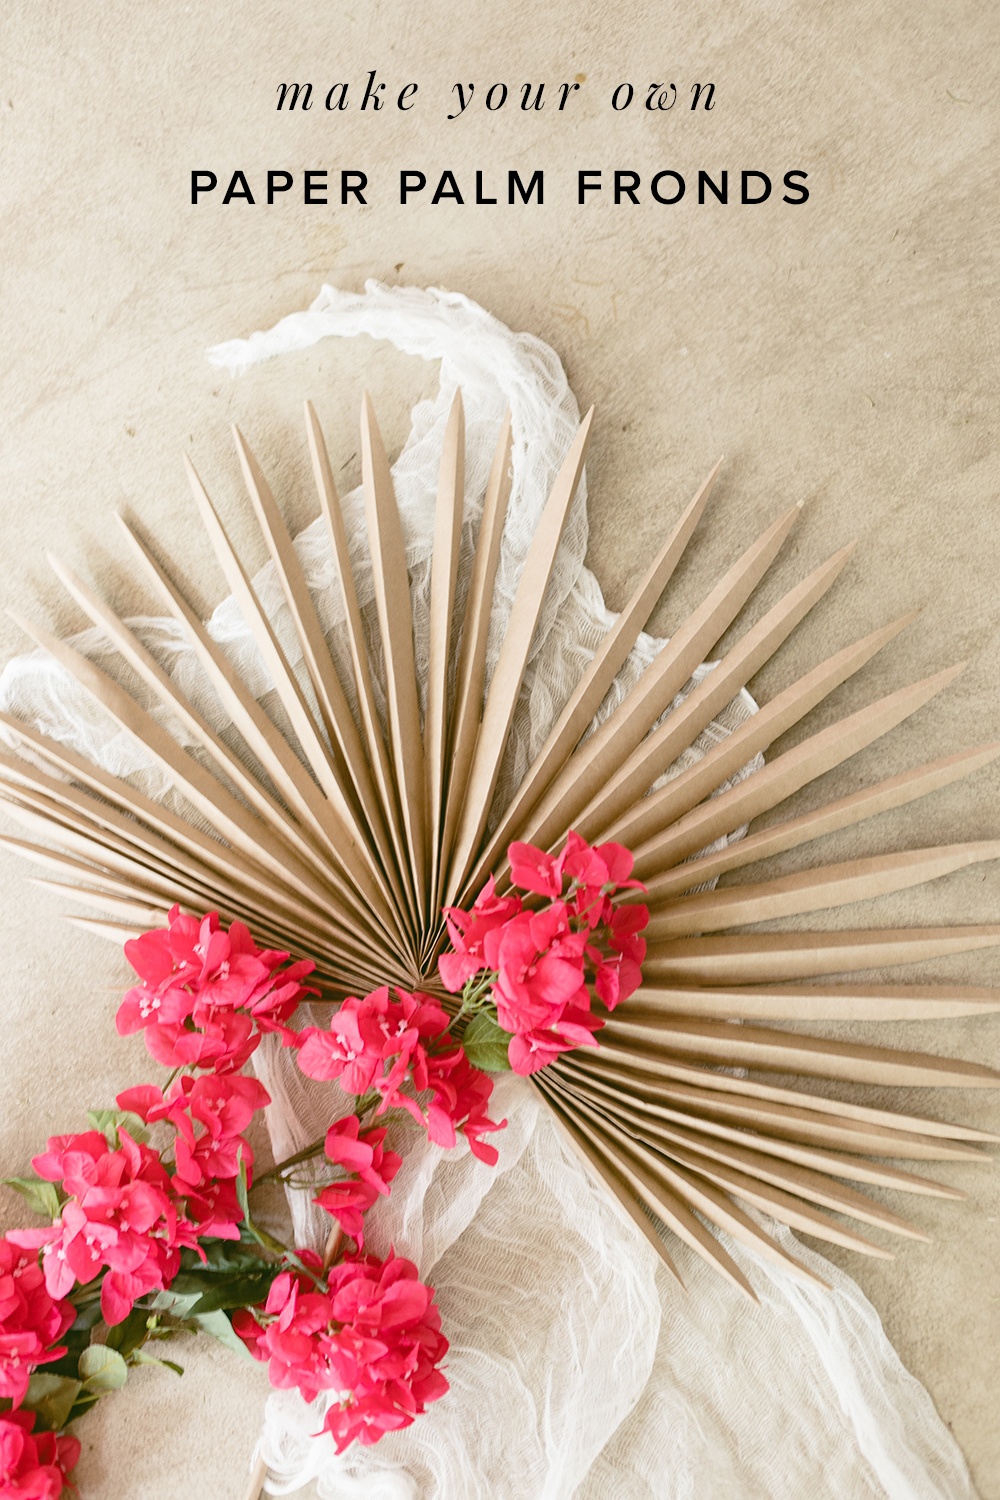
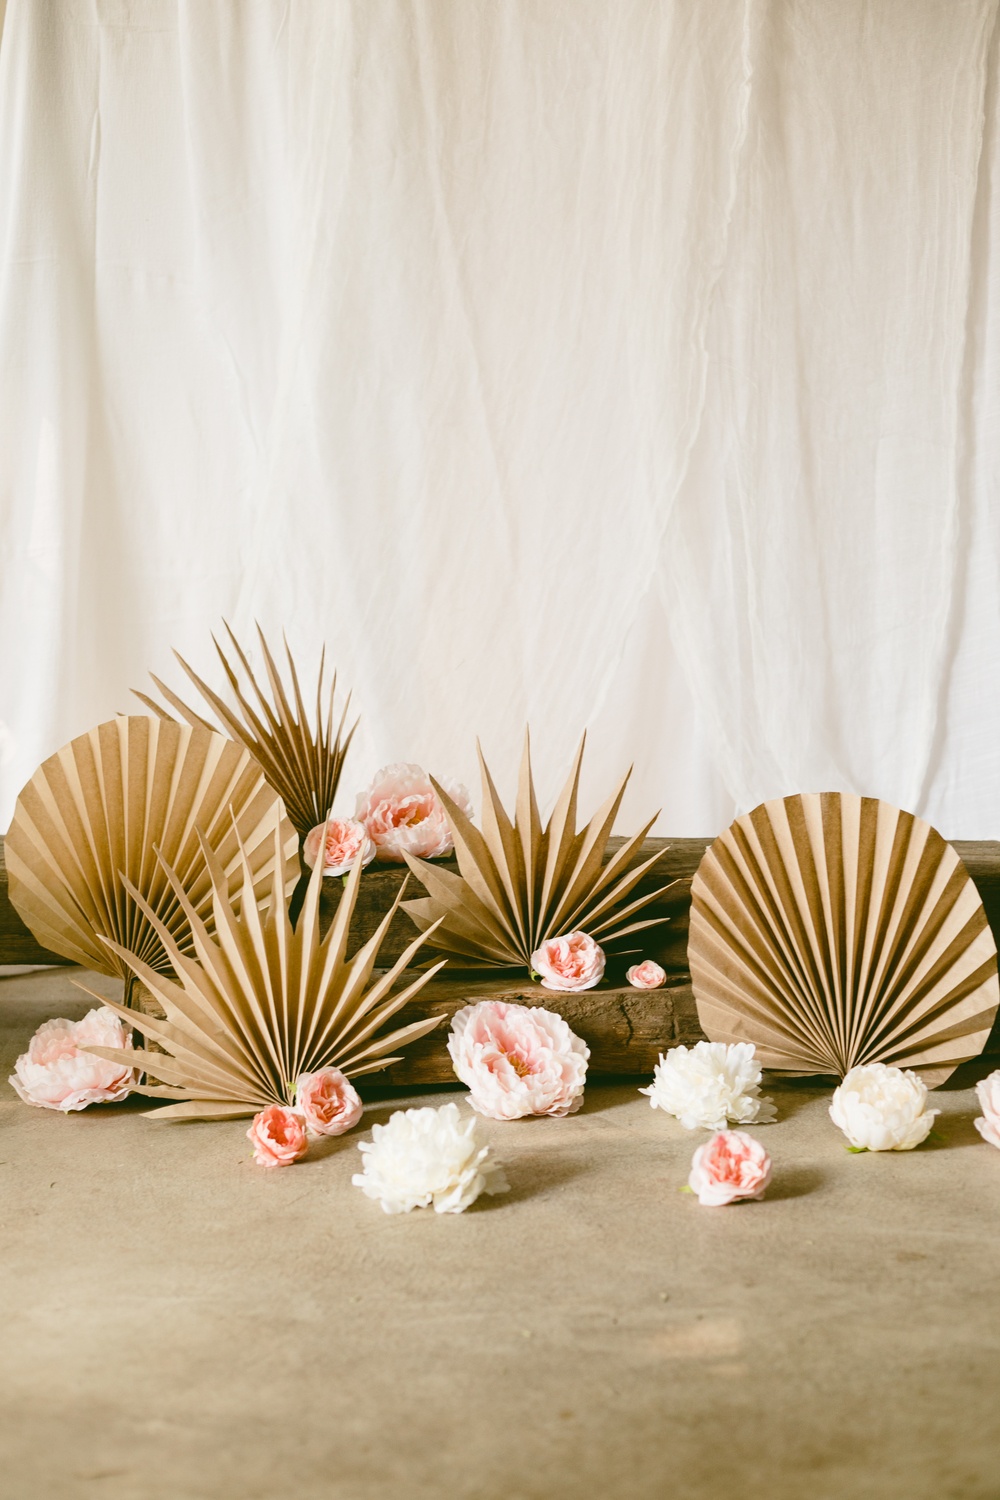
Best Fronds Forever: DIY Dried Paper Palm Leaf
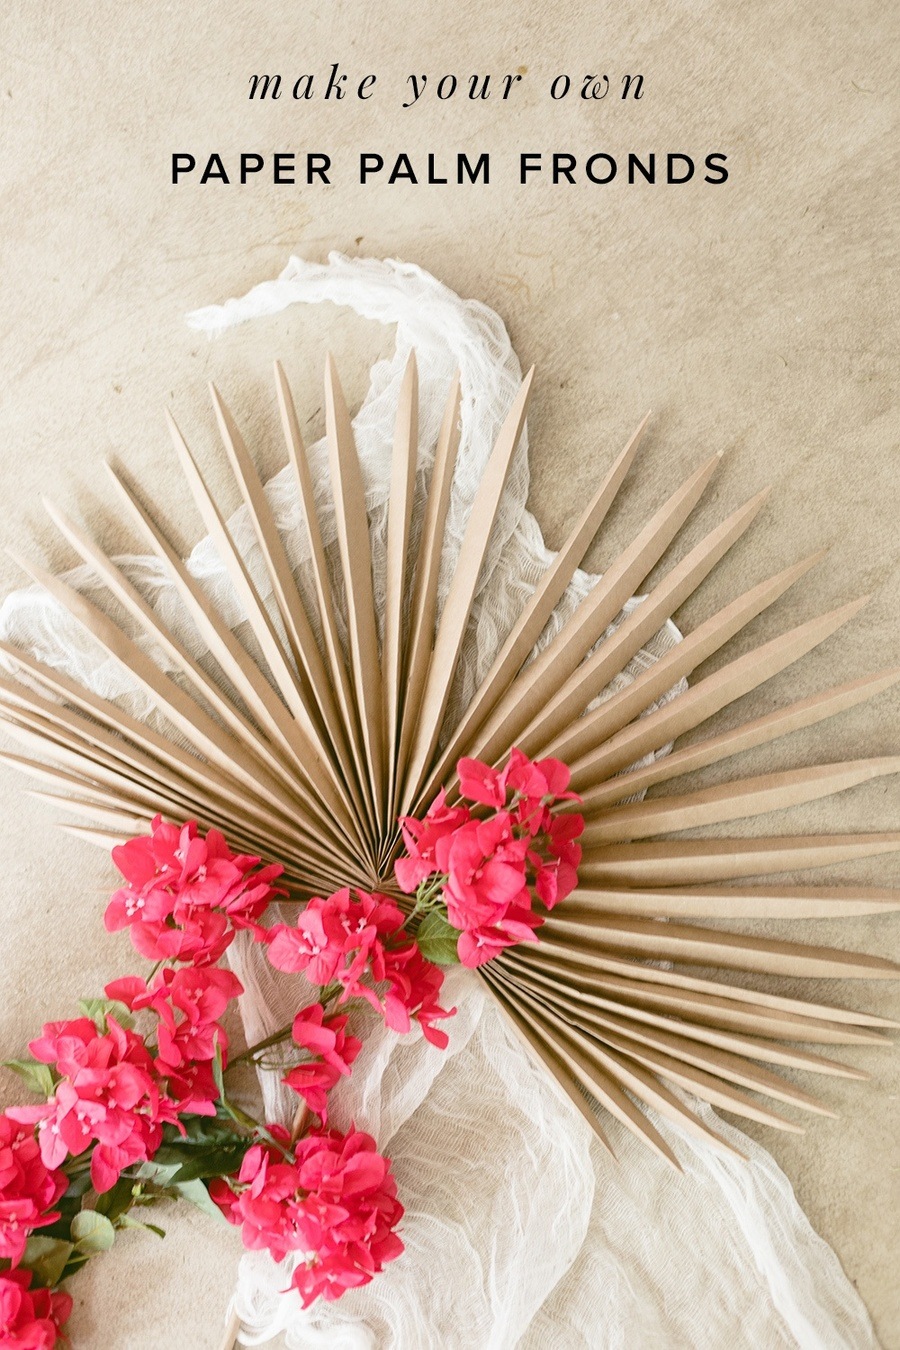
Dried palm leaves are decidedly trending, so we wanted to make the paper version. You can now DIY your paper palm leaves whenever you’re in a pinch for a tropical locale with palm trees. So you can bet we’re very frond of this DIY. We’re sharing the how-to for two size palm fronds: a smal 12″ fan palm and the giant version which is close to the real thing. Both a breeze to make (ha!), thanks to our friends at Fiskars for providing the right tools for the task.
What you’ll need:
Fiskars Orange-Handled Scissors
Fiskars Soft Grip Detail Knife
Fiskars Bone-Folder
Kraft paper roll
Masking paper roll
Brown Construction paper roll
Stapler
Paper Craft Glue
Flat Bamboo sticks

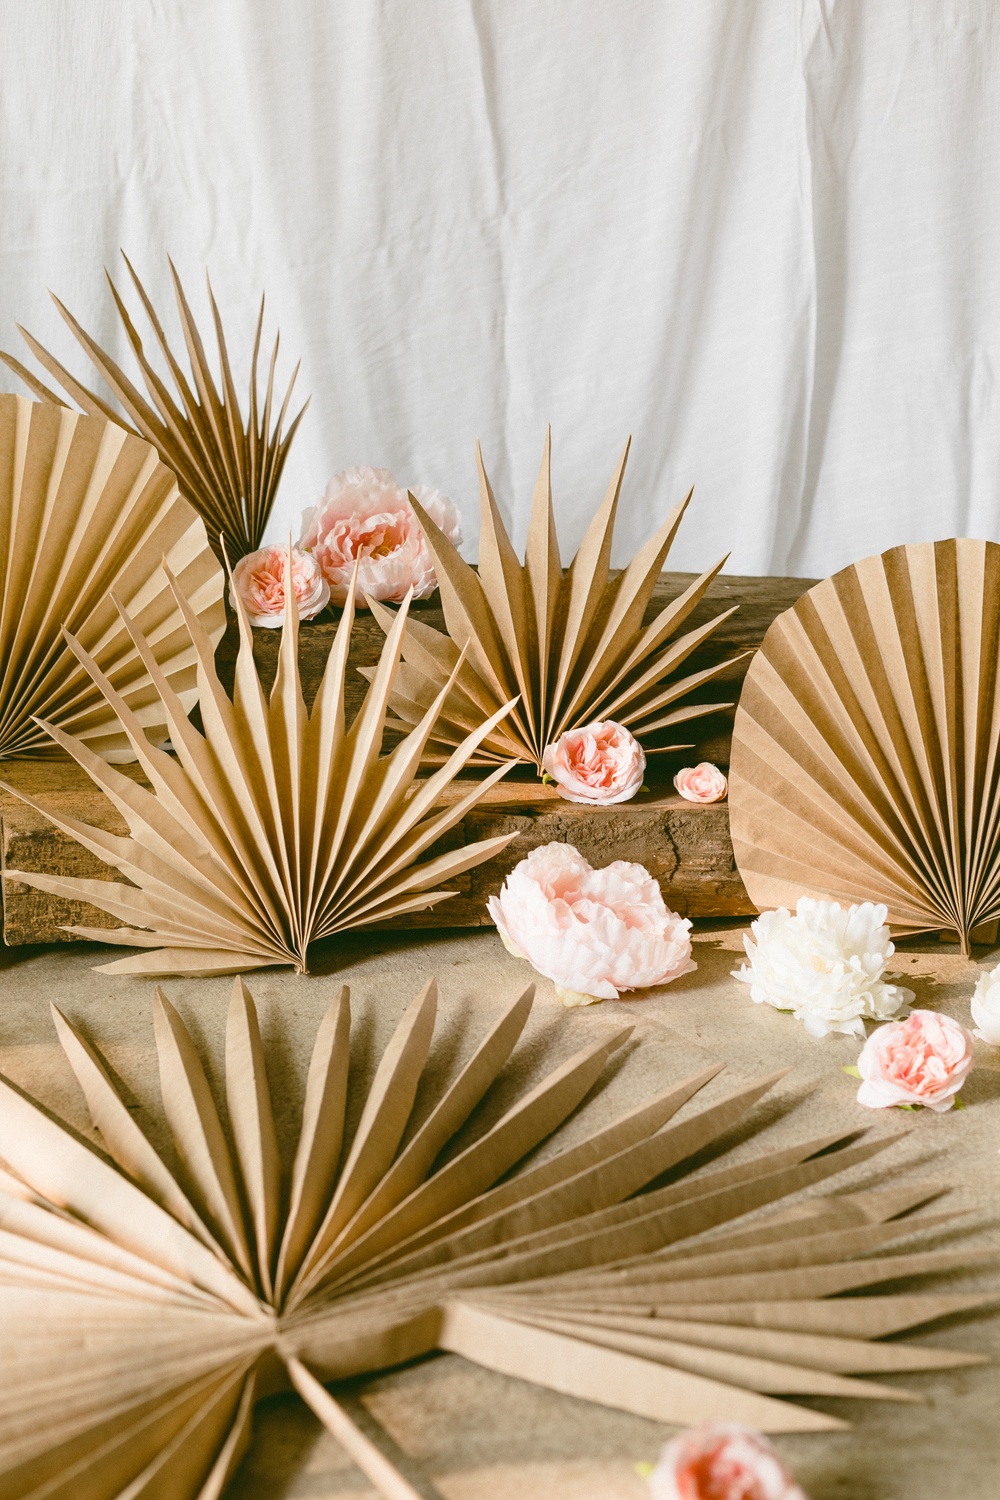
DIY Paper Palm Fronds
We made 2 different sizes, one using rolls that are 12″ wide and a large one using a roll that is 36″ wide. They are made slightly different, so please take note below!
To make the smaller palm leaves, you can use a mix of kraft and masking paper rolls which typically come in 12″ widths.
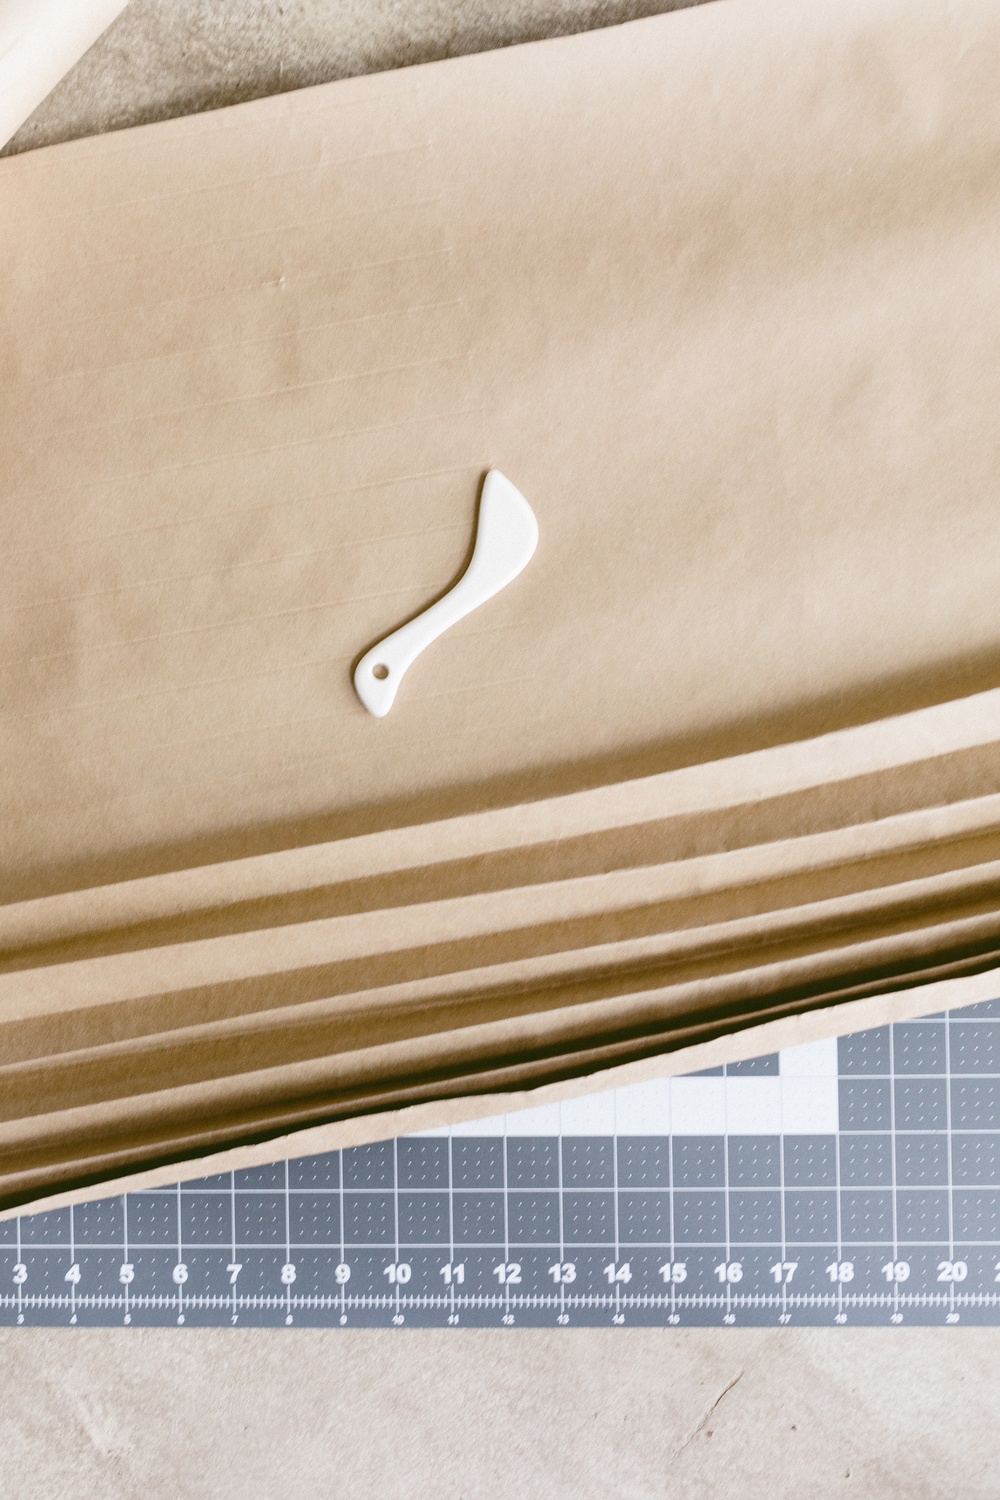
Cut 36″ length sheets and mark 1″ lines to fold. Use a bone folder or a scoring tool to mark fold lines.
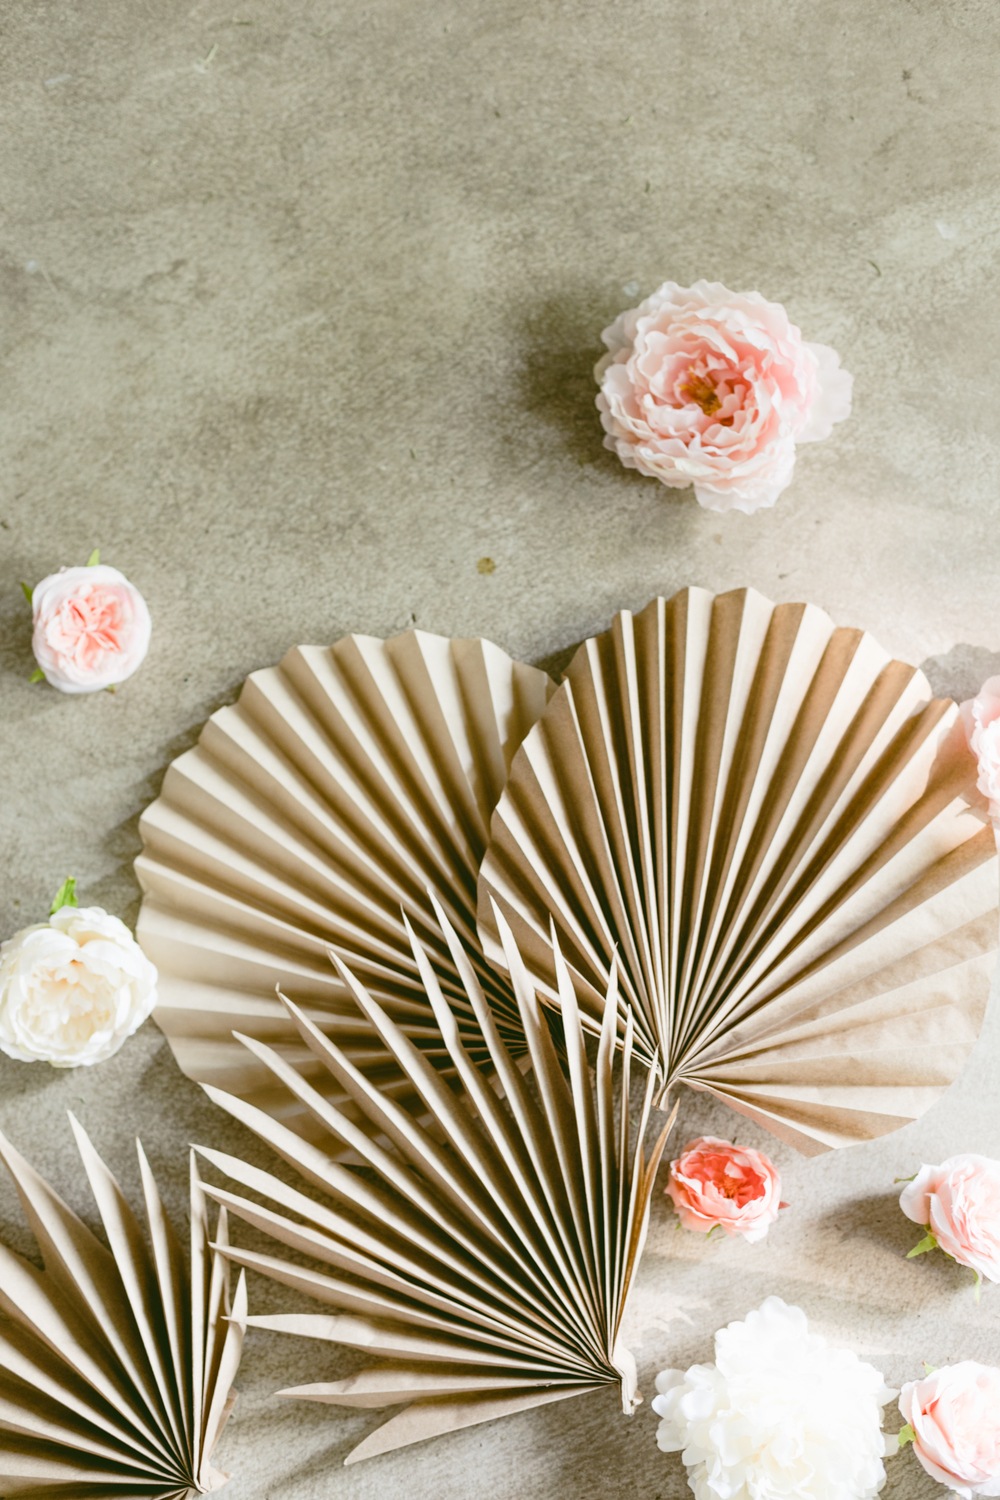
Fold your scored sheet in half and cut the ends with a slight curved angle.
If you’re making a round fan palm leave, go ahead and fold your grooves away!
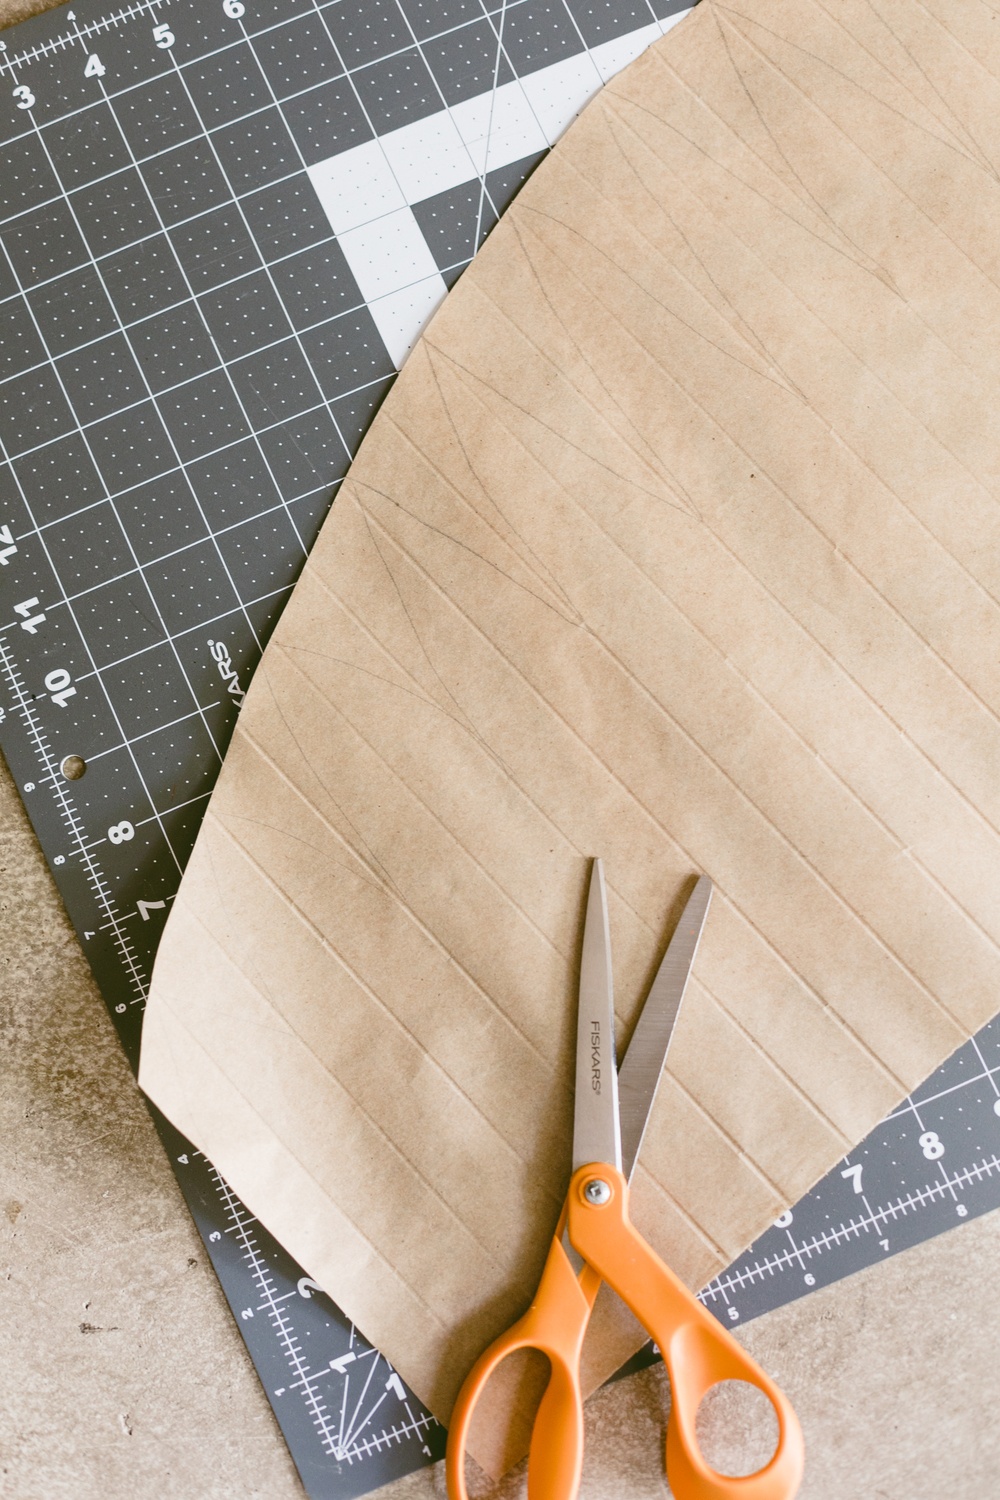
If you’re making a pointed palm frond, open up your sheet and draw pointy leaf ends with the score line in the center of each “leaf”. Fold the ends.
Secure your paper palm leaves with a stapler and trim the edges.
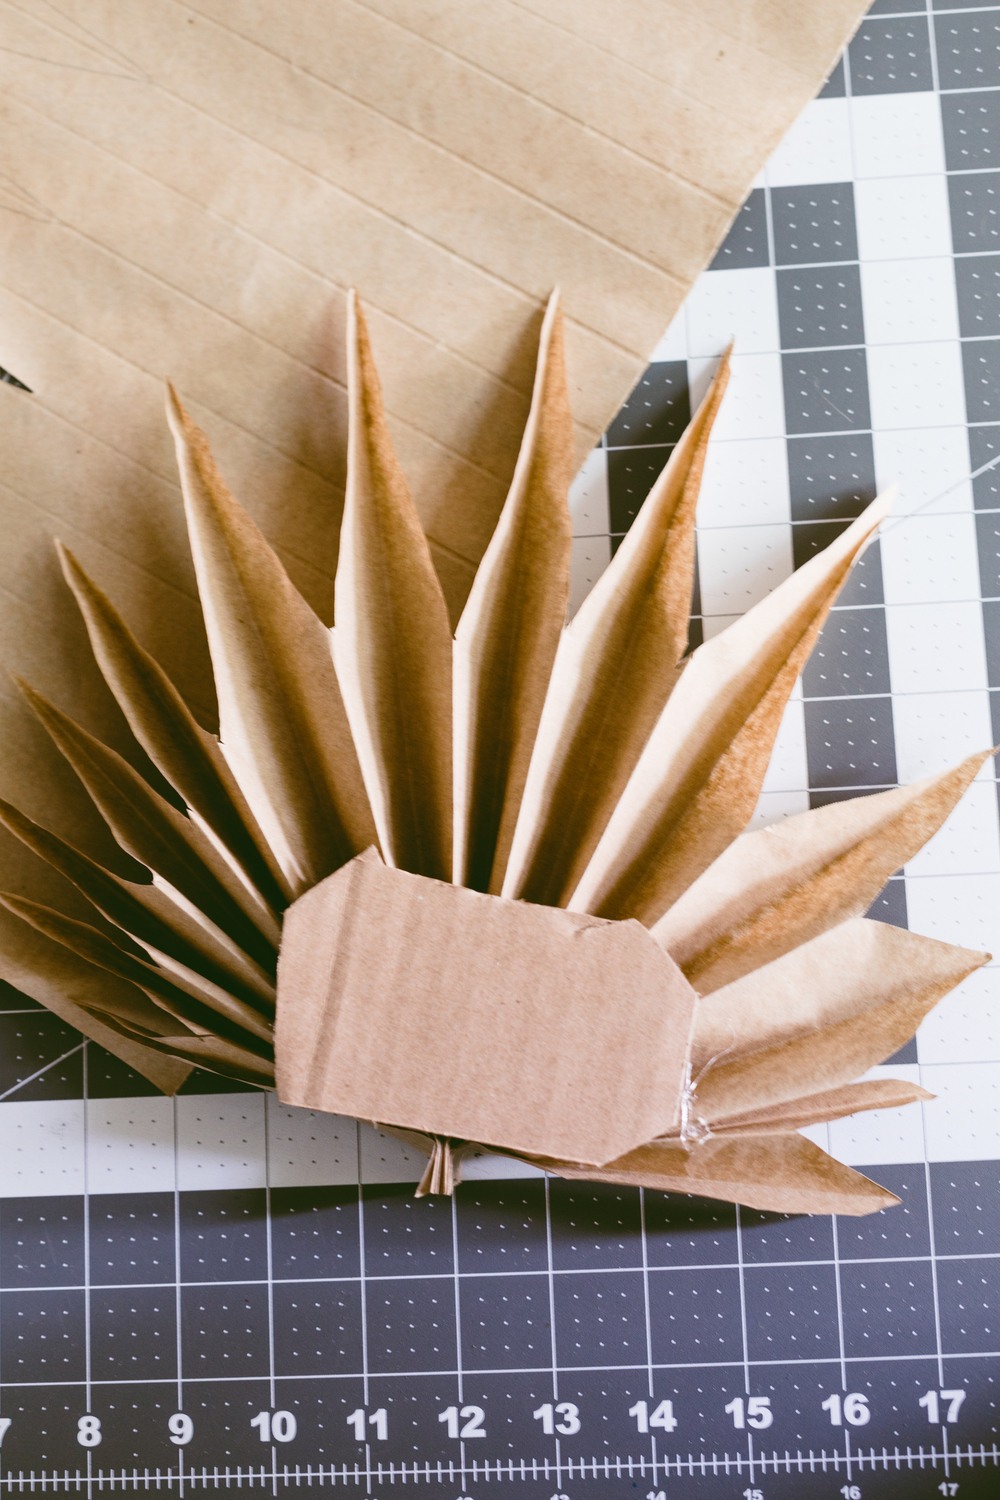
To ensure your dried palm leaves stay open, you can glue a piece of paper or cardboard on the back of them.
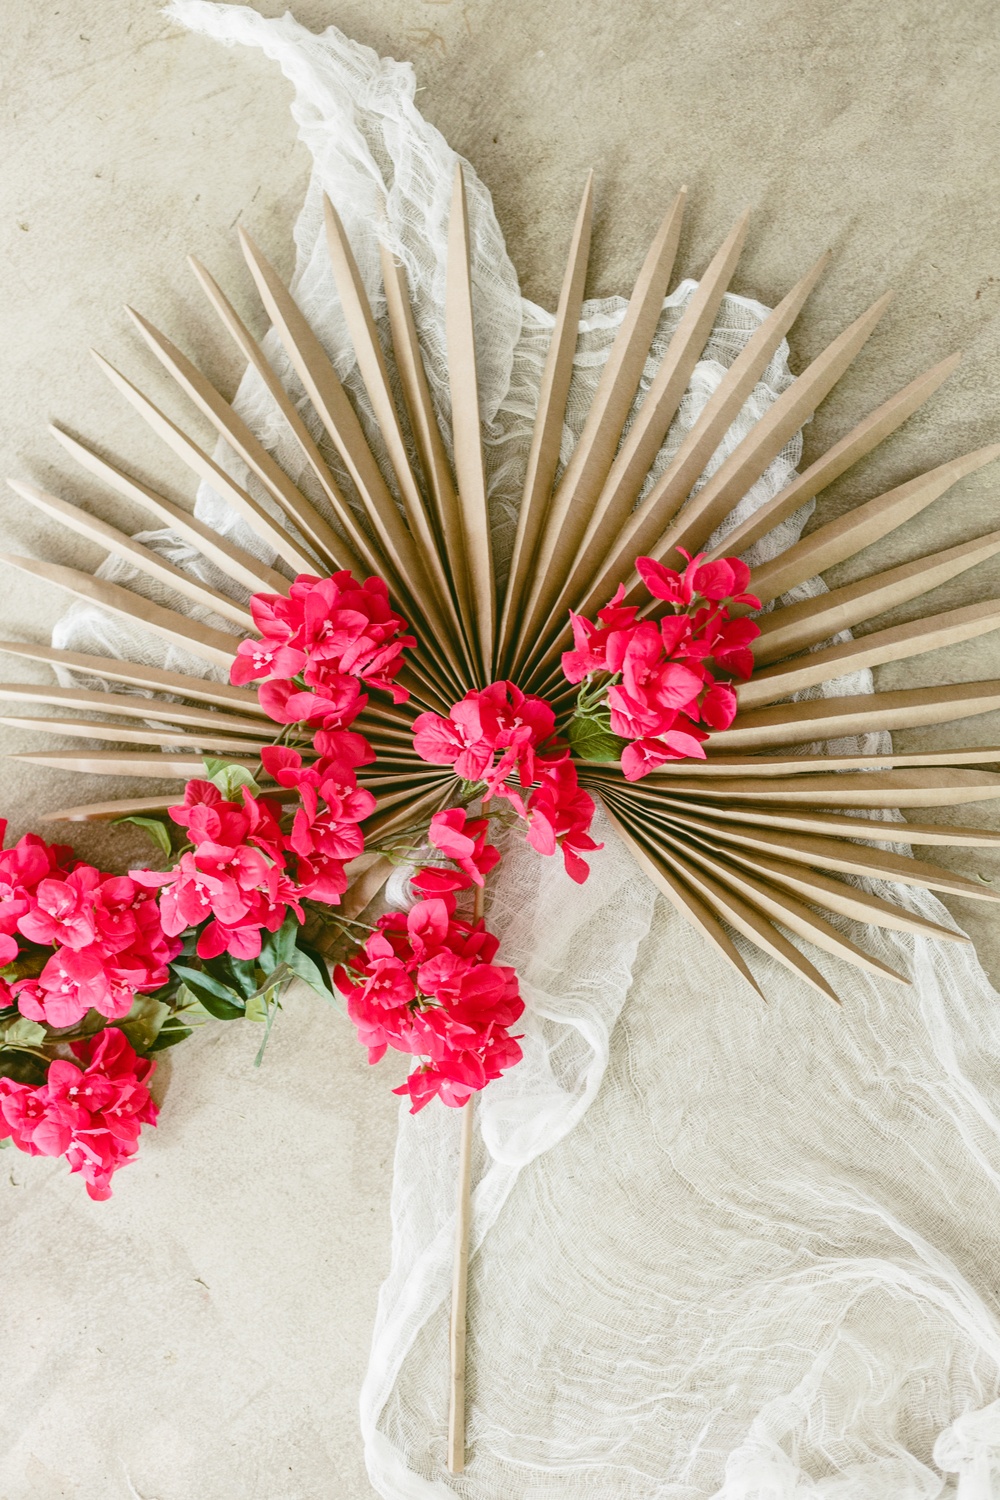
Giant Paper Palm Frond DIY
:
Using brown construction paper (the kind used to cover floors, found at home improvement stores) come in 3 feet wide. They were the perfect size to make a life-size paper palm frond!
The main difference in making a large one is that here, once the “Fan” folds are done, you will fold your sheet in half, meeting both ends at the top to from an round shape.
Since the paper is really wide, I scored my lines as far down as I could and folded them by hand. The paper is thicker than masking paper, so make sure the folds have a crisp edge.
The key is to make sure the folds remain the same size.
Once you have your lines scored, fold your paper width-wide and draw up the round ends (this is different than making small ones!). These leaves will be loooong and skinny.
Draw the leaves with the score lines in the center of each.
The Orange-Handled Scissors from Fiskars then became the star of the show, cutting these quickly without snagging on the paper. The have been in the U.S now for 50 years, and it’s a must in any crafter’s drawer!


To attach a handle to your dried paper palm leaves:
Keep your leaves tightly folded and mark the center of the “fan”. This will be the center of the width of your paper, so in this case, around 18″.
With the help of a craft knife, cut a small slit for the bamboo skewer to fit through. I’ve been using this heavy duty detail knife from Fiskars and never looked back on my old dinky one. This blade precisely cuts a wide variety of materials including paper, thin plastic, canvas and more.
Fit the bamboo skewer through the slit and wrap a piece of kraft paper around it. Add a dab of glue to attach the ends.
Pin for later:

Fold up the ends of your fan by attaching the center leaves together. The bamboo skewer will be in between these two leaves, so you can staple the ends and glue the edges to the skewer isn’t visible from the top.
You can glue a piece of cardboard on the back of it to make sure the leaves remain open in a fan shape and also add a loop to hang on a wall!
