Now Reading
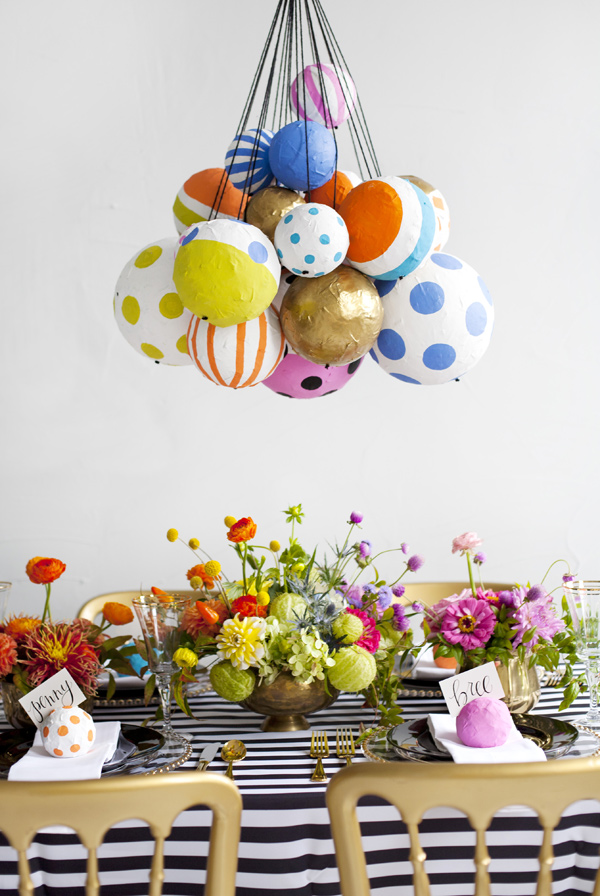
DIY Colorblock Ornament Chandelier
DIY Colorblock Ornament Chandelier

You’re in for a treat, dear readers, because we’re about to share a DIY project with which we’re absolutely smitten! Kathryn Godwin of Studio Cultivate is sharing her tips behind making this inspiring DIY styrofoam chandelier, which is equal parts papier-mâché and awesomeness. This could also work as a show-stopping backdrop for a photo booth or dessert table as well as colorblock Christmas ornaments!

DIY Colorblock Ornament Chandelier photo by Ariana Claire https://ruffledblog.com/diy-styrofoam-chandelier


For this project, you will need:
-styrofoam balls
-glue
-newsprint
-acrylic paint
-paint brushes
-cup
-water
-upholstery needles
-yarn

DIY Colorblock Ornament Chandelier photo by Ariana Claire https://ruffledblog.com/diy-styrofoam-chandelier

DIY Colorblock Ornament Chandelier photo by Ariana Claire https://ruffledblog.com/diy-styrofoam-chandelier

Instructions:
1. Mix 1 part water to 1 part glue.

2. Dip newsprint into mix and apply to styrofoam ball. Slightly overlap newsprint as you add additional pieces. If you are working on smaller styrofoam balls, then use narrow pieces of paper, large ones can use larger pieces- this will prevent too many ripples as the paper is applied. Allow to dry and apply a second coat.

DIY Colorblock Ornament Chandelier photo by Ariana Claire https://ruffledblog.com/diy-styrofoam-chandelier

3. Use acrylic craft paint to coat paper mache once it has dried. Use sponges and pouncers to apply geographic shapes and fun patterns.

4. Using a long upholstery needles to pierce paper mached ball and string with your yarn color of choice. Tie a knot on one end and leave a length at the other. Gather all balls together in the shape you prefer for the chandelier and tie together.

See Also
Brianna & Derek Circle Oak Submission

DIY Colorblock Ornament Chandelier photo by Ariana Claire https://ruffledblog.com/diy-styrofoam-chandelier

View step-by-step instructions in the gallery

Photographer: Ariana Claire / DIY: Kathryn Godwin of Studio Cultivate / Floral Design: Springvine Design / Party Dresses: Denim House / Jewelry and Models: Geoflora / Tablesetting: Party Reflections / Calligraphy: Monday Wednesday Paper

Scroll To Top