This DIY Beach Tent Fits in a Suitcase

A few weeks ago, we went to the Bahamas for the first time for a surprise birthday trip! We wanted to make the most of its endless beaches, so having sun shade was crucial. Carrying an umbrella is cumbersome, and let’s face it, it never really fits 2 adults. We already have our DIY kaftans, we just needed a shaded place to lounge on the beach. Using a couple tools from Fiskars, we created a DIY bench tent we’ll be using for years to come.
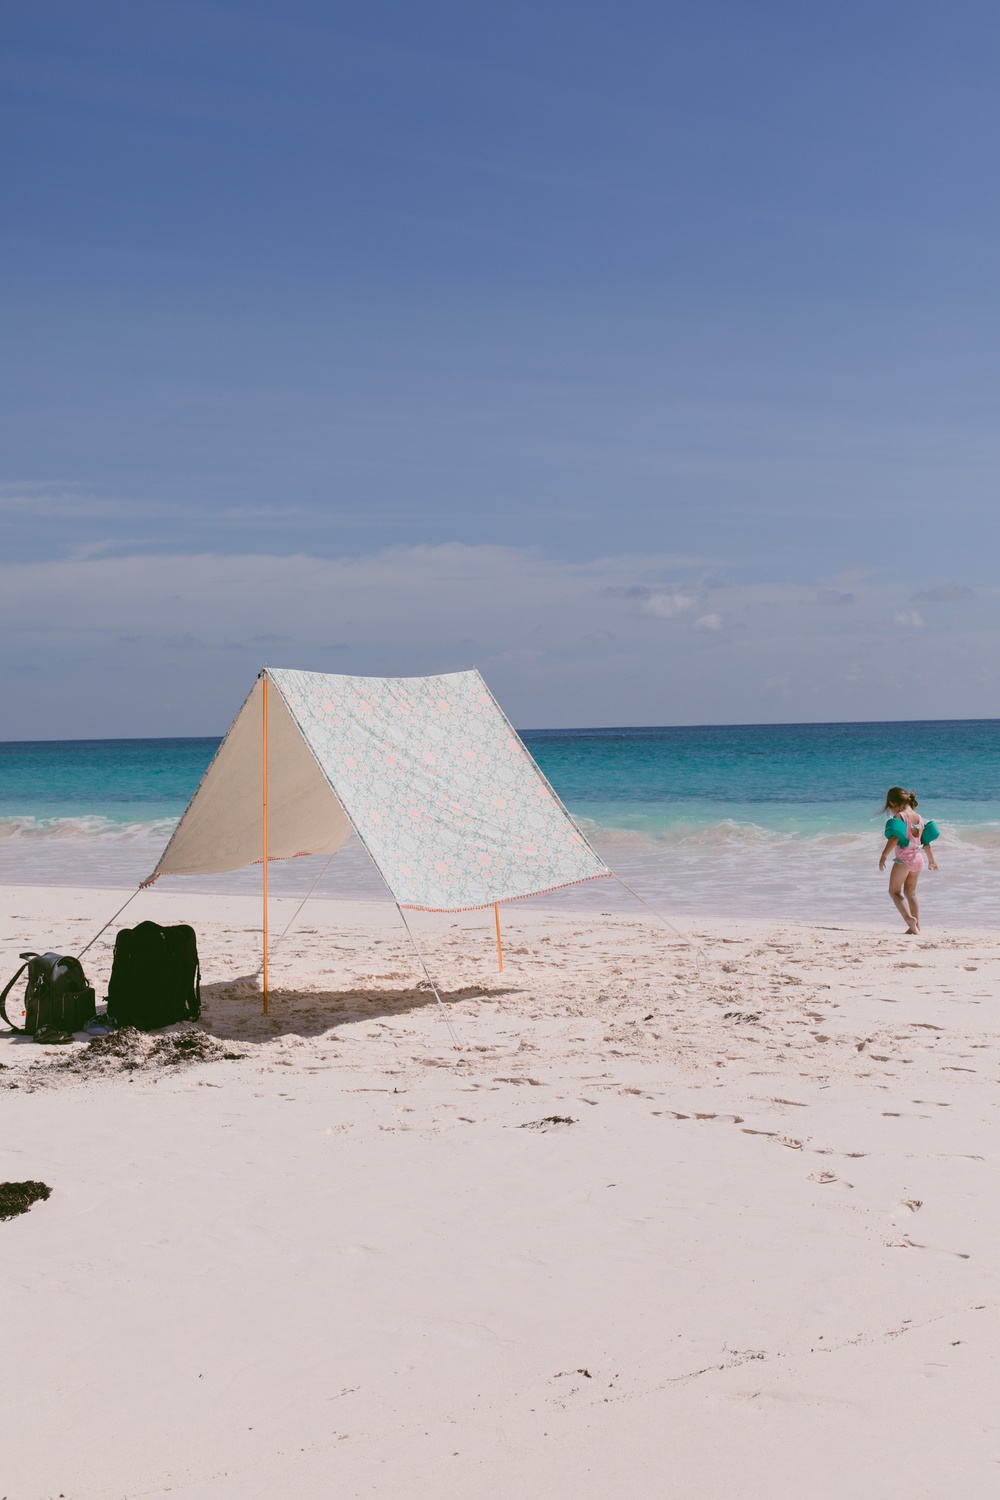
If you’re headed to the tropics for your honeymoon, this fun beach tent fits in a suitcase, is lightweight and it takes just a few minutes to set up. We were traveling with our two young kids, so staying out of the sun was mandatory. They may not stay put, but I sure could have taken a nap under this tent! The tent is roomy enough for 4 people.
I searched for readymade alternatives with no luck — most were too big to fly with or didn’t provide enough shade or didn’t hold in the wind. So DIY it was!

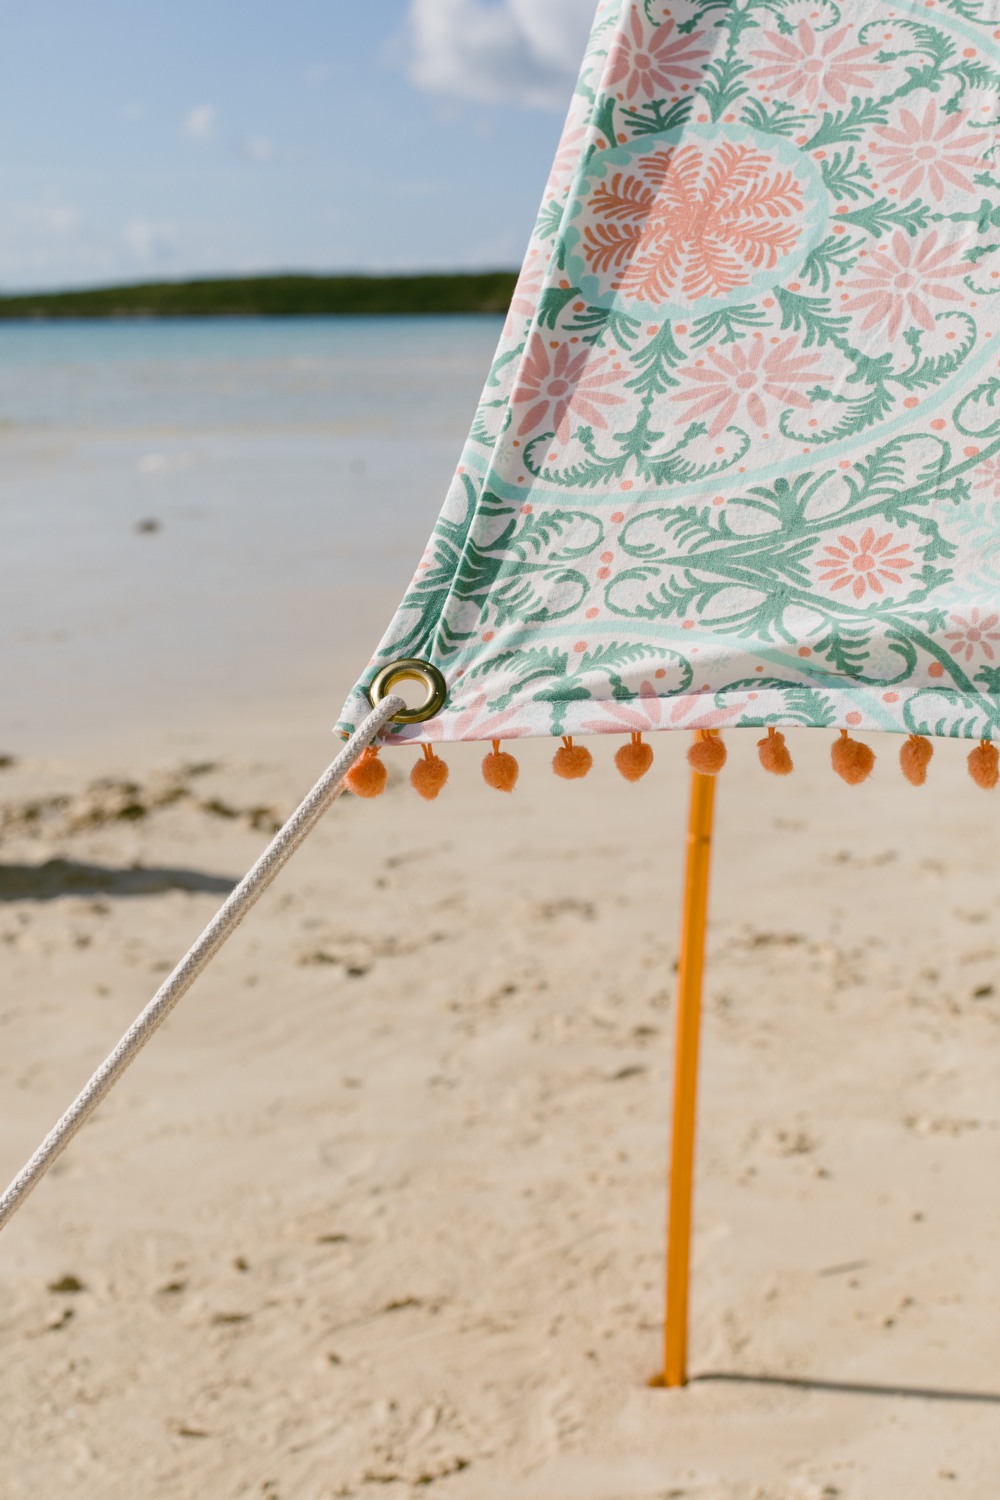
I bought two fabric shower curtains on sale for this, but you can also use a canvas drop cloth. I love how the shower curtains came with pom-pom fringe so I it was already embellished + no sewing trim needed! The shower curtains I got even matched the orange poles and it came with pom-pom fringe.
What you’ll need:
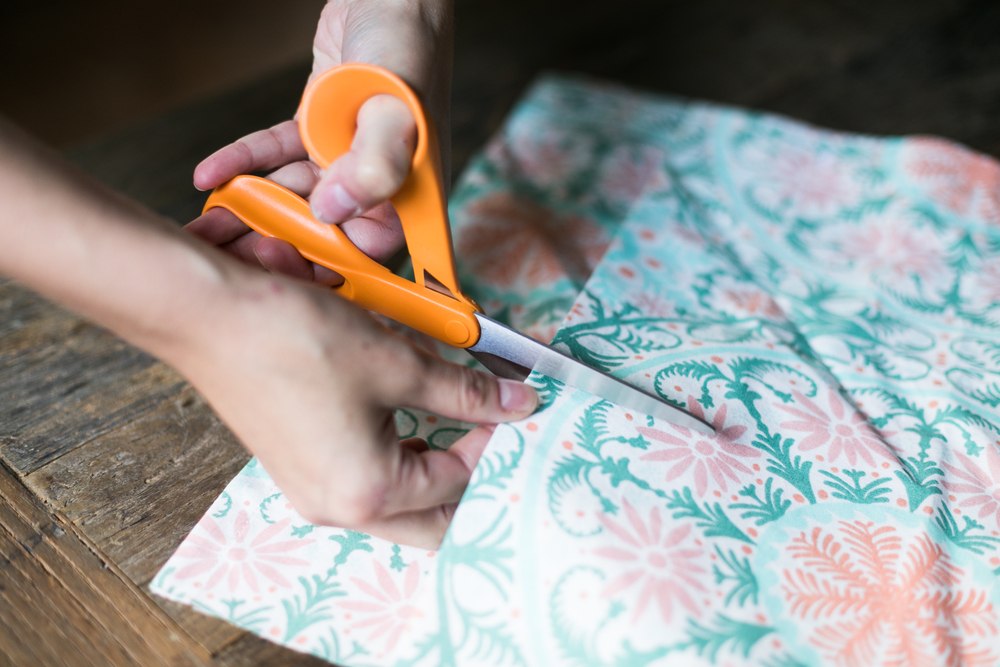
- Fiskars Orange-Handled Scissors
- Fiskars 22oz Framing Hammer
- 2 Fabric shower curtains
- Grommets
- Rope
- Pole tent (this one)
- Tent stakes (this one)
- 1/2 inch conduit aluminum rod and 2 3″ metal screws
- Optional: Lightweight blackout/UV fabric liner
Sewing the Beach Tent Fabric
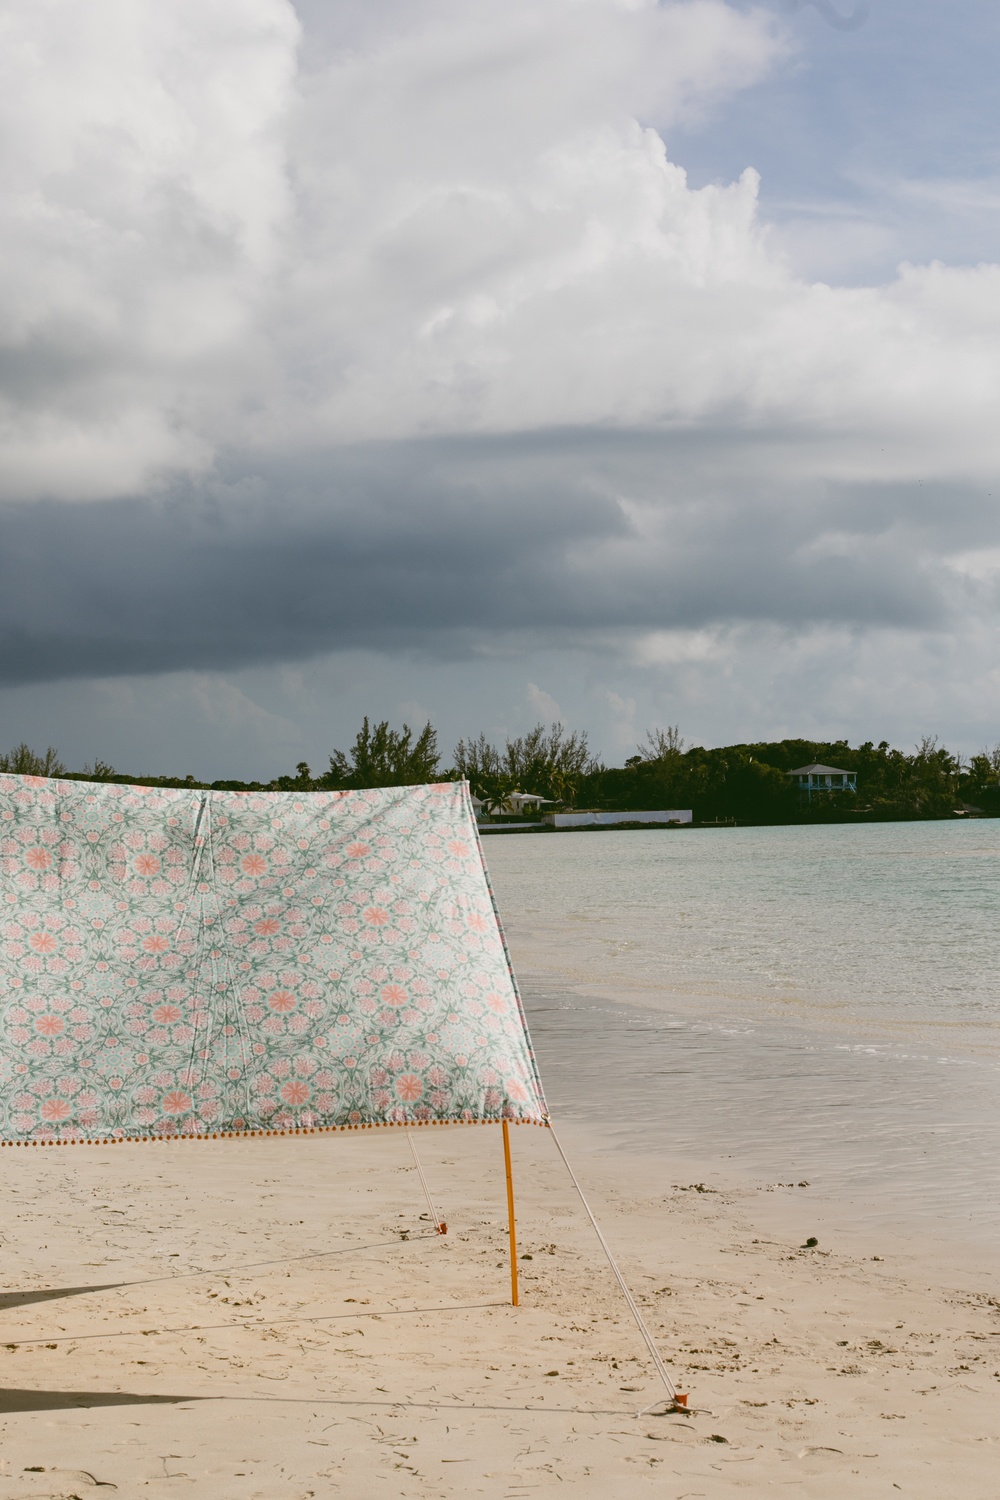
The beach tent dimension is 6×9′. Pretty roomy for a family of four, but I also didn’t want it so large that it would be too heavy to pack in a suitcase and lug on the beach.
Each shower curtain is 6’x’6, so using my orange-handled fabric scissors I cut 18″ off of each, to give me a combined total length of 9 feet (each panel needs to be 4.5 feet long). Ideally, if you can match the patterns, great. If not, not a big a deal because the seam sits at the top of the tent.
Reinforce the perimeter of your tent fabric by adding fusing web and/or folding over the seams twice. You need to reinforce the edges for the grommets to hold the tugging of the rope at the beach. If you’d like to have a darker shade, you can line your shower curtain with a thicker layer of fabric as well.
Insert grommets, 3 on each side of your finished tent fabric lengthwise, so 6 total.
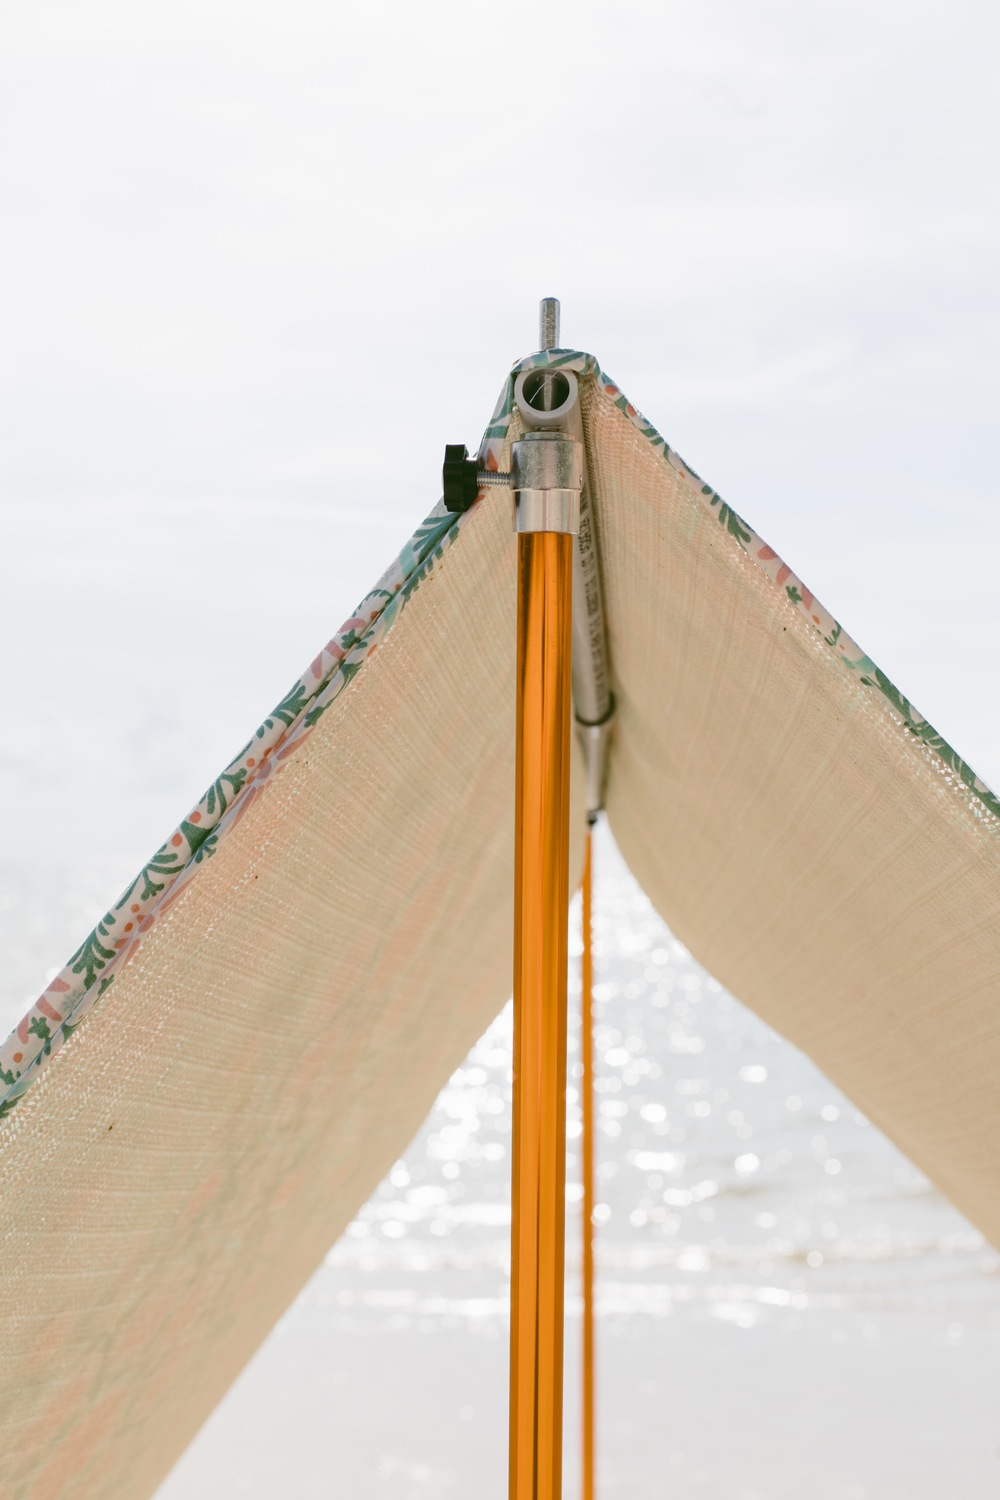
DIY Beach Tent Structure
The biggest requirements for me for this project were: 1. must fit in a suitcase and 2. must be lightweight (to justify packing). So to make the structure itself, I bought aluminum tent stakes meant for soft sand and telescoping tent poles. All I made was the center pole support.
To make the center pole, you just need 2 conduit pipes, one 1/2 wide and one 3/4 wide. The 1/2 pipe will need 2 lengths of 25 inches long and the 3/4 pipe will need 1 piece cut 25 inches long. Drill a hole on each end of the pieces. To attach all 3, drop a long screw in – you can secure it with a nut but that isn’t necessary. If you don’t need to fit your tent in a suitcase, you can skip this step and cut your rod to 6 feet long and just drill a hole on each end of your pole.

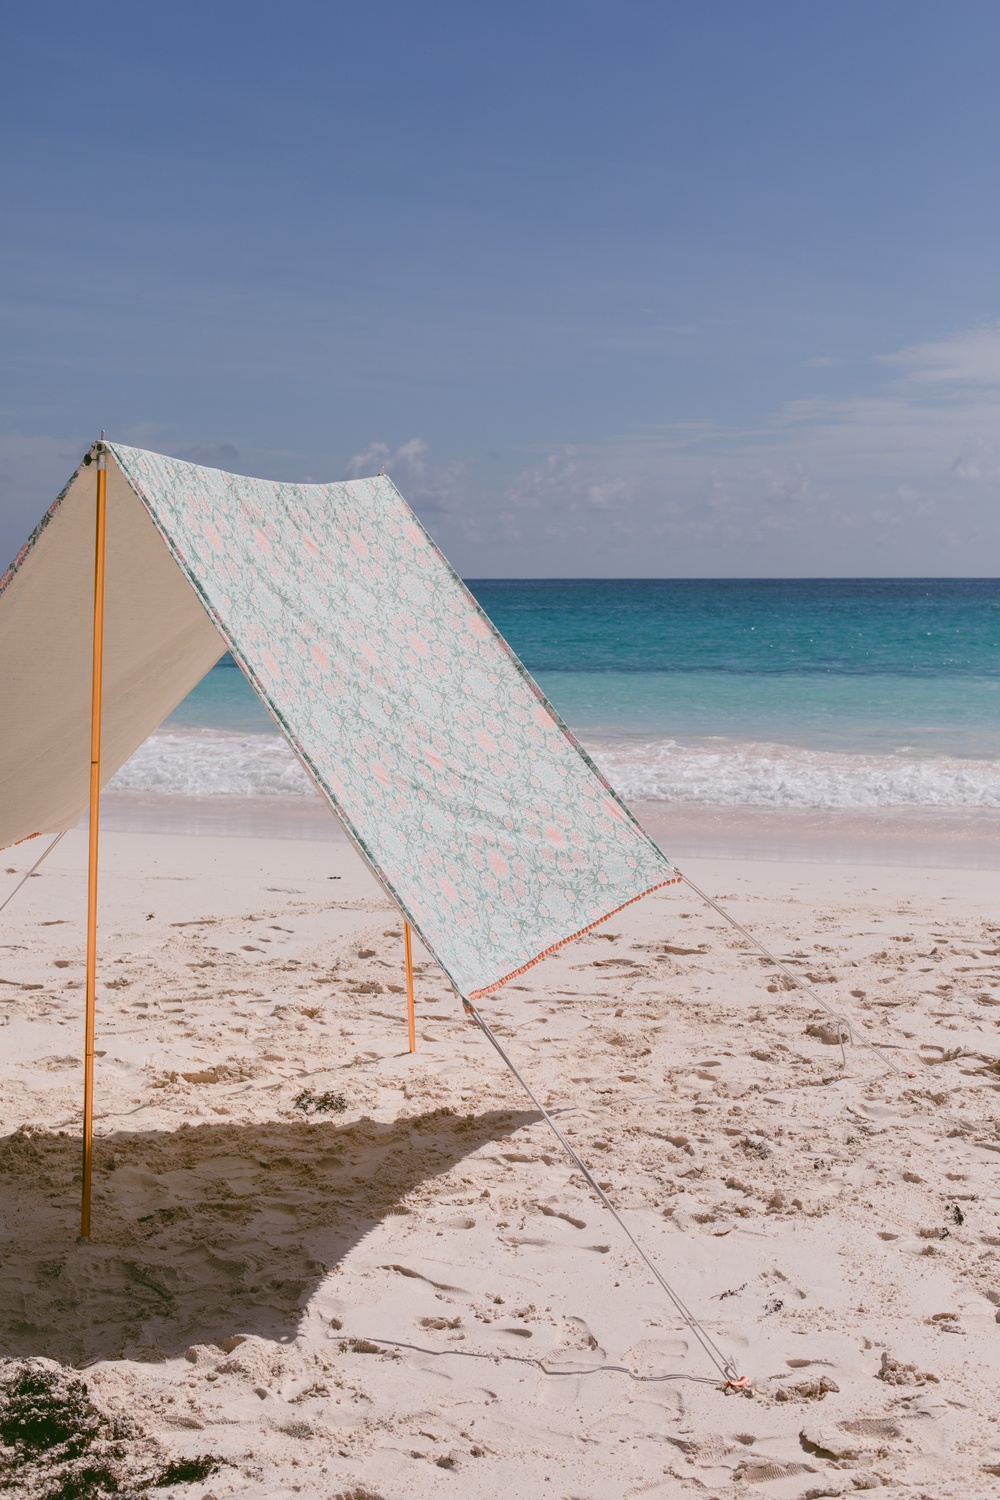
Assembling the beach tent:
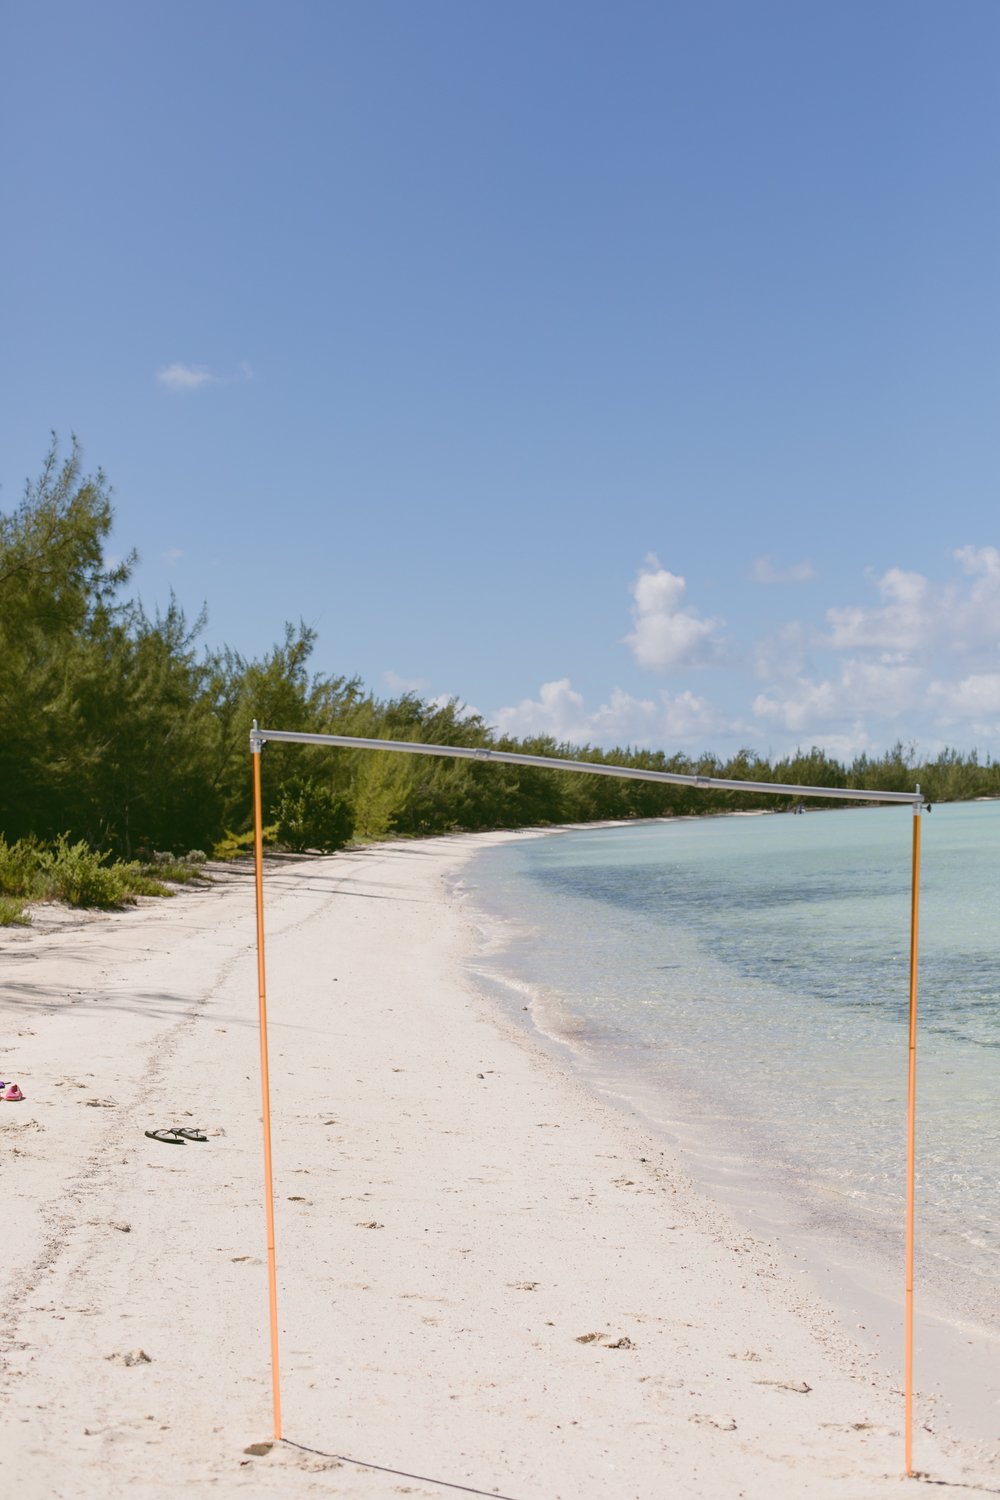
You can assemble the tent by yourself (or your beau) in a couple of minutes! Start with staking your vertical poles on the sand, 6 feet apart. Add the center pole and adjust the vertical poles if needed.
Drape your tent fabric over the tent poles, align each center grommet on the poles.
Loop a piece of rope through the 4 end grommets and add a stake to each of the 4 corners. Stick your tent stakes at a 45-degree angle to maximize stability and loop the rope through the stake holes. Pull the rope taut so the tent doesn’t wiggle with the wind.
Best part, it stays put! I’ve used it for a whole week and brought to several different beaches with varying wind levels.
So if you’re looking for a beach tent that shows off your personality or at least one that provides shade aplenty, give this project a try, and at the very least, get yourself some signature orange-handled scissors. We promise, you’ll use them again!