DIY Gift Wrap
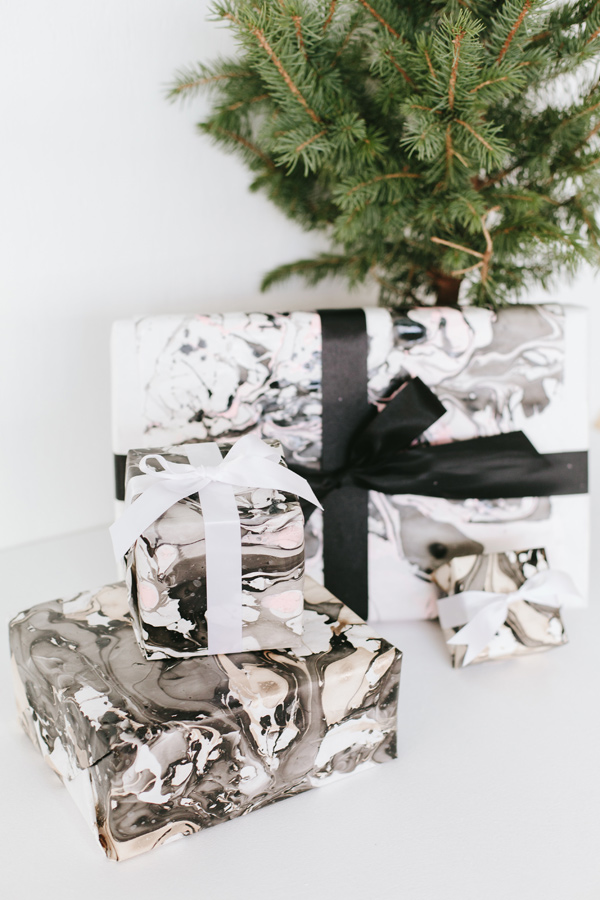
In a pinch for a modern gift wrap? Kathryn from Studio Cultivate whipped up this quick project for wrapping last minute gifts. Better yet, you may already have all of these materials in your craft closet! Thanks Alicia White for the images.


For this project you will need:
-nail polish (cheaper is better!)
-white craft paper
-scissors
-tape
-ribbon
-plastic container
-coffee stirrer stick
-plastic gloves

Instructions:
1. Gather nail polish in 2-4 colors of your choice, and complementary ribbon.
2. Using a bin that is larger than the paper you wish to marble, fill with 2 inches of water.

3. Remove brushes from bottles and shake polish over water, it will sit on the surface of the water. This is where the quality comes in, nicer nail polish sinks to the bottom, you want polish that actually floats on the surfaces.


4. Use a coffee stirrer stick (or even just the polish brush) to pull the colors around the surface, breaking up the larger globs of color and swirling it around. Work quickly, as the polish will set on the water and will not work as desired.

5. Lay the paper you wish to marble face down on the surface of water. Do not submerge, but gently press your finger across the sheet of paper, pressing it to the water.


6. Peel back paper and set aside to let dry for a few hours.

7. Then get to wrapping! Use a satin ribbon that matches the colors you used in marbling to pull the packaging together.

